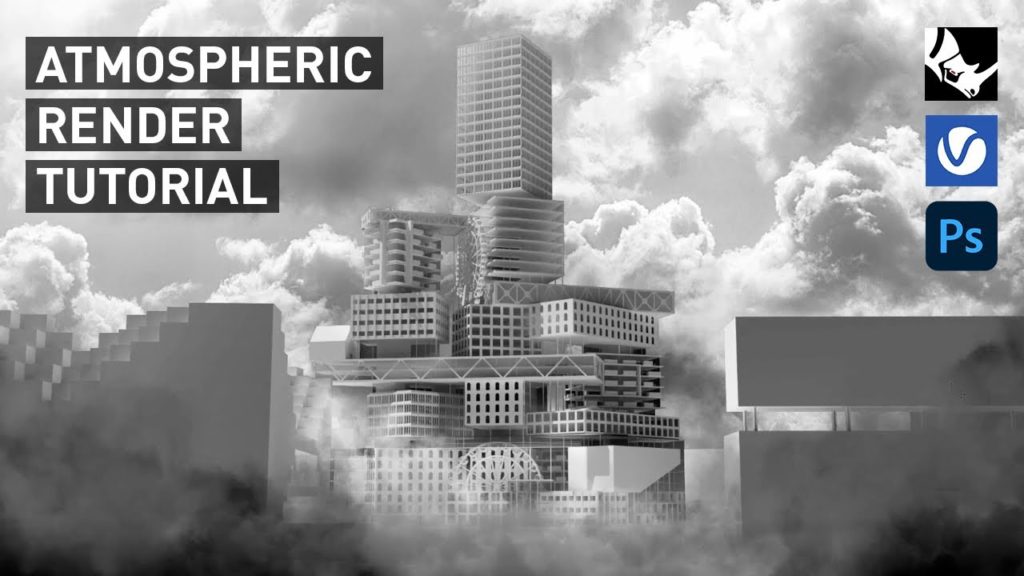
Hi guys! In today tutorial we’re going to be creating this atmospheric rendering using rhino v-ray and photoshop.

Step 1: Find Right Perspective


Save the view to named view panel.
Step 2: Setup the Lightning

Go ahead over to our vray asset editor, enable rhino document sun and choose custom orientation to preview how our scene will looks like.
Step 3: Setup Render Output


Choose 4k resolution, turn off interactive rendering, turn off progressive, and then enable our denoiser, and choose nvidia ai to do the job.
Step 4: Import Images


When your rendering has been finished you can import three images, one is the bump normal the other one is effects result and the last one is the material color.
Step 5: Do Color Correction

Do some photoshopping and start with color correction.
Step 6: Add a Background Sky

Use unsplash.com
Step 7: Create Atmospheric Fog

Create a new layer and start painting in some gray color to prime the canvas.
Step 8: Add Glow Effect

Choose a gradient tool and draw a gradient then add a slight lens flare from Unsplash.
And that’s it, you have now a beautiful Atmospheric Render just only by using rhino v-ray and photoshop. If you want to watch the detailed video tutorial, click play button below:
If you find this article helpful, make sure to subscribe and follow our YouTube and Instagram accounts for more beautiful project tutorials!