Hey, what’s up, guys? This is Archi Hacks. And today, we’re going to be taking a look at creating a sun study.
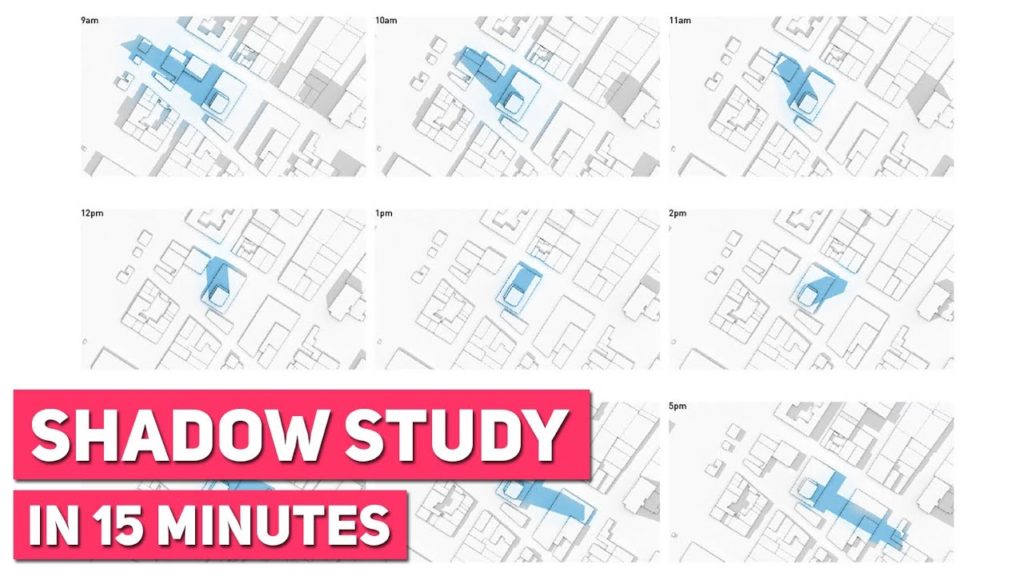
There’s a bunch of cool stuff happening here. These are individual images that are rendered automatically, so you have to click when you want and produce all these images. Also, these can be stacked quickly to make a brief overview of where the shadow falls or can be spread out to analyze how many daylight hours each area gets around your site. Let’s dive into it.
Step 1: Set Location
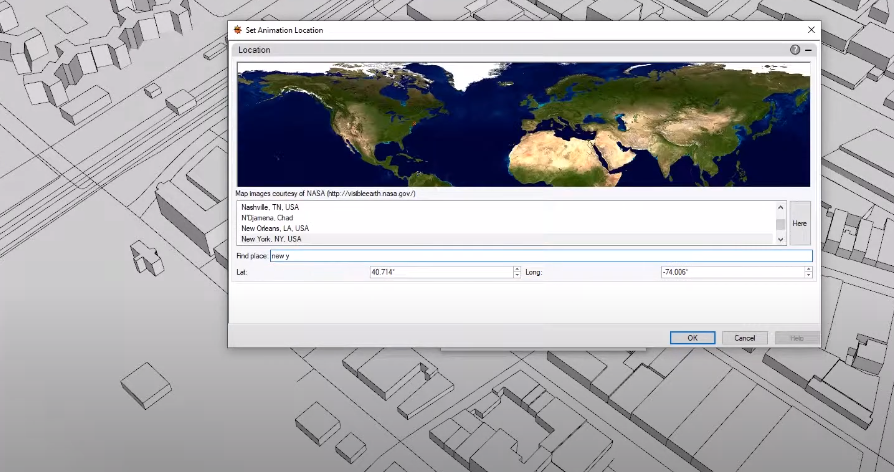
We’re gonna choose the location of our project, which is located in New York.
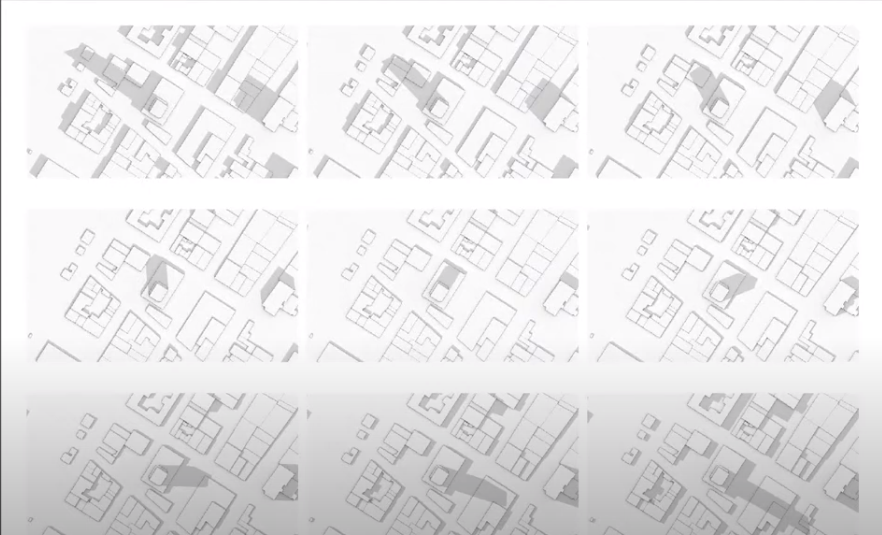
Step 2: Set One Day Sun Animation

I’ll choose July 4 so most summer solstice, and then I’ll say let’s start at 9 a.m. and finish at 6 p.m., and choose 60 minutes so that shadow is calculated every hour.
Step 3: Save the File
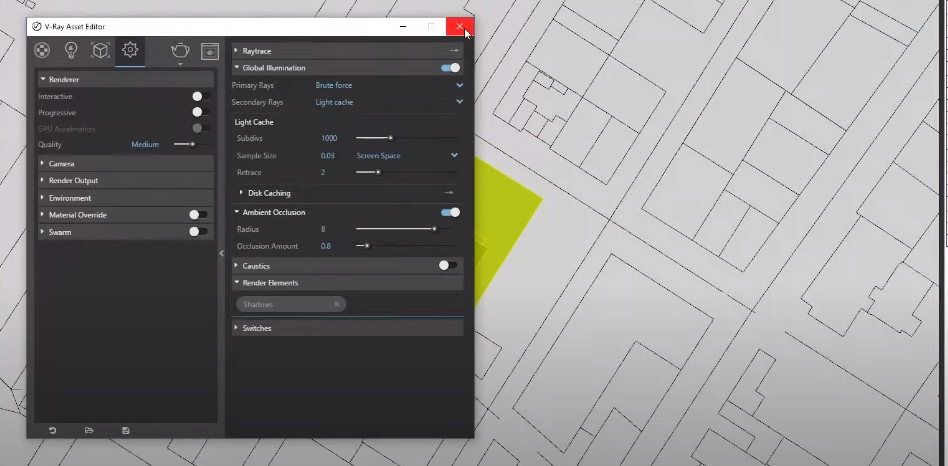
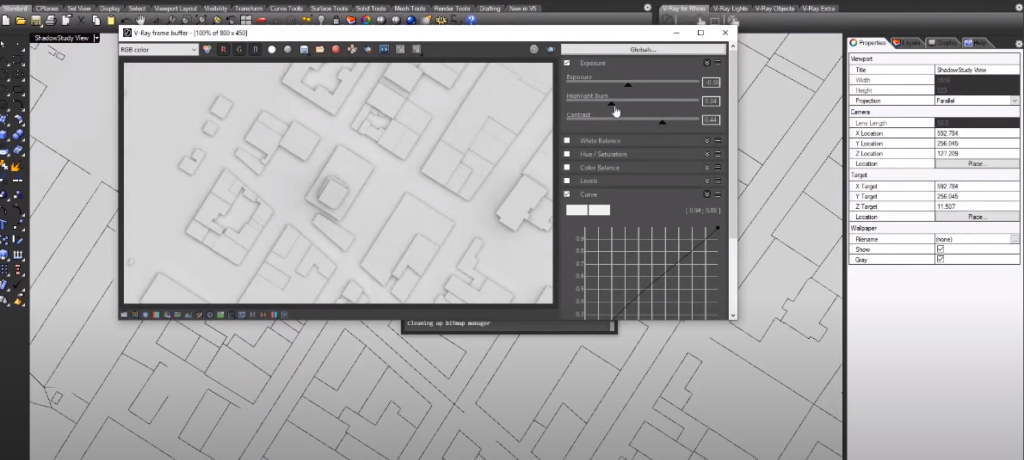
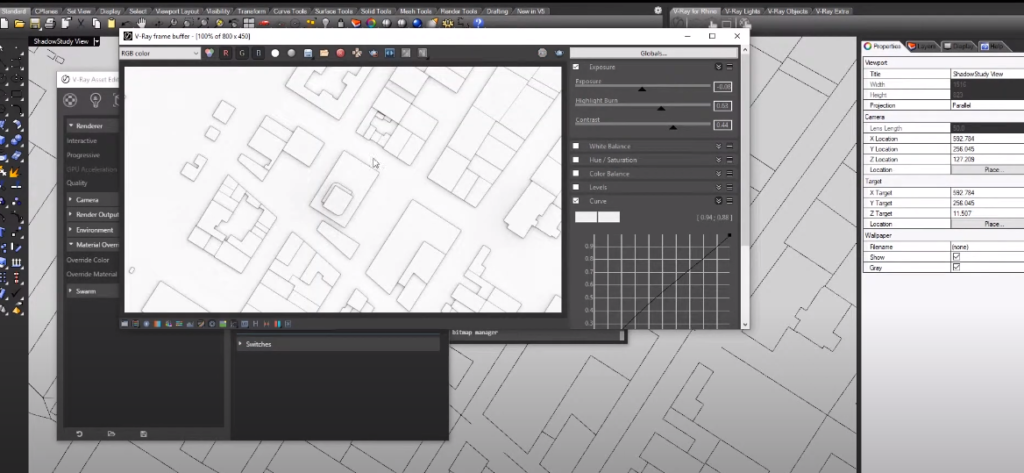
Now save a file as a jpeg and then we’ll leave the rest of the settings as it is one thing I did in advance to create this view and then save it to the name view so that we can keep the study consistent. For this array options that first we’ll open up the printer tab and then out the sepal progressive for now and then an open camera that looks fine and then for rendering up but I’ll just keep it slow rest or speedy iteration purpose and then otherwise all the things are pretty good. To make sure the global illumination is on and ambient occlusion and for a nice soft shadow most importantly I need to enable shadow to render element which will allow us to separate the shadow from the rest of the rendering that we can use to color the shadow after you’ll see what I mean or close out of it and then we’ll type in record animation
Step 4: Record Animation
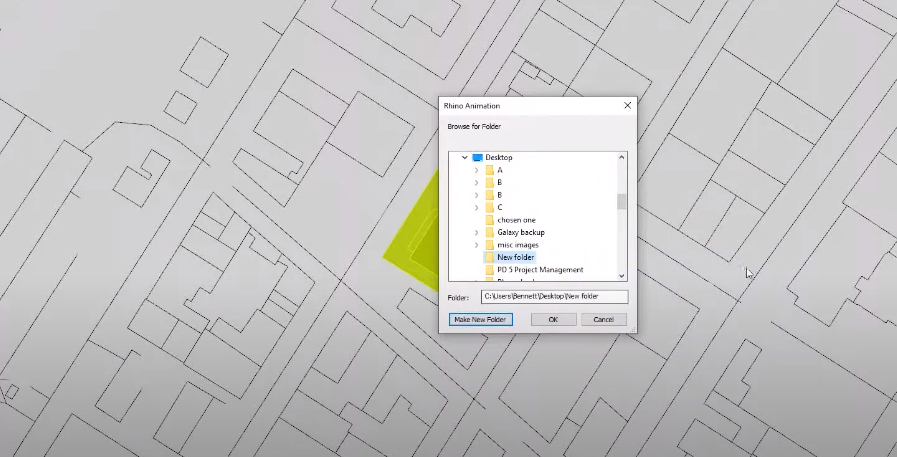
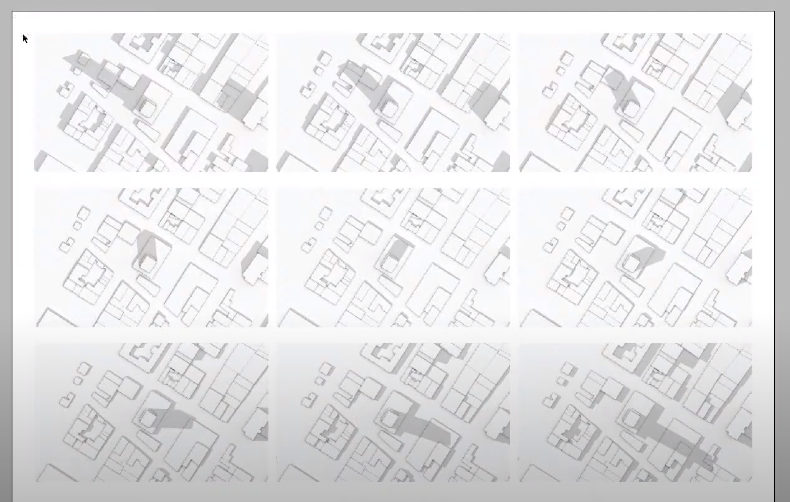
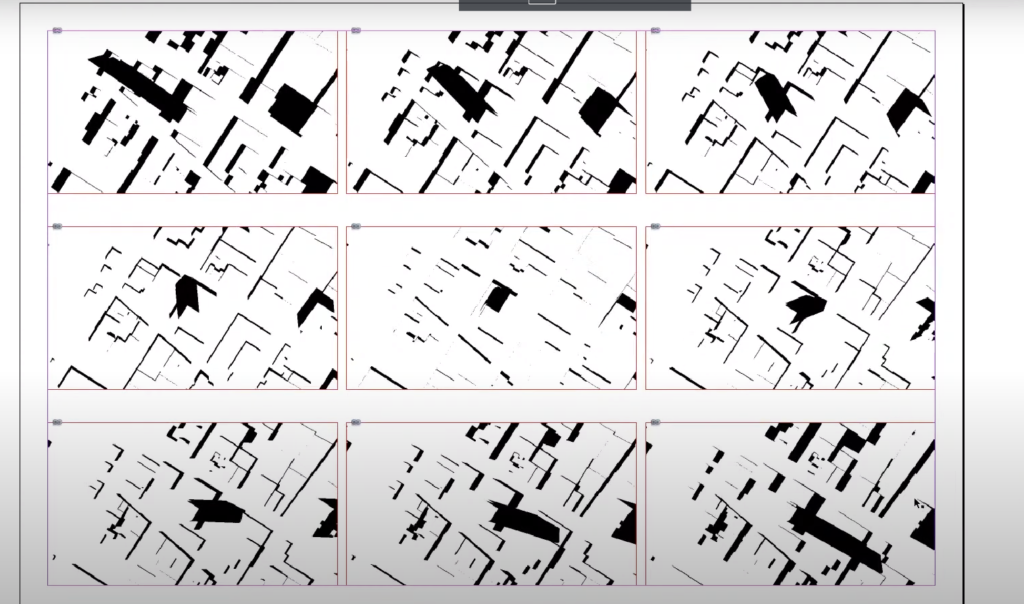
It takes the settings that we set at the 1-day animation settings and then match them as multiple renderings and save individual files in a designated folder.
Step 5: Render
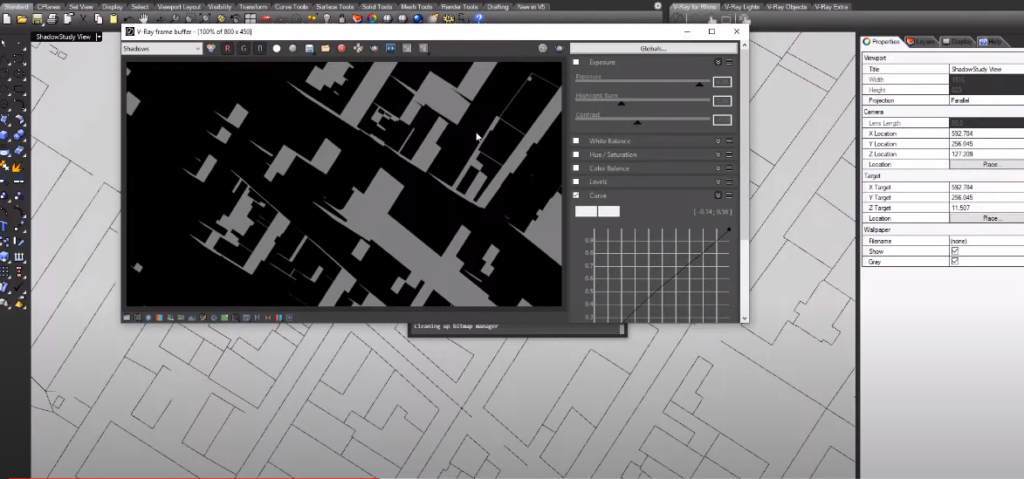
You’ll see that once the first rendering is done, it automatically moves on to the next rendering so the first render was set to be done at 9:00 a.m. in the morning, and the second one is one hour later sixty minutes later which is 8:00 a.m. 10:00 a.m.
Step 6: Photoshop
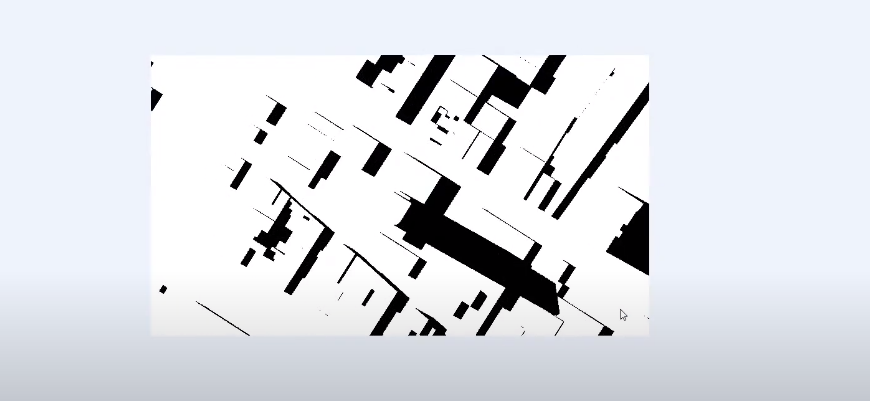
Opening up Photoshop and then dragging all the files in. So with the first one, what I’m gonna do is I’m gonna create an action which creates a folder called action shadow study, so what Photoshop action does is it records a set of adjustments that you make to this image, and once you save it you can like play it with another image so it saves you a lot of repetitive work.
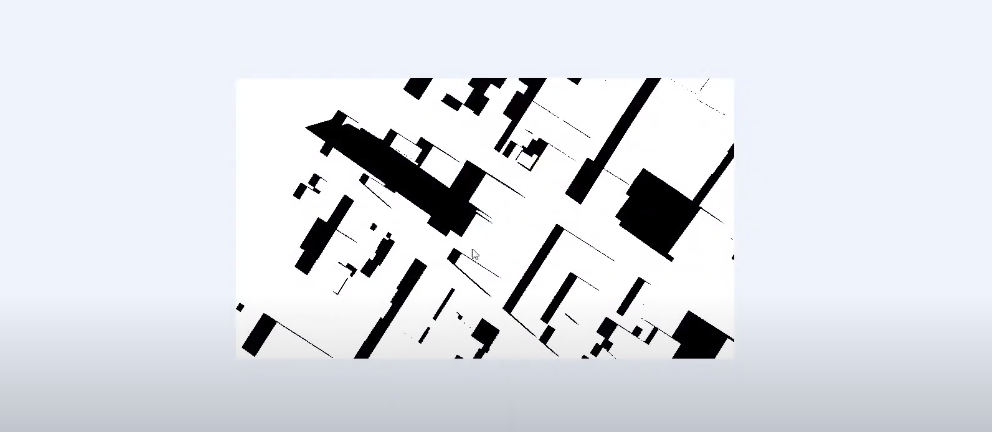
Step 7: Render Base Image
The base image will have no shadows, it’s only the ambient occlusion.
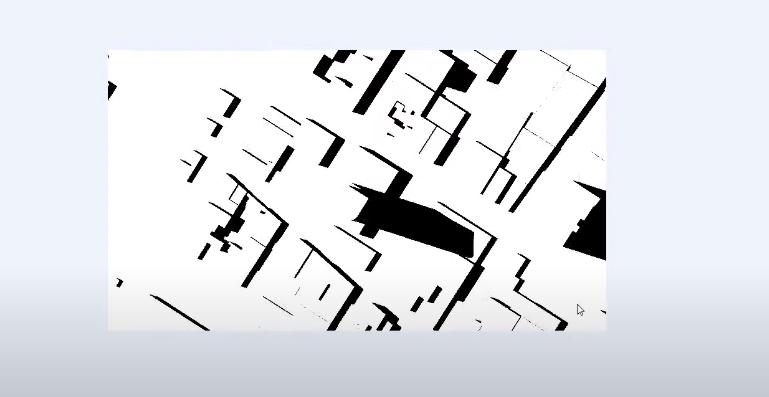
Step 8: Material Override
It’ll automatically give you outlines around the geometry.
Step 9: Lay It Out in InDesign
We’re going to lay it out in InDesign so that it’s nice to see.
There we go, in case you want to watch the full video tutorial, you can watch it here:
Make sure to subscribe and follow our YouTube and Instagram for more content!