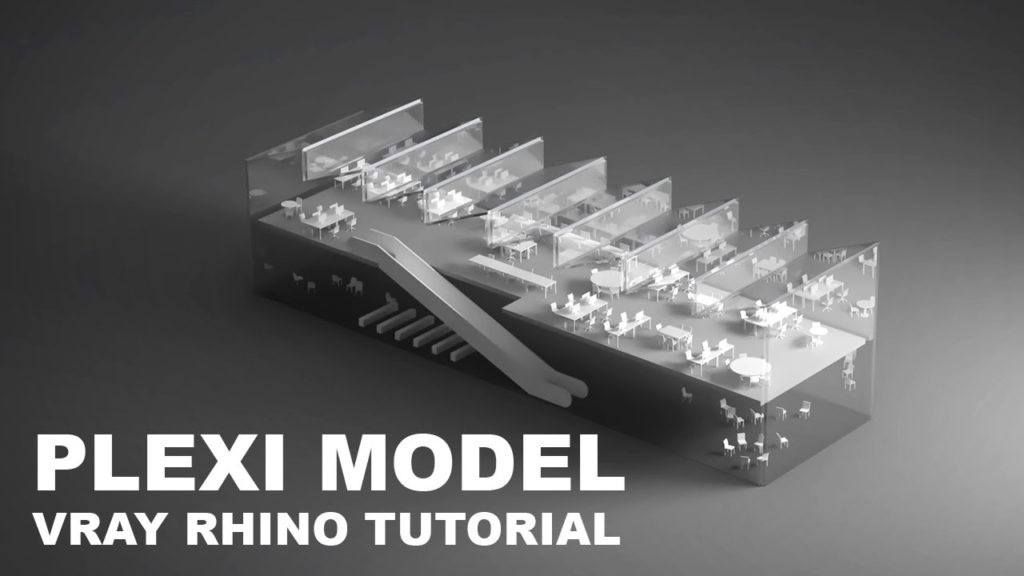
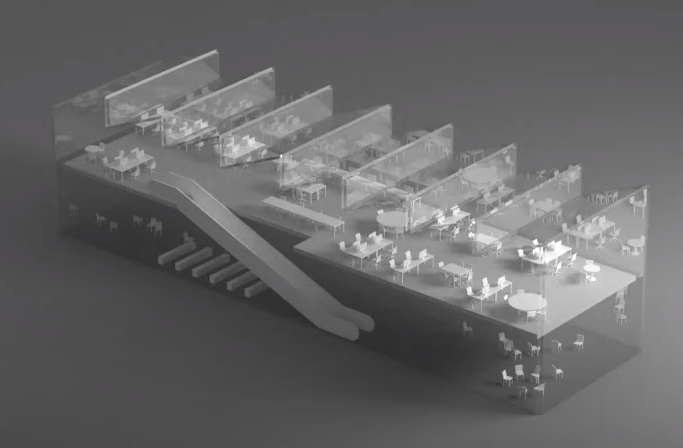
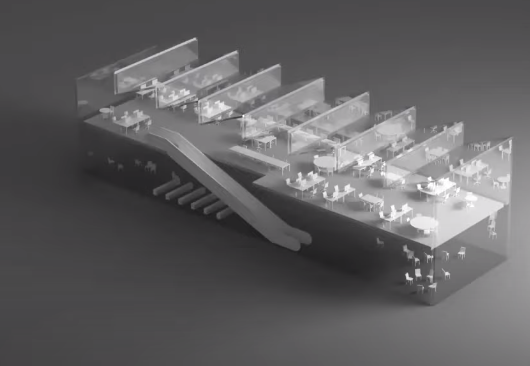
Hey, what’s up, everyone? Welcome back to another classic Archi hacks rhino tutorial. Today we’re gonna take a look at taking this rhino model into this beautiful, rendered plexi model all the way from scratch.
What’s really great about this rendering is that you can literally put this anywhere and it’ll look good ranging from somewhere in your portfolio, your portfolio cover, and even on your Instagram.
Speaking of which if you end up posting this on Instagram make sure to tag us @archi.hacks for a chance to be featured on our account. So without further do let’s get started.
Step 1: Create a Building Footprint and Add Furniture
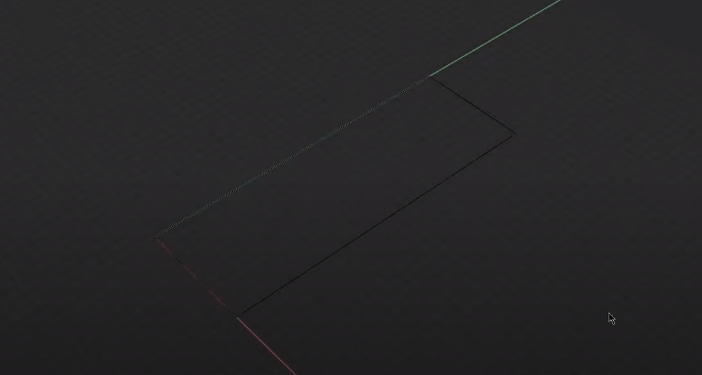
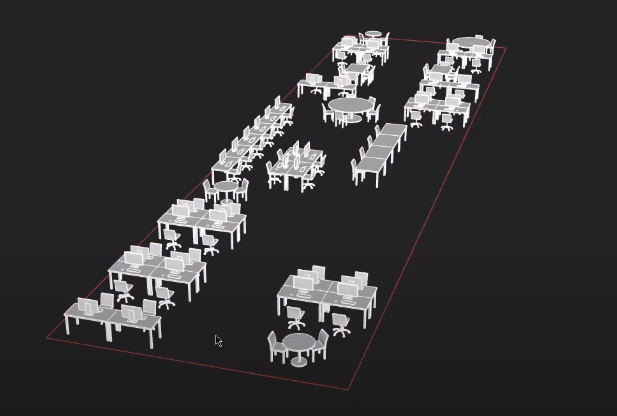
This is going to be a 10 by 30 building. When you’re creating a rendering like this one whether that be a diagram or rendering it might be really handy to have a set of 3d furniture. We’ve recently released these models on our website and if you’re interested in using them in your own projects make sure to check out here to download them.
Step 2: Create Floor Plate
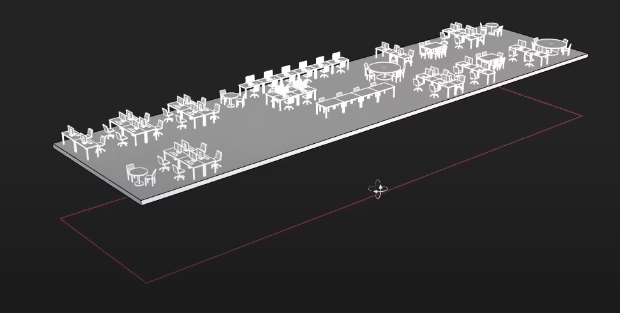
Make sure this is a solid board and then bring it up by five meters.
Step 3: Add Escalator
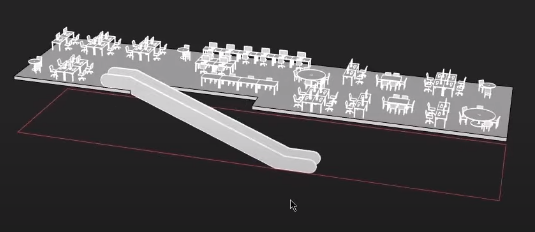
I’m just gonna guestimate the dimensions. Of course, when you’re creating a real project make sure to take the recommended dimensions, for now, I’m going to use 1.1 meters as a railing height.
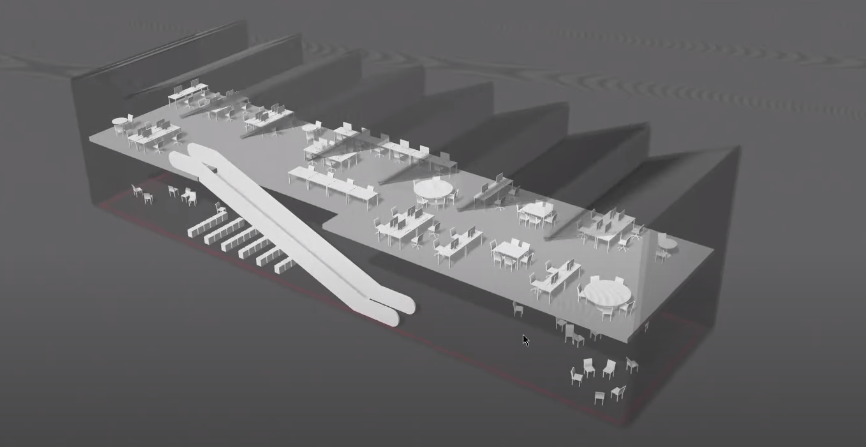
Step 4: Populate the Ground Floor
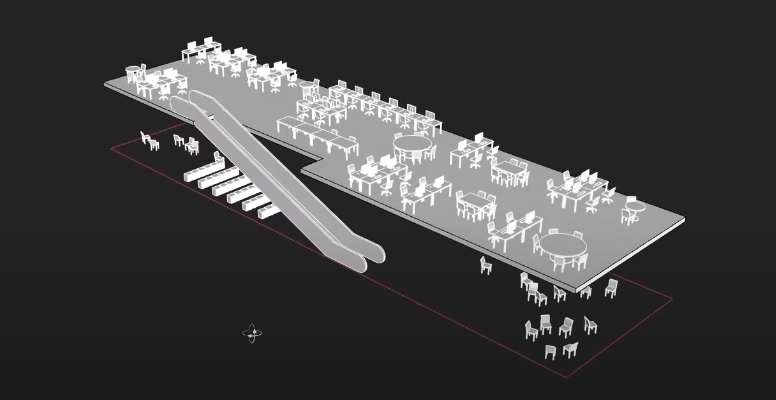
I’m just gonna spend a little bit more time populating the ground floor.
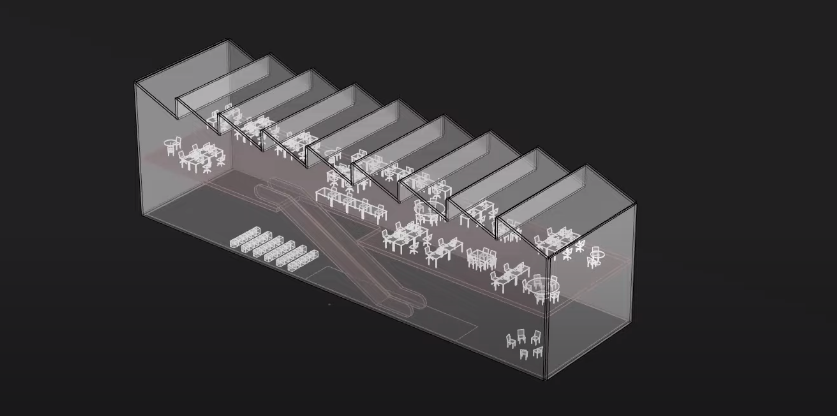
Step 5: Create Envelope
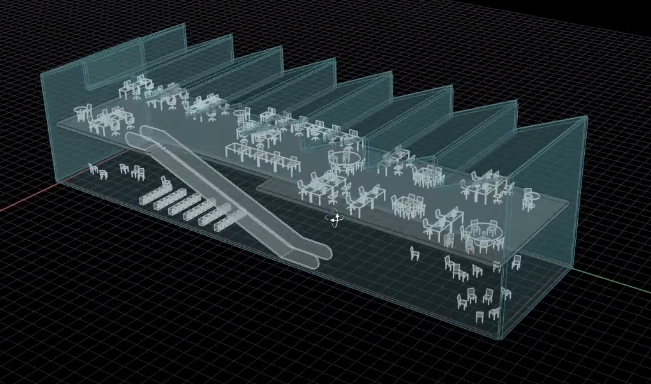
Let me go ahead and create a new layer and call this envelope and on this layer, I’m going to go ahead and go to the side view and start drawing our profile.
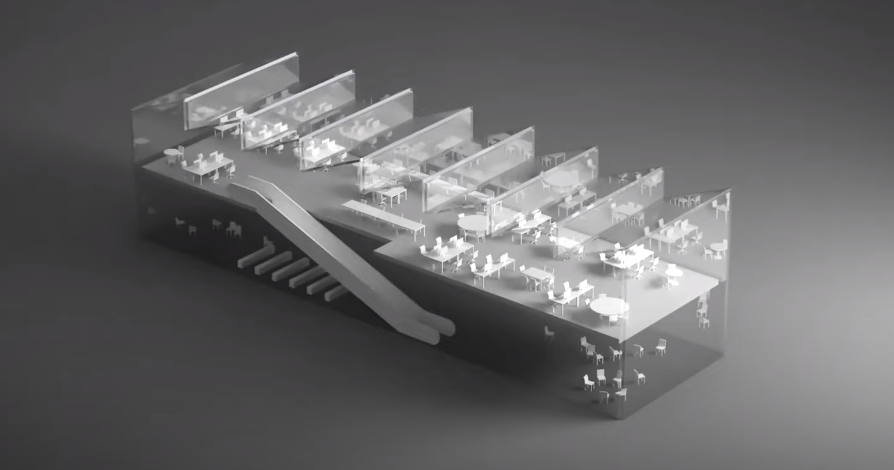
Step 6: Materialization
Now we are safe to move on to materialization, let’s go ahead and open up v-ray options.
Step 7: Create a Light Source
Go ahead and create a line that’s going to represent a rectangular light from a v-ray.
Step 8: Do Color Correction
All right here we are in photoshop let’s go ahead and create an adjustment layer.
There we have it this kind of rendering looks so good. In case you want to watch the full video tutorial you can watch it here:
If you enjoy this type of content, make sure to follow our YouTube and Instagram for more!