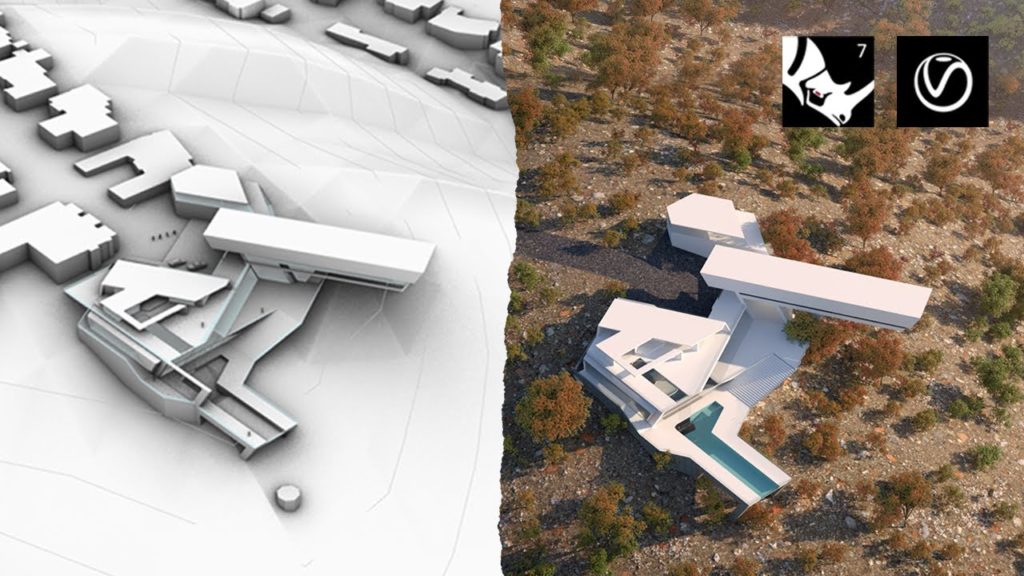
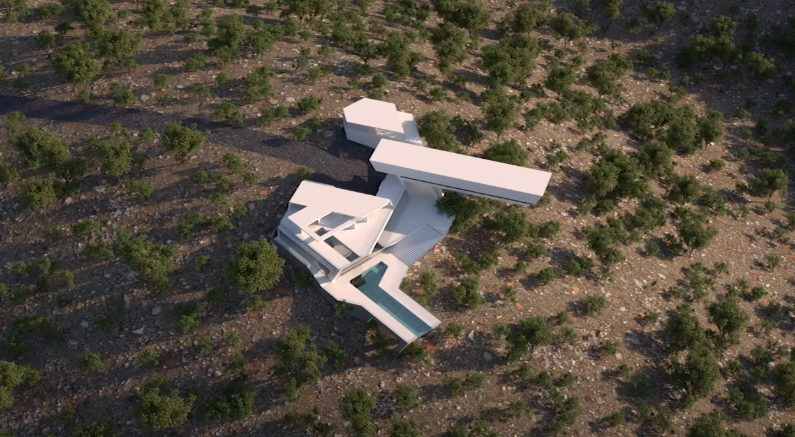
Hello guys! In this tutorial, we’re going to be creating beautiful aerial shots using rhino v-ray and photoshop.
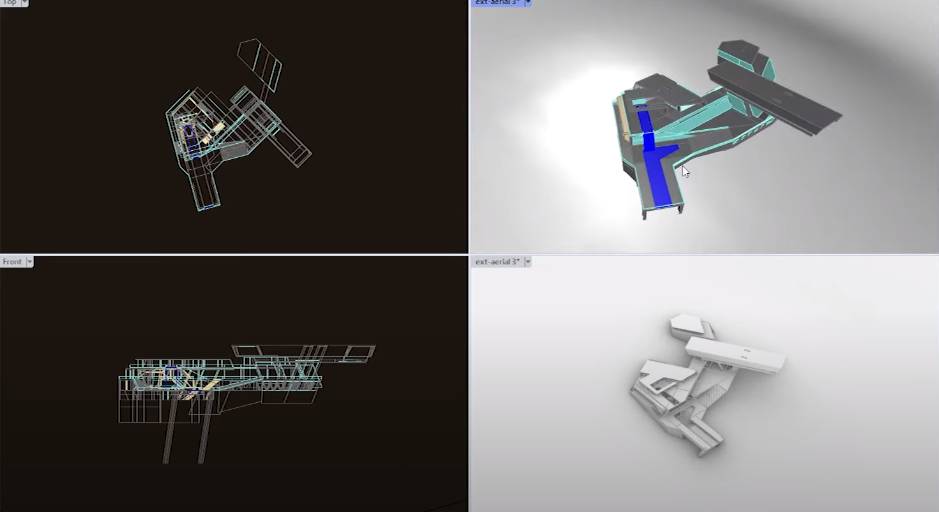
Step 1: Setup the Lightning
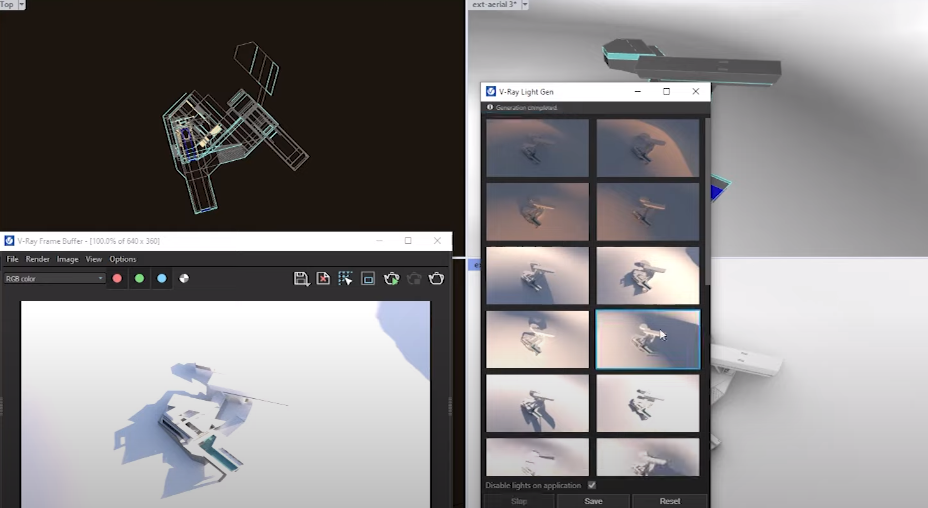
Test out a variety of lighting conditions by using the v-rays light gen tool.
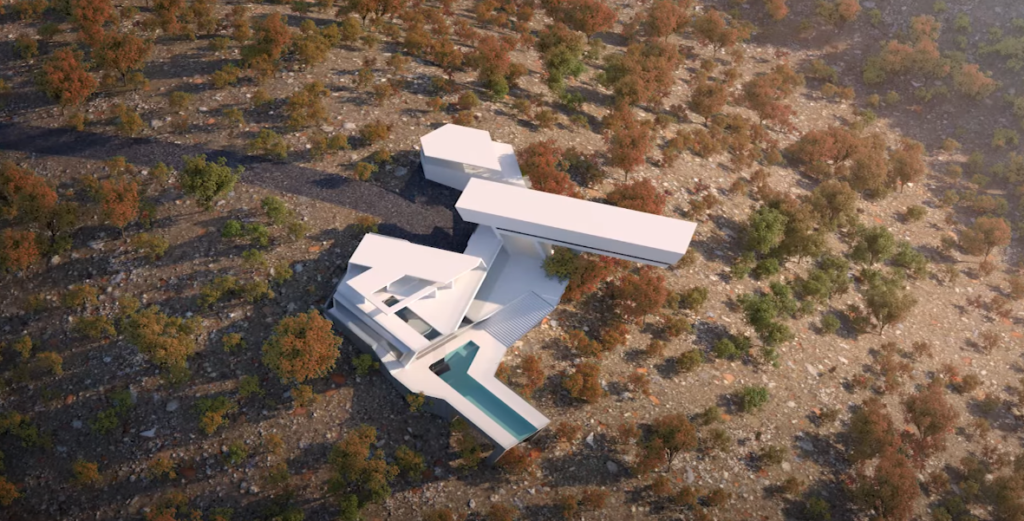
Step 2: Add Vegetation to the Scene
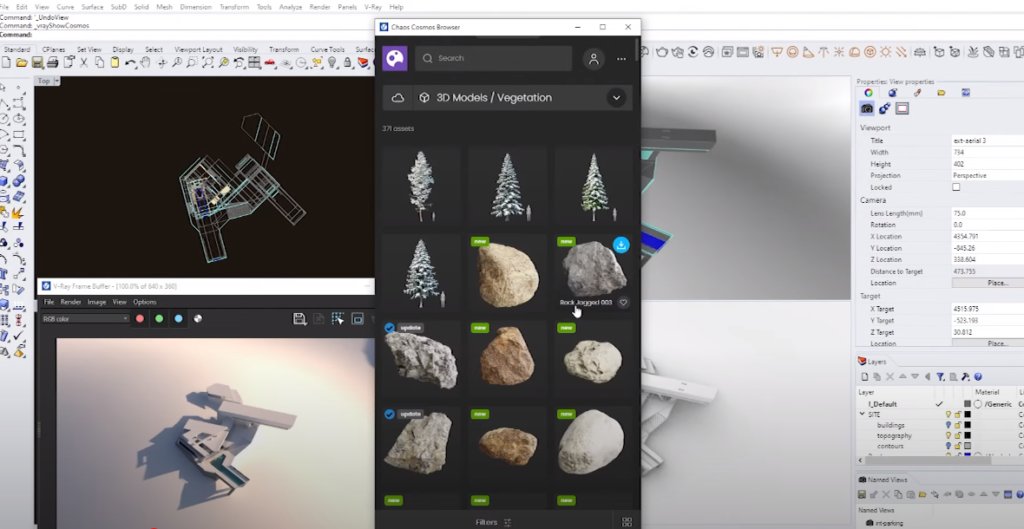
Source the 3d models from the cosmos. The cosmos library is like a very comprehensive list of 3d models and assets that you can simply deploy into your scene and this is great because they make sure all the models are high quality and performant at the same time.
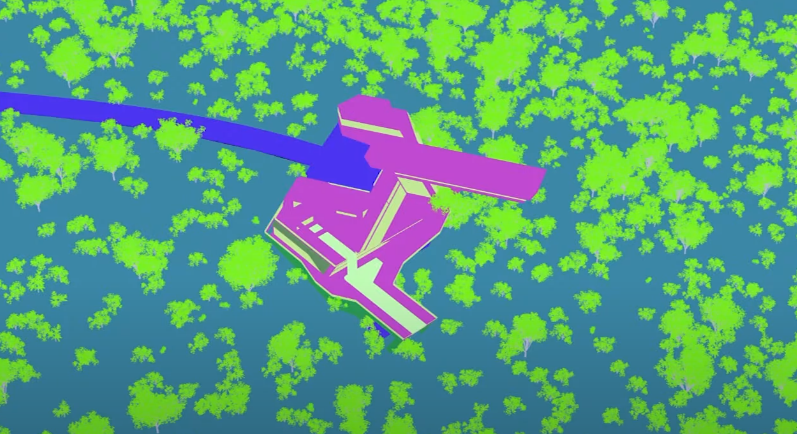
Step 3: Use Scatter Feature
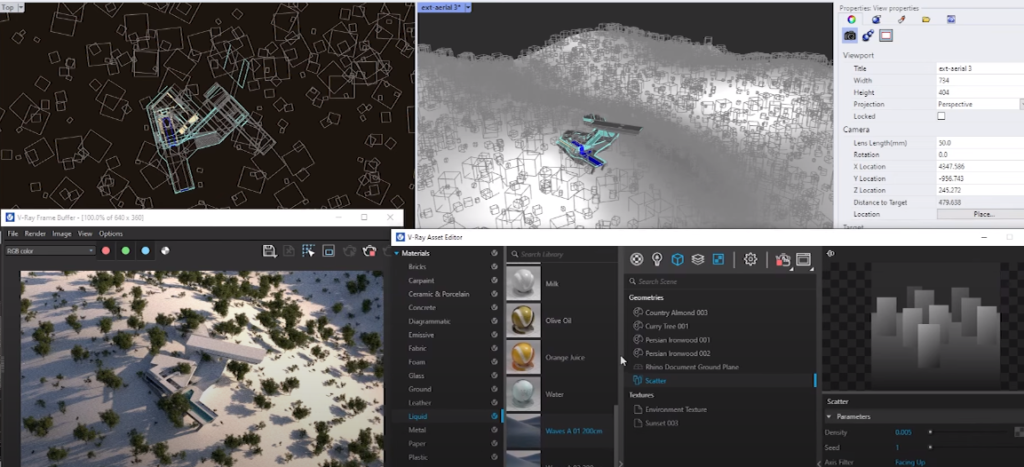
In order to create a scatter your vegetation, you can go over to v-ray asset editor right-click on the geometries or objects, and click on scatter object. The scatter object allows us to bring in some guests and select the trees that we have imported just a moment ago and then once you hit enter and those guests will get added to the scene.
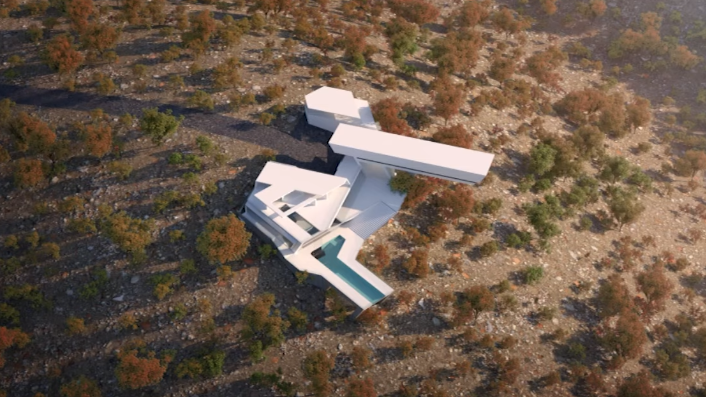
Step 4: Put Proper Ground Texture
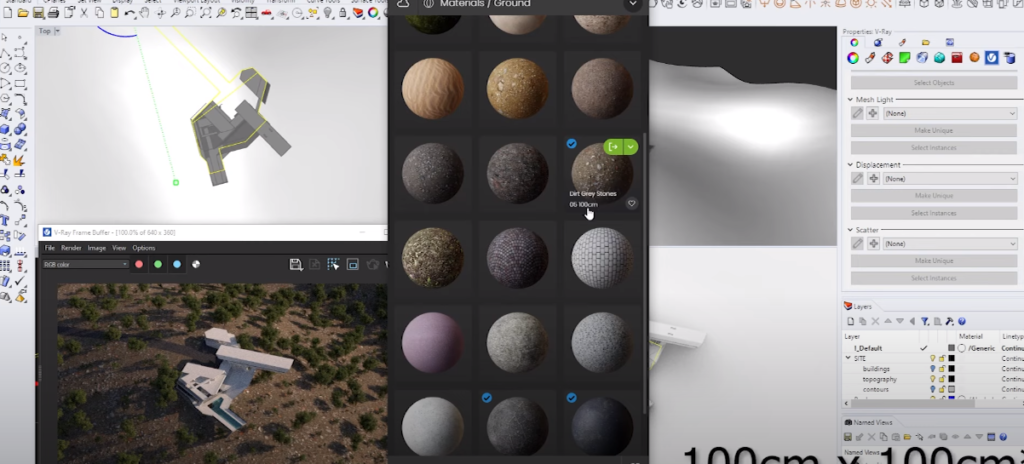
Use cosmos again, and for that go down into the online section then into the materials section and choose ground. Once you have downloaded it to your computer you can simply drag and drop this into the scene and it gets applied automatically.
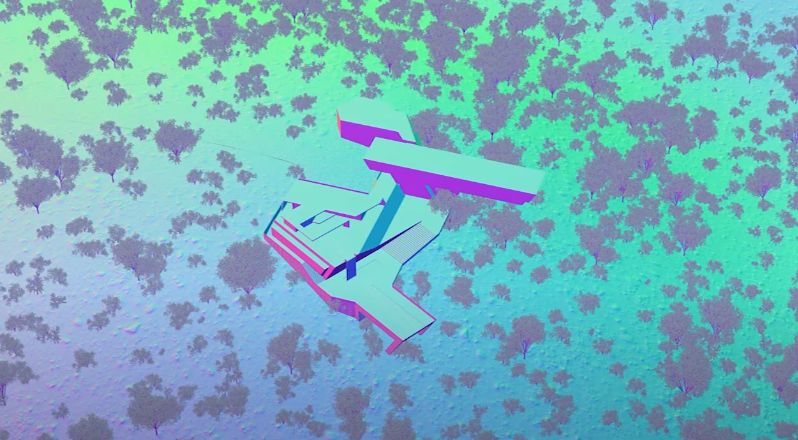
Step 5: Color Correction and Adjust Exposure
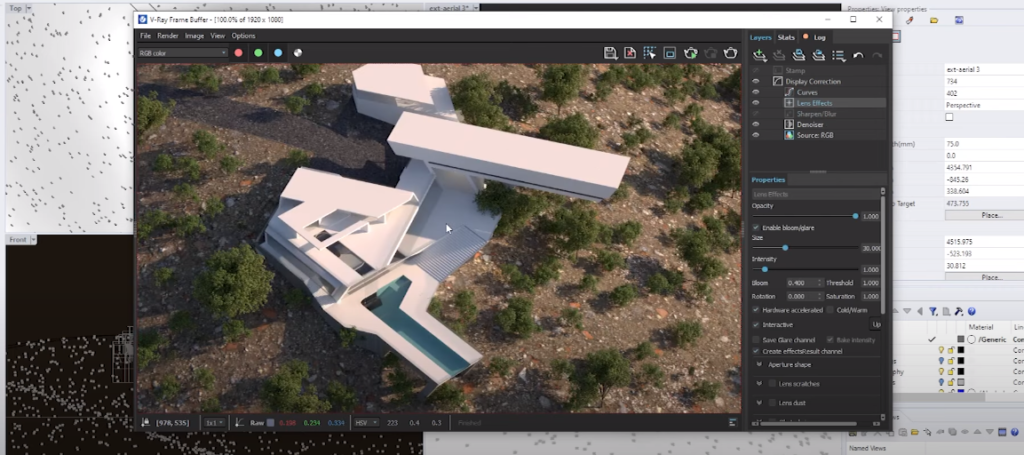
Use the color correction tools provided in the v-ray frame buffer.
Step 6: Import Images to Photoshop
Step 7: Create a Color Adjustment
Go over to the adjustment tab.
That’s it, you have now beautiful aerial shots using rhino v-ray and photoshop. If you want to watch the detailed video tutorial, you can do so here:
Thank you for following this tutorial, if you want to see more different projects make sure to follow our YouTube and Instagram for more content!