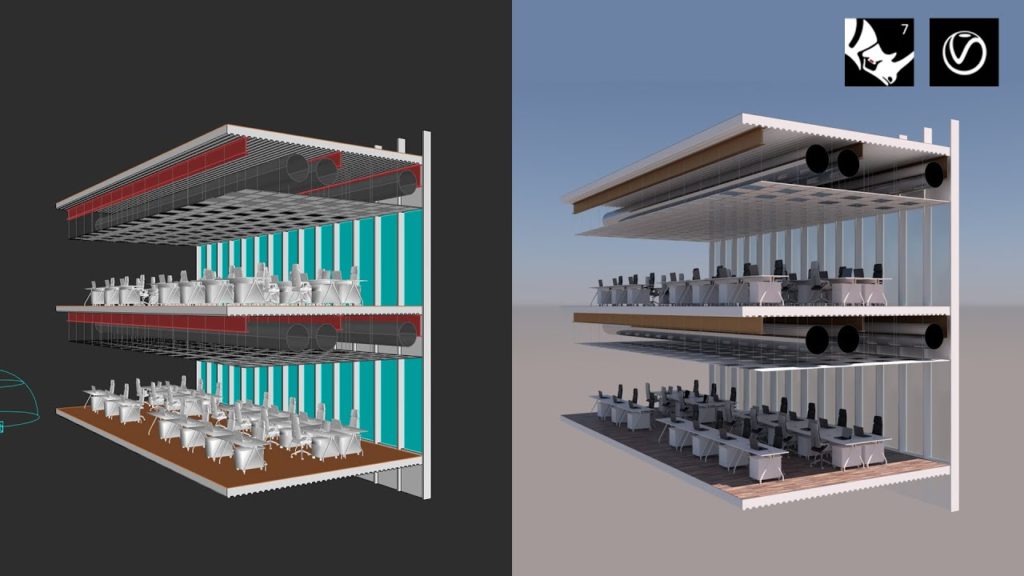
Hey what’s up guys welcome back to arky hacks! In this tutorial, we’re going to take a look at creating this beautiful perspective section rendering using rhino and v-ray.

Step 1: Check the Units are Correct

Type in options and go into units and change to meters for the time being.
Step 2: Create a Placeholder for the Floor Plates
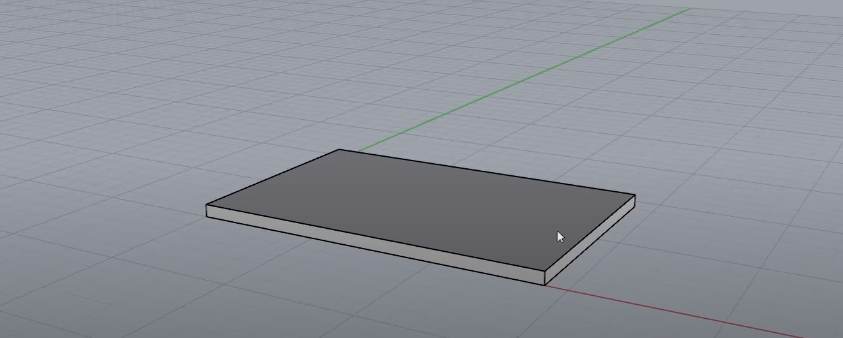
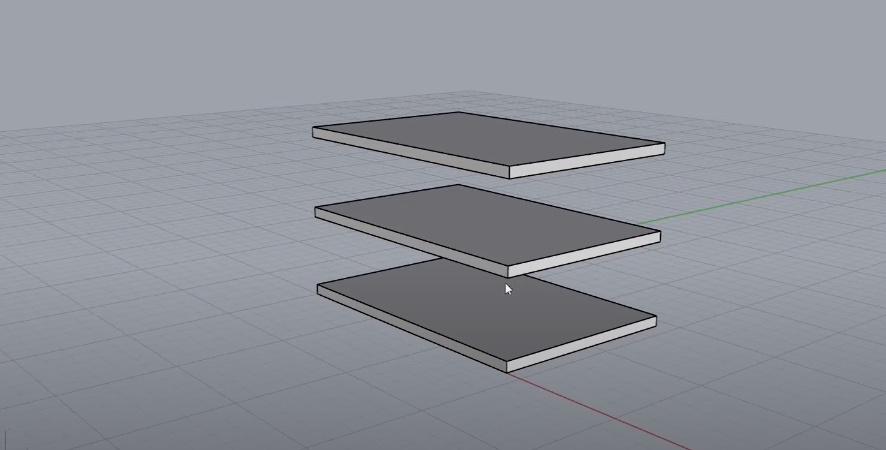
Create some boxes to serve as a floor plate and add three layers.
Step 3: Create Facade
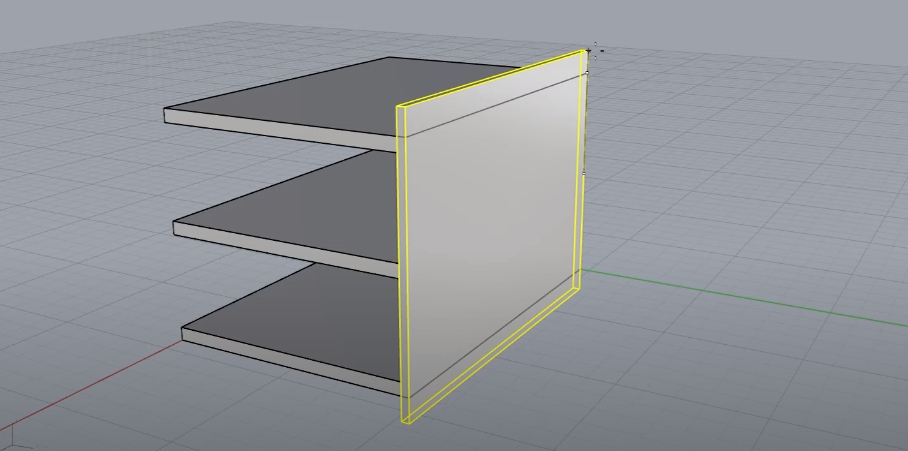
Put up a facade that is going to be on the other side. Extends it a little bit further using scale 1d.
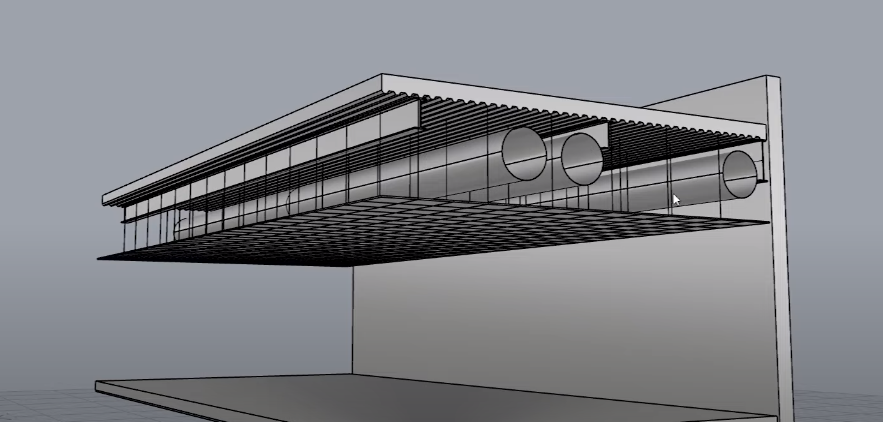
Step 4: Create a Corrugation at the Bottom


Use a polyline tool to start drawing the corrugation.
Step 5: Draw Some I-beam
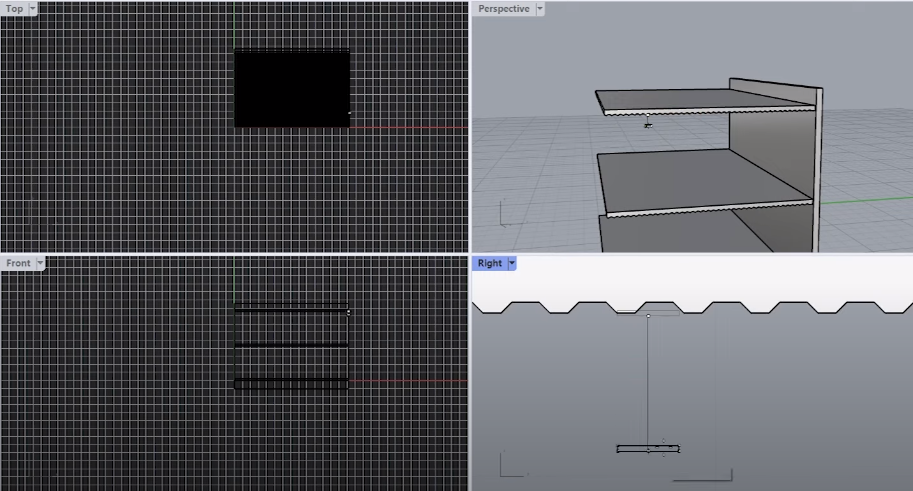

Use array and make three copies in the y direction. Make sure the last one almost touches the end and the last i-beam is a little longer.
Step 6: Create Pipes
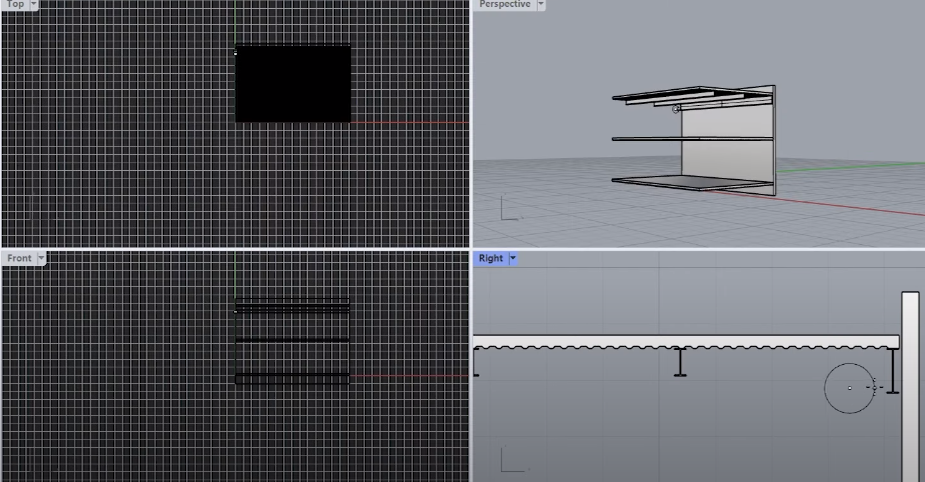
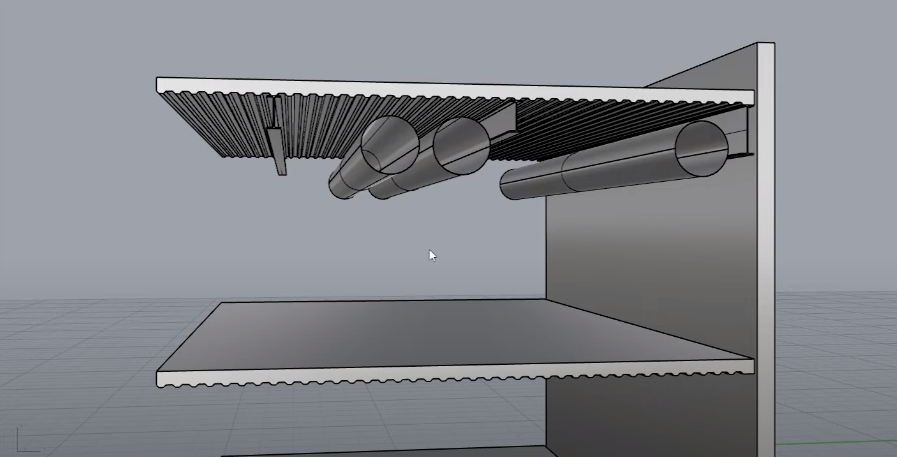
Use the cylinder command and start drawing the pipes.
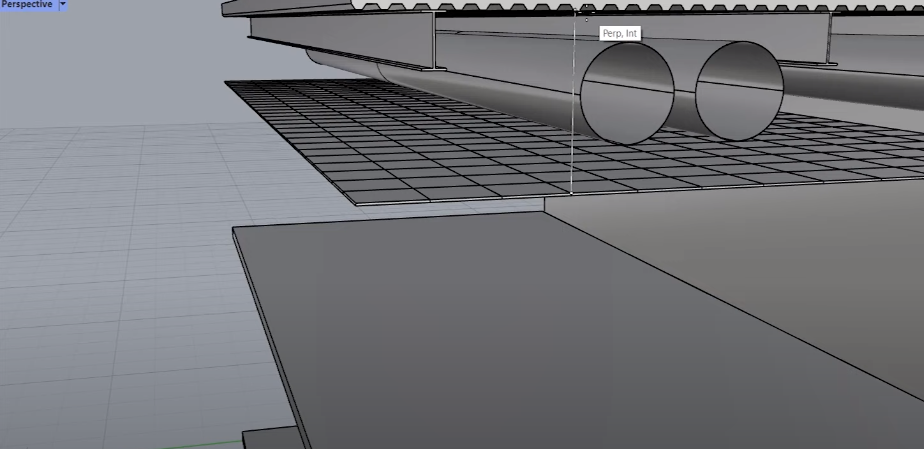
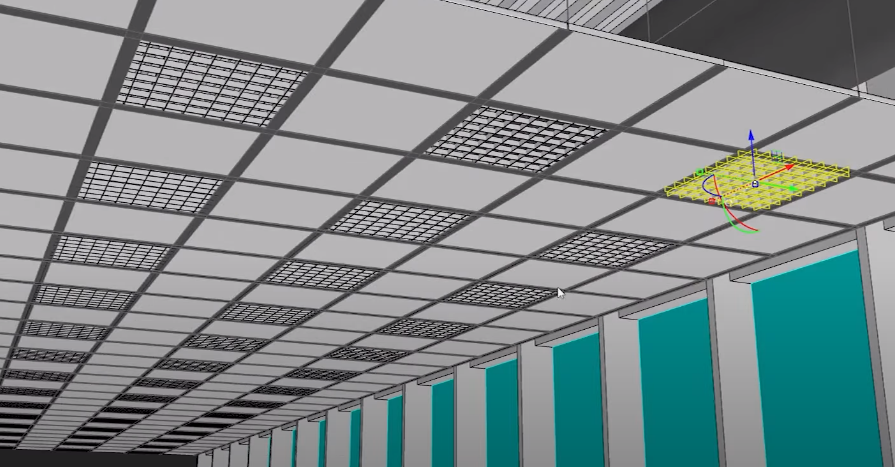
Step 7: Create Drop Ceiling


For the ceiling tiles, create one that is around half meter by half meter then add a slight thickness to it. Array this to kind of fill up the space by using array curves then make several copies. Bring the tiles up to the ceiling.
Step 8: Create Ceiling Ties
Create some more cylinders and this time it’ll be hanging from above for the radius with the two millimeters and then make it extend all the way to the ceiling.
Step 9: Furnishing
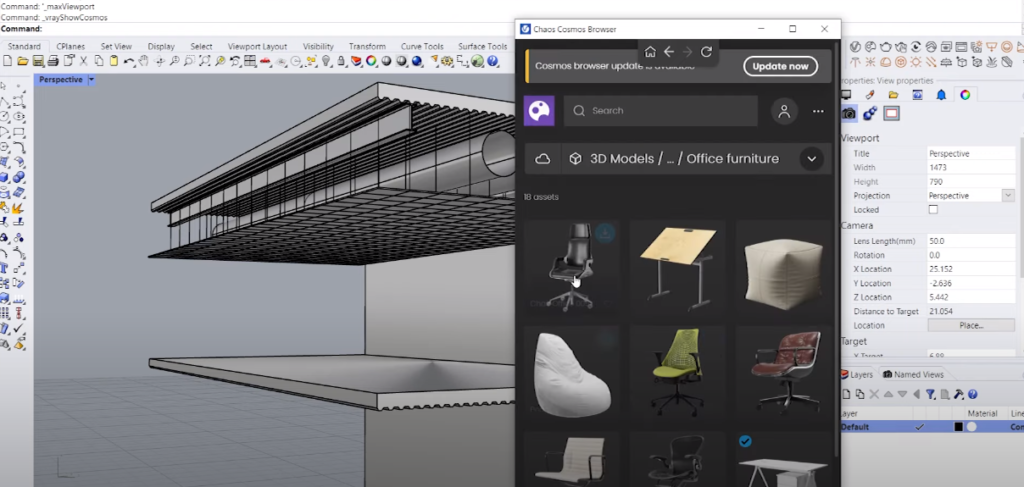
Grab some office furniture from the v-ray cosmos library.
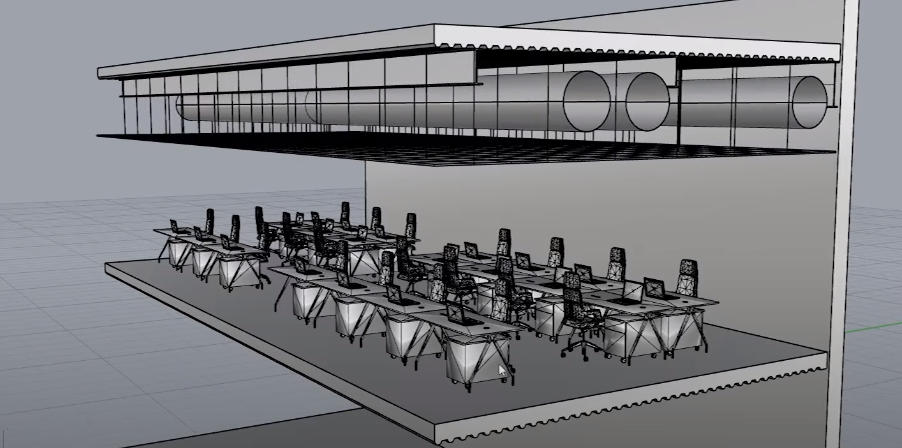
Step 10: Make a Copy and Put it Downstairs


Grab everything up to the flooring (except the slab) and put it right downstairs.
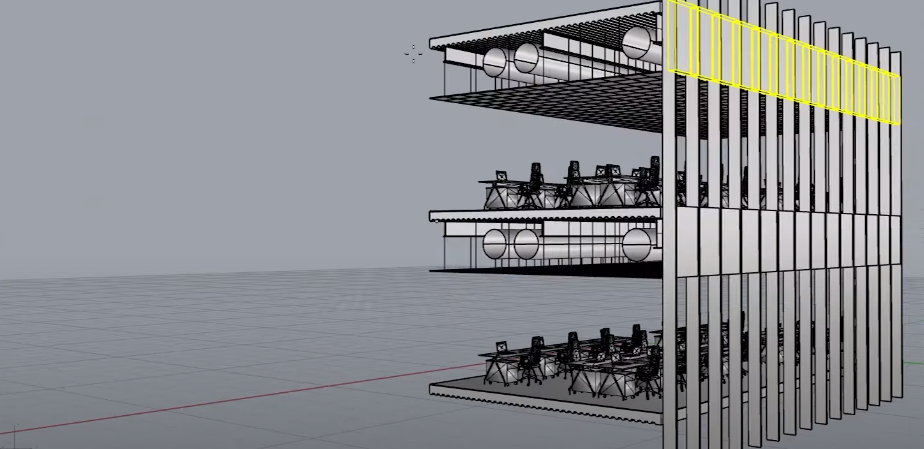
Step 11: Create Window

Grab the wall that was created earlier and shrink it down, make this about five centimeters at least and then array them meters apart.
Step 12: Add Showdow Box for Mechanical Area

Create a box to cover that part up, use the array curves technique again to create copies.
Step 13: Add Glass
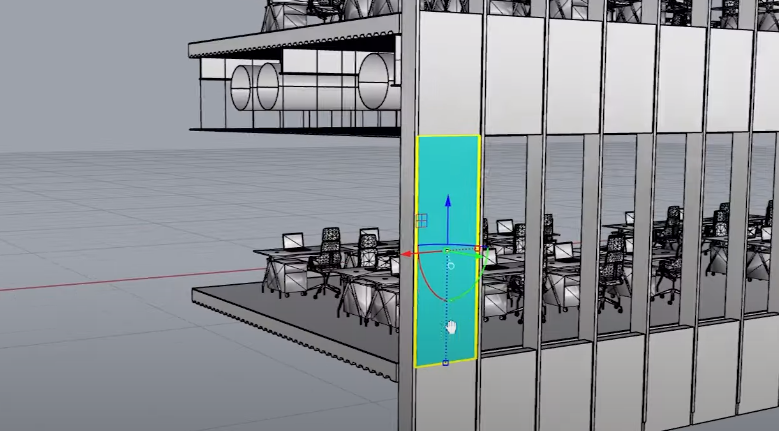
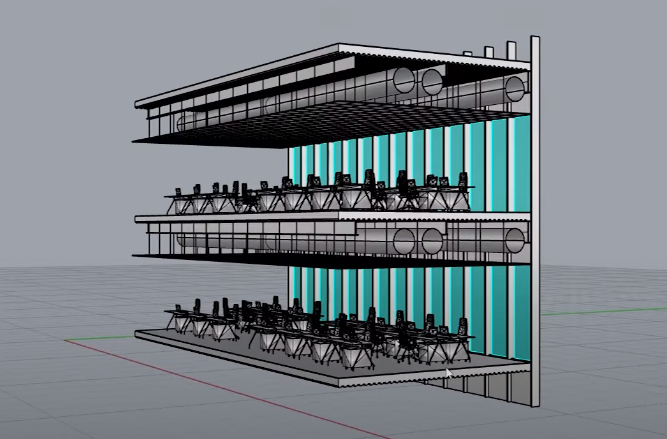
Start separating these into different layers and make this into a cyan color so it can be seen. Create a box and on the outside like so shoot it all the way up. For the thickness of the glass make it around one centimeter then make another copy to emulate the double glazing effect. Once that is ready use the array curves technique again to fill in the spaces. Select all the glass elements and make another copy upstairs.
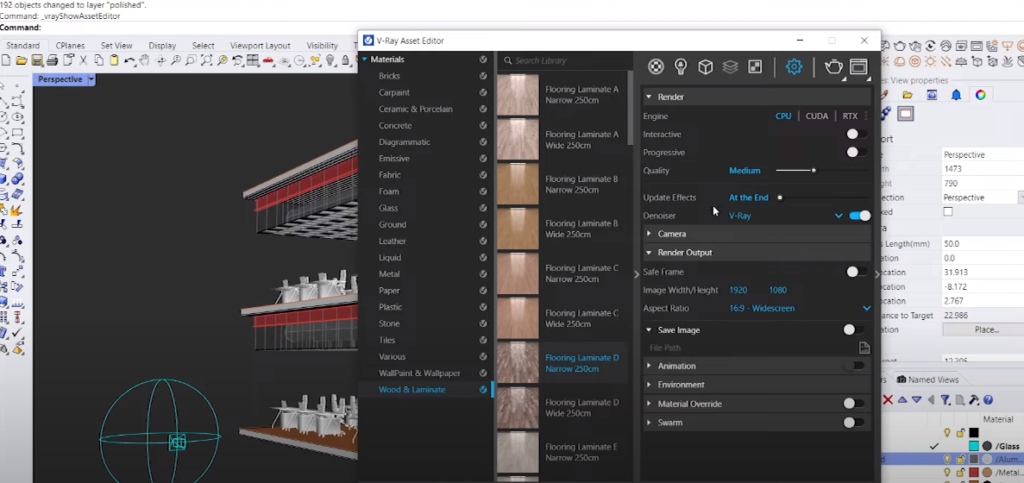
Step 14: Adding Texture


Open up the v-ray asset editor and open up the material library to grab some materials (like glass, metal, aluminum polished, woods, etc.).
Step 15: Lightning Setup

Use the v-rays light gen tool to explore a variety of lighting setups.
Step 16: Ceiling Detailing
Creating the railings that support the tiles and some panels should be taken out to be replaced with lighting elements.
Step 17: Final Render Setup
Start up a v-ray tab and increase the render quality.
There you go you can now have a beautiful rendering. As you can see with v-ray and rhino you can create these kinds of detailed section perspectives in a relatively quick and easy way and the result is super impressive. I hope you guys learned a lot about improvising with complicated models. If you want a detailed video tutorial watch it here:
If you found this article useful, be sure to subscribe and follow us on YouTube and Instagram for more beautiful projects!