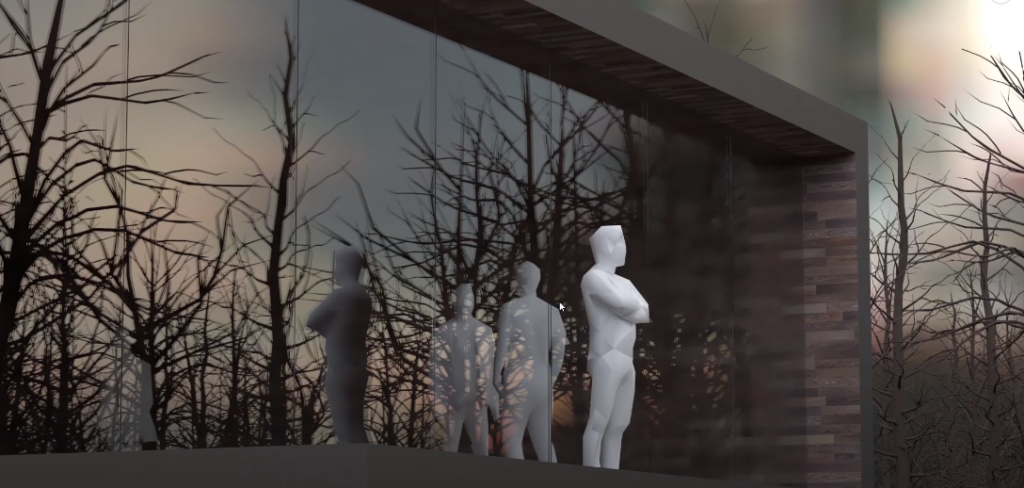
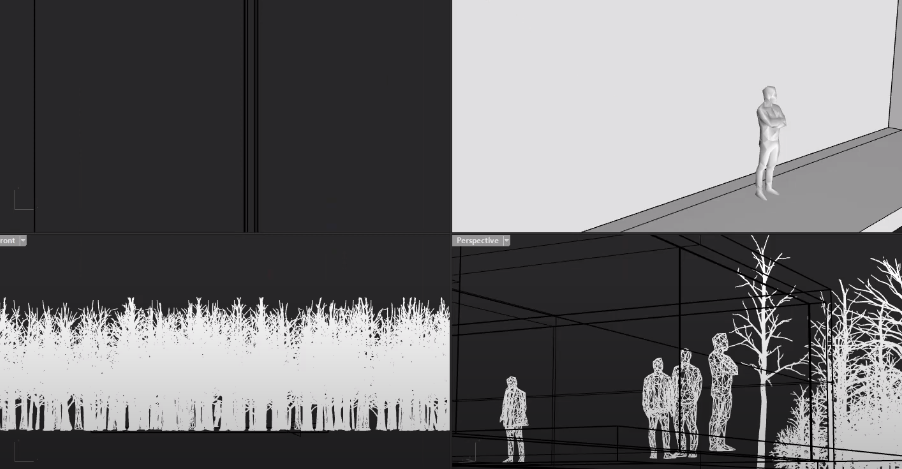
Hi guys, in today’s tutorial we’re gonna take a look at creating a realistic looking glass using v-ray. I’ll show you how to create this beautiful glass pavilion in the forest.
Step 1: Create Plain
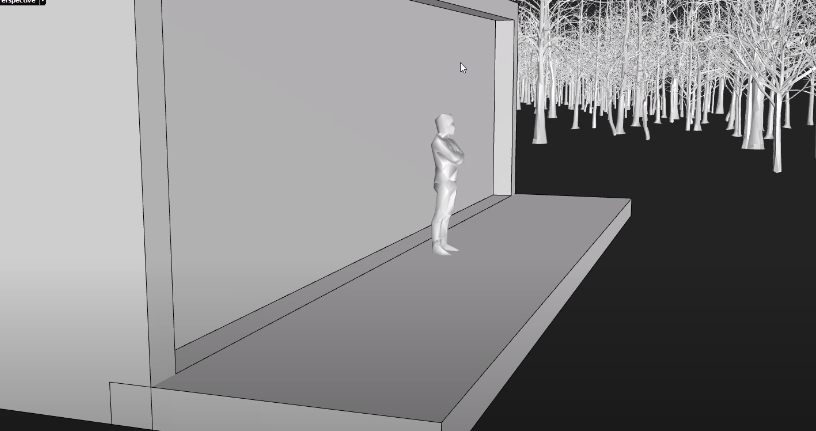
Create a simple plain by choosing vertical and letting it span all the way across.
Step 2: Add Glass Material
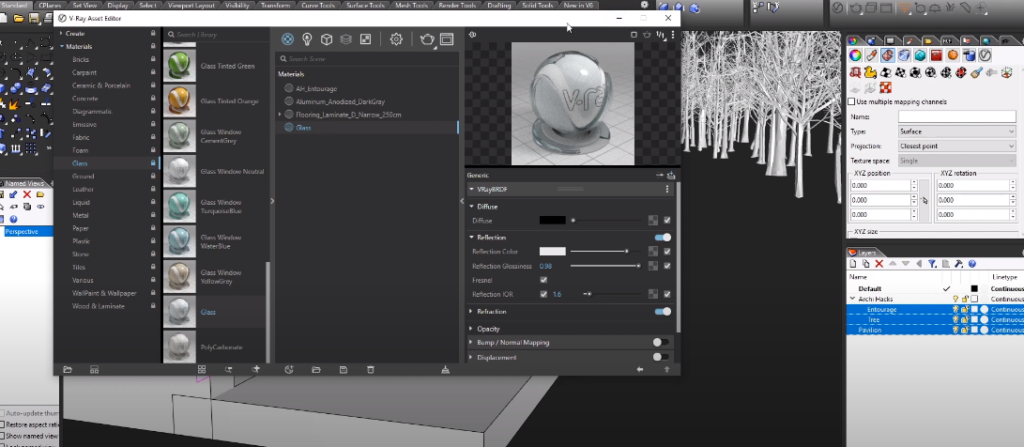
For today’s demonstration, I’m just going to scroll down all the way to the graph glass material and add simple glass with no additional settings.
Step 3: Set Glass Thickness
Type command extrudes the surface. The thickness we should be using is the actual glass you want to represent.
Step 4: Create Mo Lian Lines
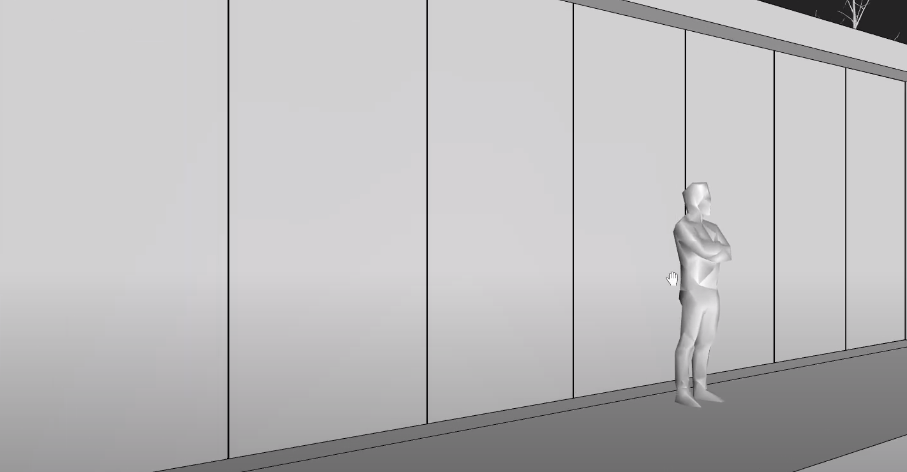
I’m going to do is to scale these down to the correct size using scale 1 D to scale the length of glazing down to about 1.5 meters so that is about 1,500 millimeters and I’m going to simply array this a number of times but I’m gonna add a one-centimeter gap between them to kind of simulate the caulking in between so I’ll type in array in X we’ll have 1 let’s start with 10 in y direction and 1 and Z and for spacing, I’ll be using 1500 and 10 millimeters in between.
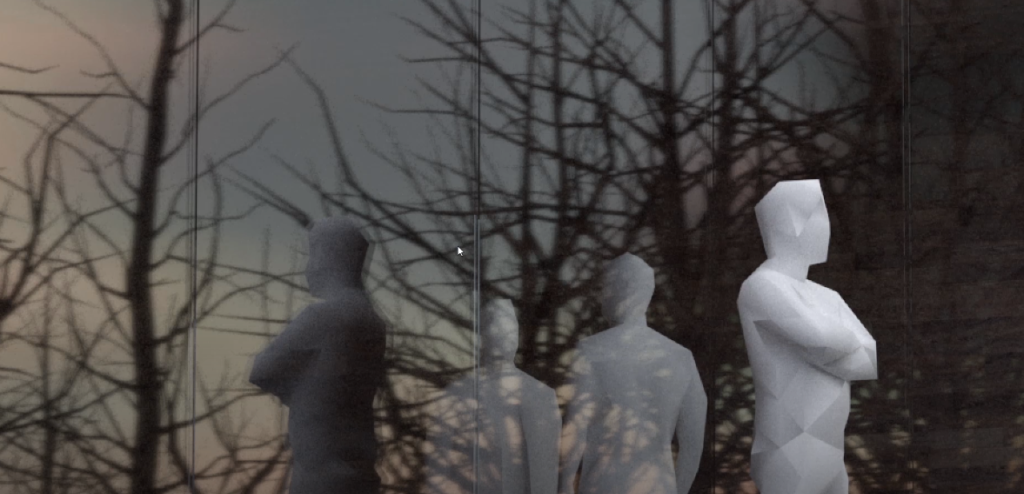
There we go there’s our perfect glazing with double reflection and nice and thin million lines, I hope you guys enjoyed this tutorial. In case you want to watch the full video tutorial you can watch it here: