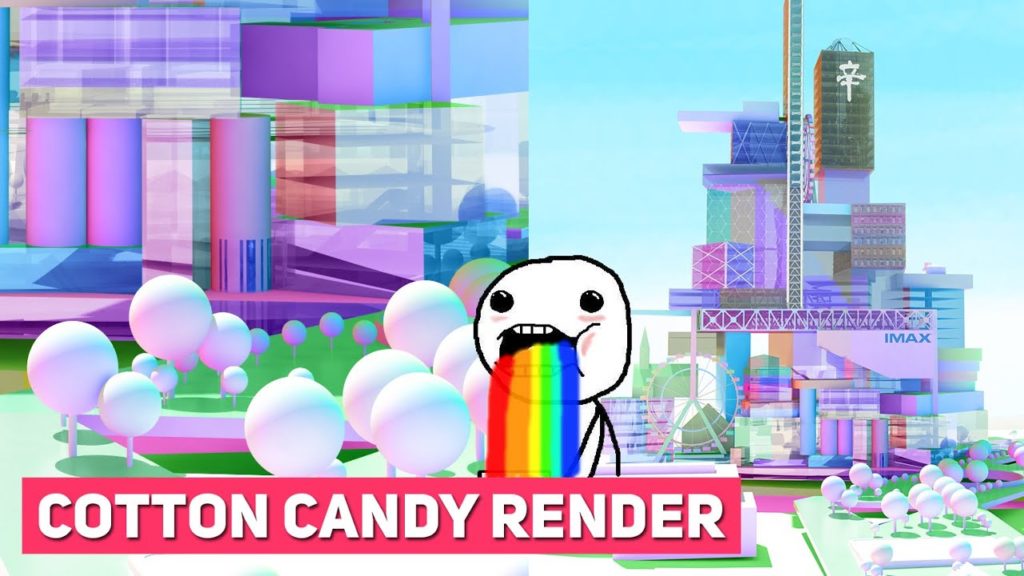
Hey everyone welcome back to another exciting tutorial, today we’re going to take a look at creating this beautiful cotton candy rendering.

I’m going to be using rhino and v-ray but I’m sure there’s a way to do it with your own 3d software and render engines so let’s get started!
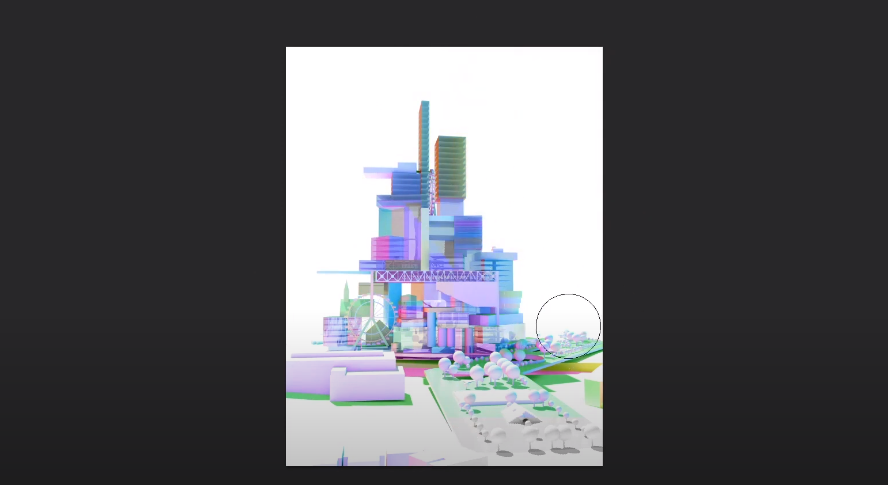
Step 1: Add Geometry Normal and Render ID
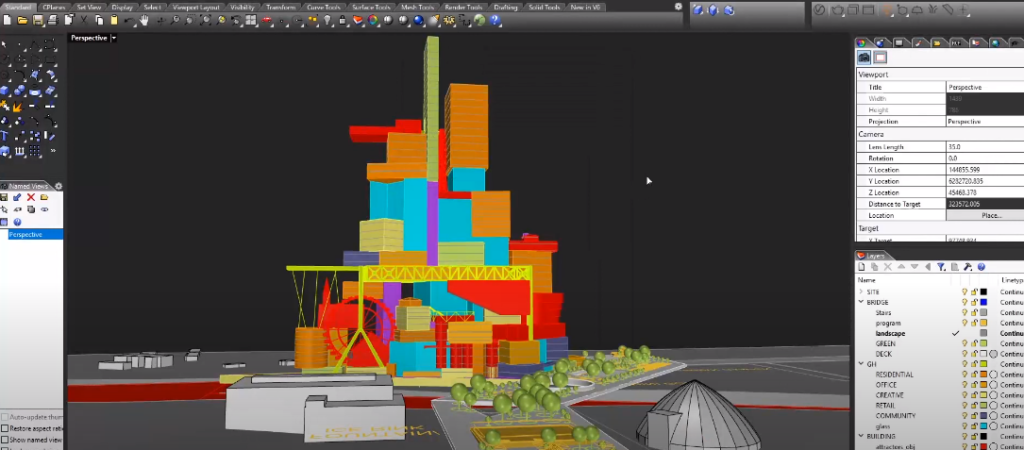
So we’ll first start by opening up your model in your desired 3d software and then open up your render settings, there are two rendered channels you need to add one is the geometry normal and the second is the render ID. Once everything is set up I’m gonna type in render and let it render for a little.
Step 2: Save All Channels
Once the rendering is complete you need to make sure to save all the different channels instead of just the RGB.
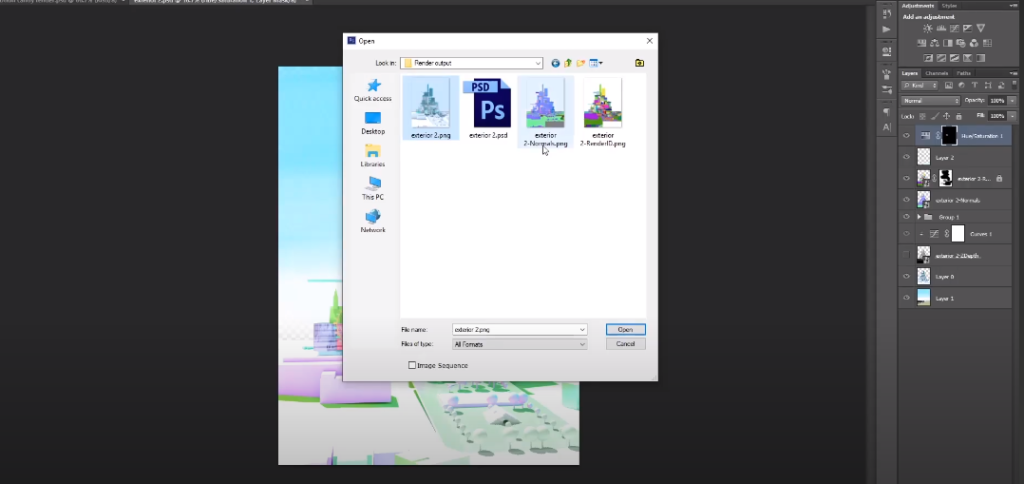
Step 3: Turn on Blending Mode
Once that is complete I’m gonna be opening them up in Photoshop so initially, they come in separately so all you need to do is drag them out into a separate window and then drag and drop them holding down shift so that they fall into the right places now once that is done I’m going to put the RGB at the bottom and turn the other two channels into color blending mode.
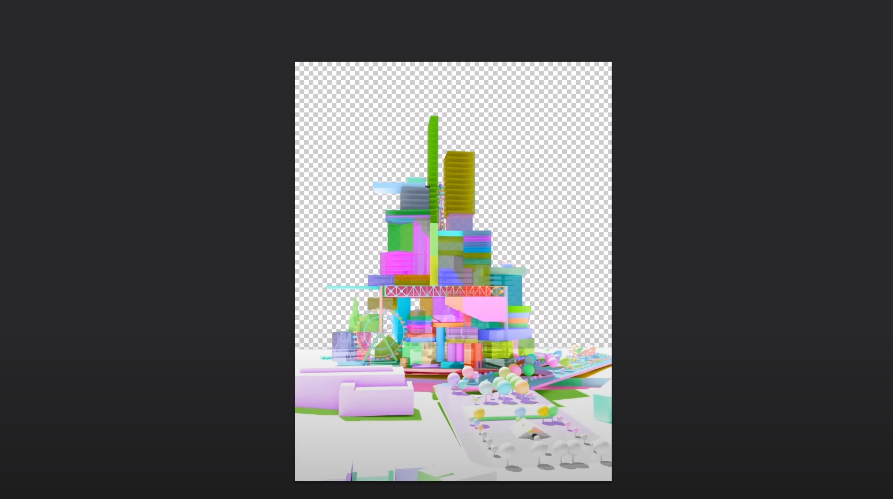
Step 4: Add Black Mask
I’m gonna take the render ID layer and put add a black mask to mask everything out and then selectively bring some portions back to add more colors back into the scene.
Step 5: Bring in Some Background and Texture
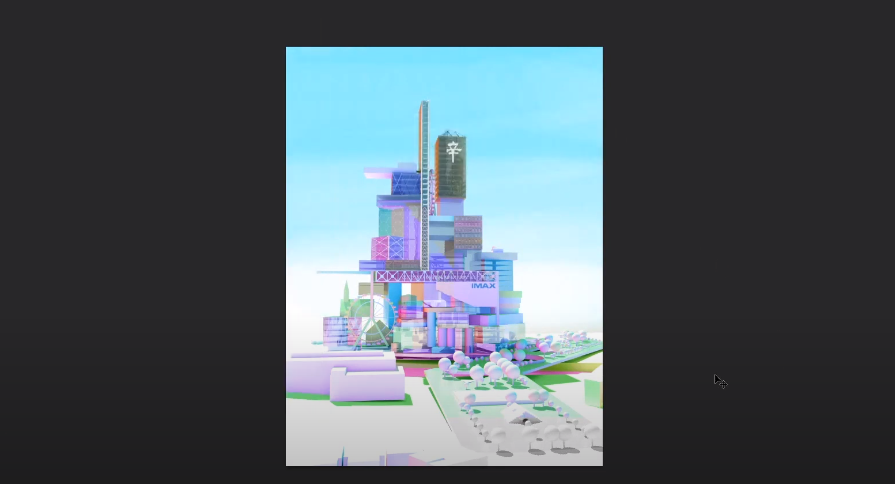
Once that is done I’m gonna bring in some backgrounds and textures that I’ve made earlier and the background.
And that’s about it it’s super quick and easy. If you want to watch the full video tutorial you can watch it here:
Be sure to check out our YouTube and Instagram where we gonna be uploading a lot more bite-sized tutorials like this.