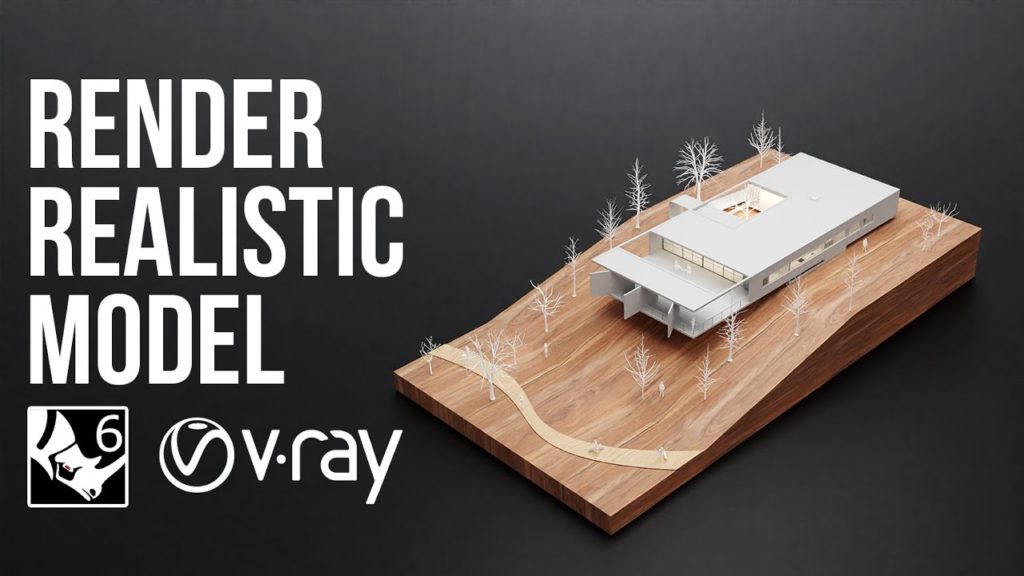
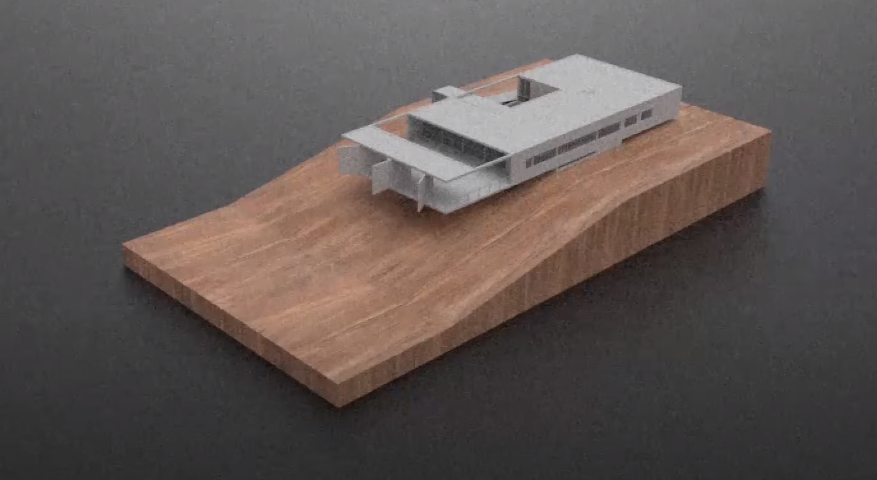
In today’s tutorial, we will be turning this Rhino model into this beautiful realistic rendering covering adding this nice and soft shadow light from the inside of the building as well as a quick tip with texturing that can be applicable in almost any situation.
Step 1: Open Project
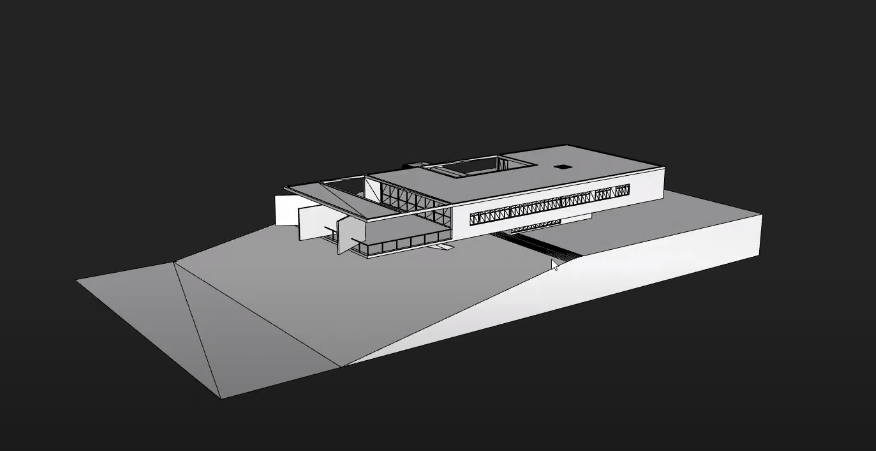
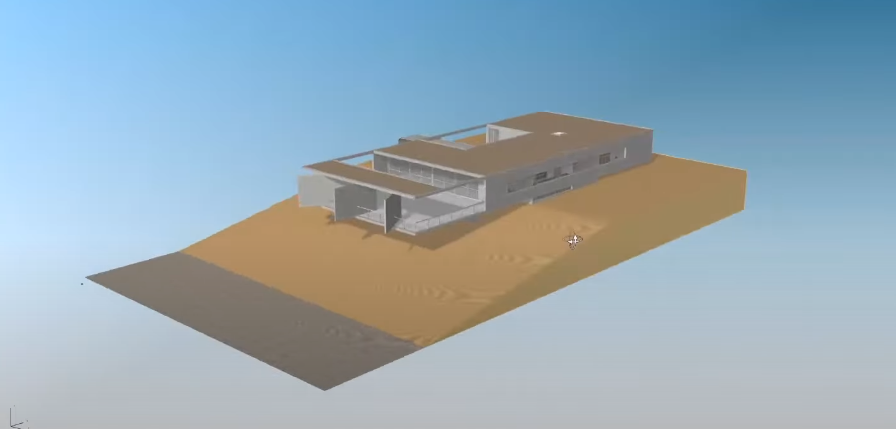
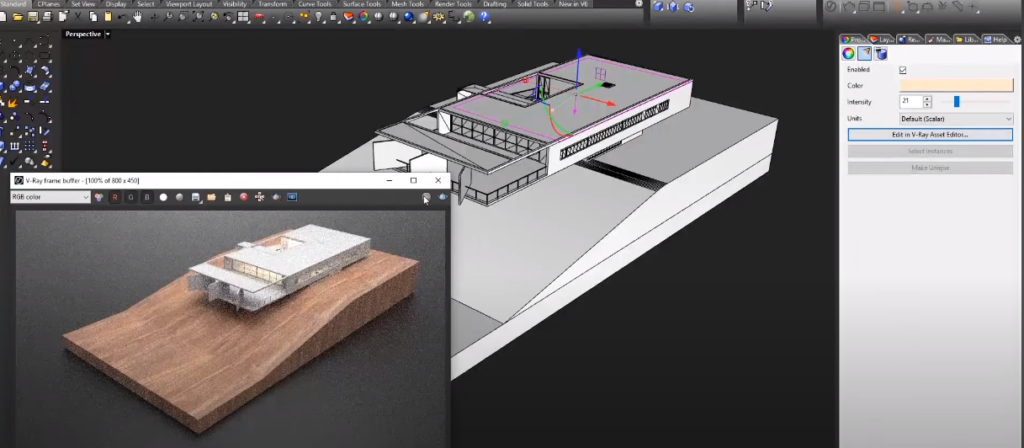
We’ll start by simply opening the project file. Now, what we get is the 3d model and rhino, now one thing we need to keep in mind is that this model comes in a mesh so all the snaps don’t work anymore so just make sure to enable vertex snapping in order for you to model smoothly.
Step 2: Create a Podium
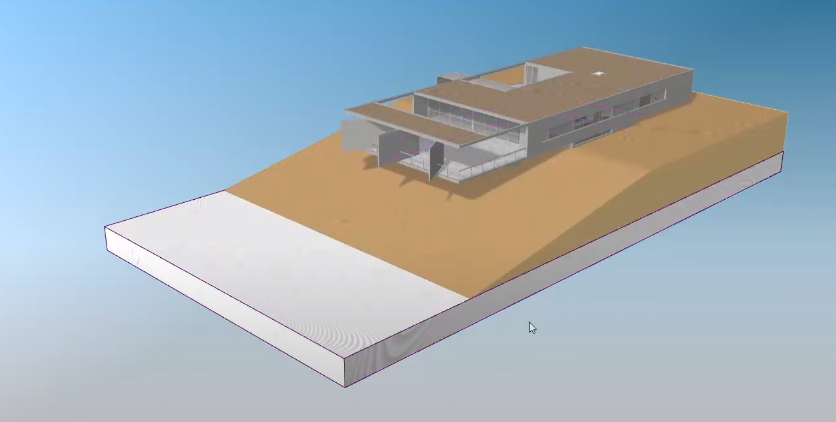
Type in box and drag from one corner to the other to create a thin podium like that and then I’ll just use scale one D and then extend this out a little bit
Step 3: Apply Material
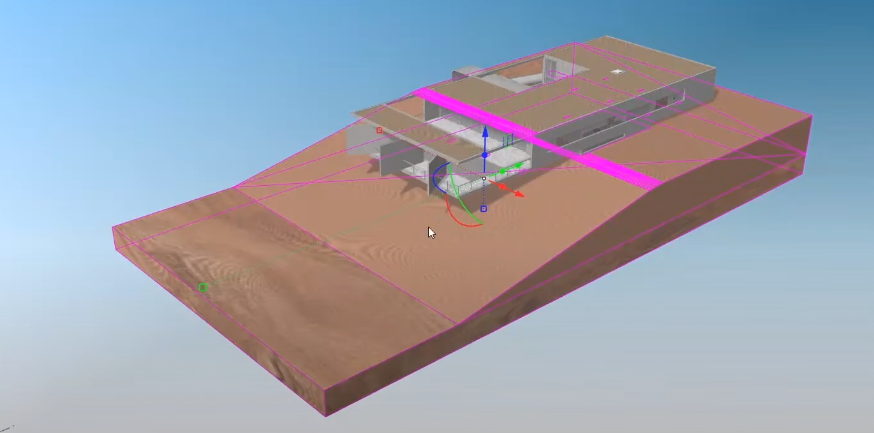
Now I’ll select both the extended podium as well as the ramp and apply material from the v-ray asset editor. We’ll go to the default material library will use laminate a01 so to import this I’ll just simply right-click and choose apply to selection this actually applies the material and adds it to our material palette.
Step 4: Texture Mapped
Make sure that the texture is mapped correctly, so as you can see in the preview the base is a lot bigger than the top so we’ll go ahead over to the texture mapping tab and choose apply box mapping.
Step 6: Adding Plain
Now we’ll go ahead and add some more life into the scene, so first off I’m gonna be adding some plain bit of like a tabletop on which this model is resting.
Step 7: Adding Lightning
I’m going to be adding more intense lighting and it’s gonna be done by using the rectangular light tool in v-ray.
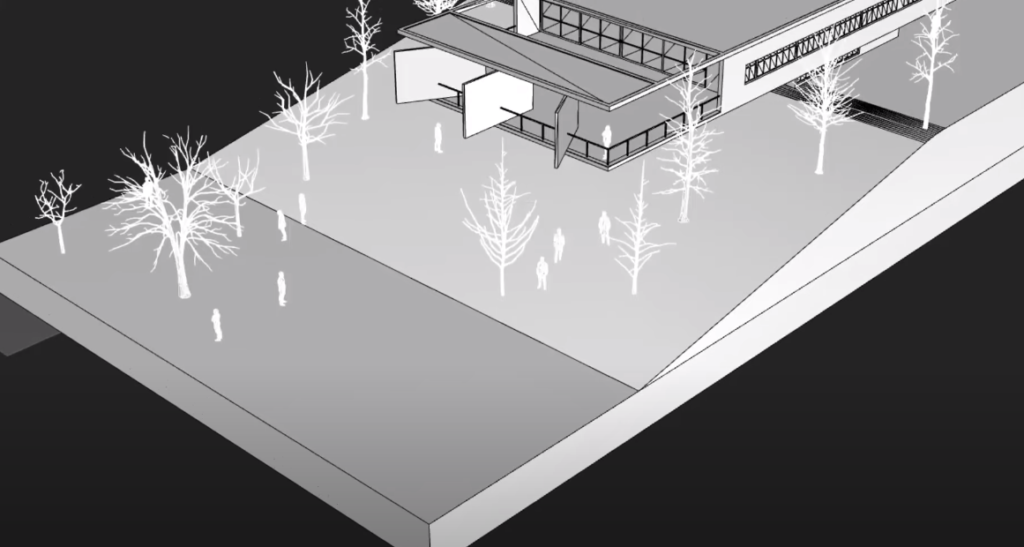
Step 8: Adding 3D People and Tress
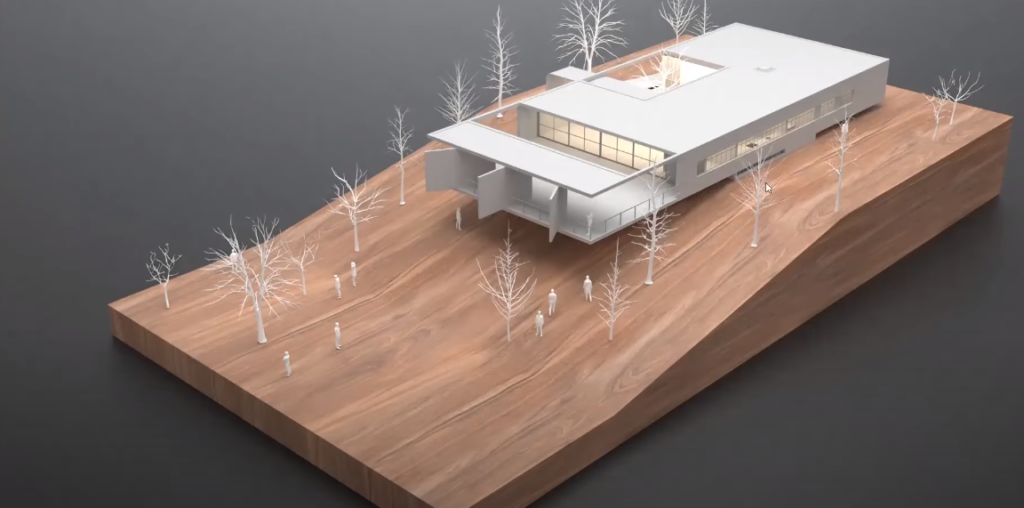
For today’s demonstration, I’ve just imported Archihacks 3d people and 3d trees, you can get these from the website here. One great thing about these models is that they come in three types one is the original mesh, the proxied version as well as the blocked proxy.
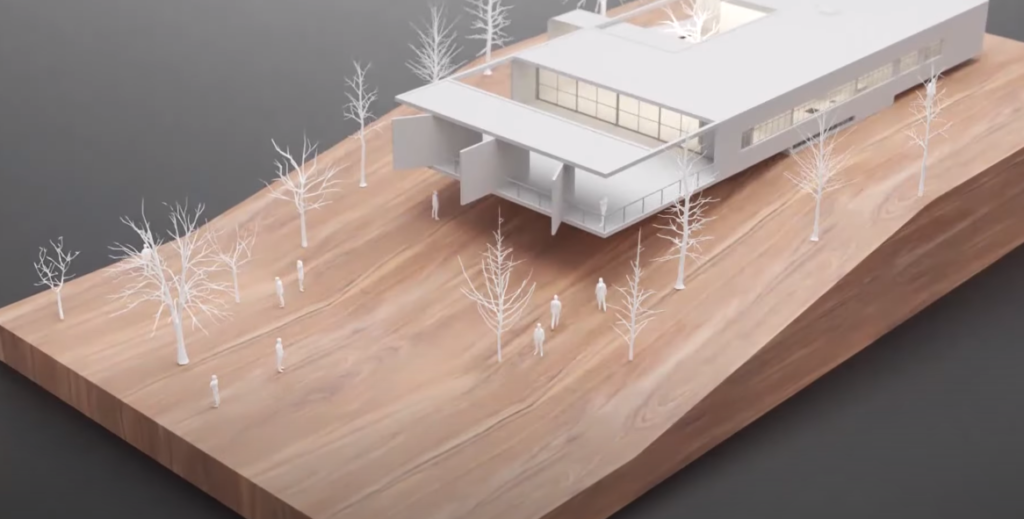
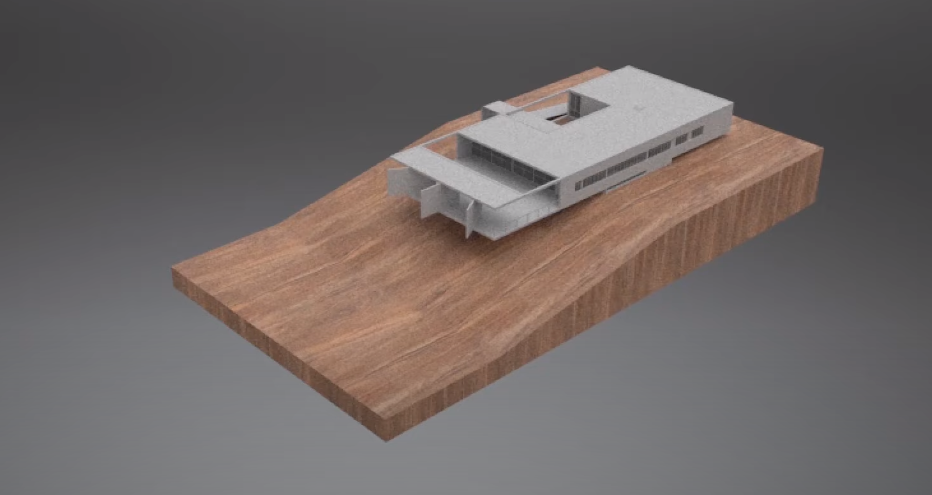
The scene is ready for final render so I’ll go back to our v-ray settings and I’ll choose not interactive and not progressive setting with the low quality and with Nvidia AI, the difference between the two is that in video AI is a lot faster but a little bit less accurate and v-ray takes a bit more time but it gives you a little bit more crisp the details so choose for your own purpose. And for output, we’ll keep it at 1920 by 1080 and choose render and there’s a result now we have this nice and soft shadow throughout the whole model and we also have nice little people and trees populating around the building. The building is well-lit from the inside which makes it look an extra bit more lively.
In case you want to watch the full video tutorial you can watch it here:
If you find this tutorial helpful make sure to follow our YouTube and Instagram for more content!