
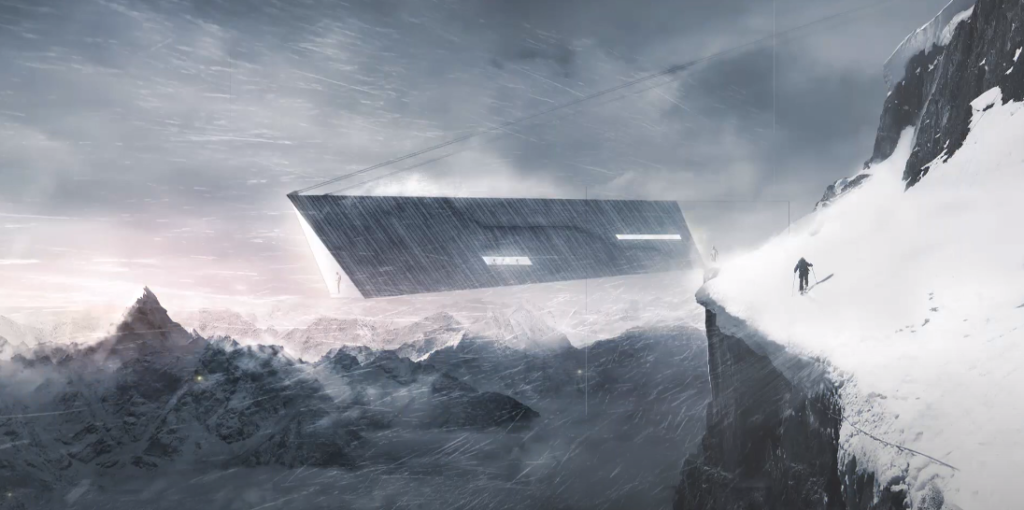
Hello guys in today’s tutorial, I’ll walk you through on how I created this Atmospheric winter rendering. This rendering is comprised of four simple parts, the background creates the setting, the foreground sets the stage, the building becomes the actor, and then finally the effects that blow the audience away.
Step 1: Create Lodge
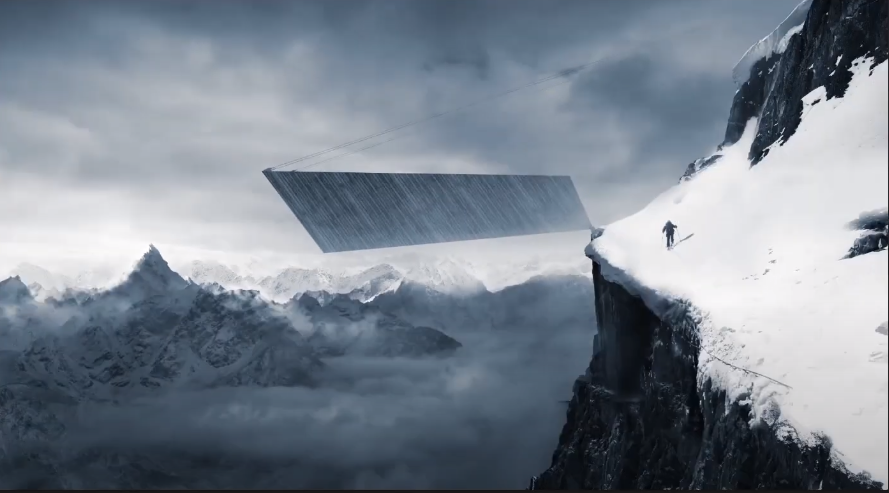
Create a Lodge that is suspended in the air with a footprint of only one meter squared that’s why the building is kind of hanging off the cliff like that so we basically got to sketching so this is actually literally the beginning point where we started the whole thing.
Step 2: Add Background
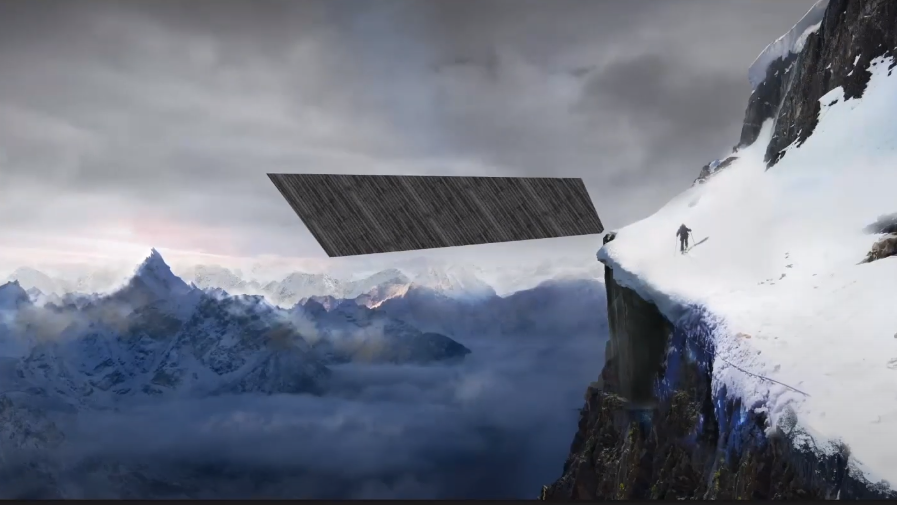
This is basically a collage of different images that are found online. Basically the background is comprised of two elements one is the foreground element which is the part where the building is directly hanging off of and the other part is the vast Vista that the building is looking down upon so both elements have to be extremely well executed.
Step 3: Do Color Correction
The trick that we’re using to ensure that our collage looks good is by turning it black and white. Once that is done we’re adding this hue and saturation layer to add the color back.
Step 4: Add Connection
The second important part of the building is the connections so we’ve added these subtle connections that tie the building back to the mountain.
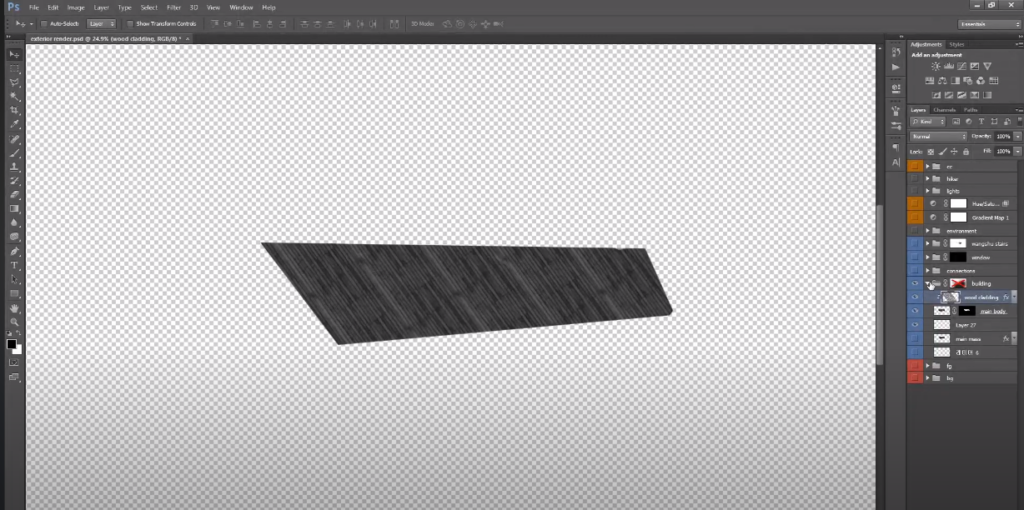
Step 5: Add Windows and Exterior Staircase
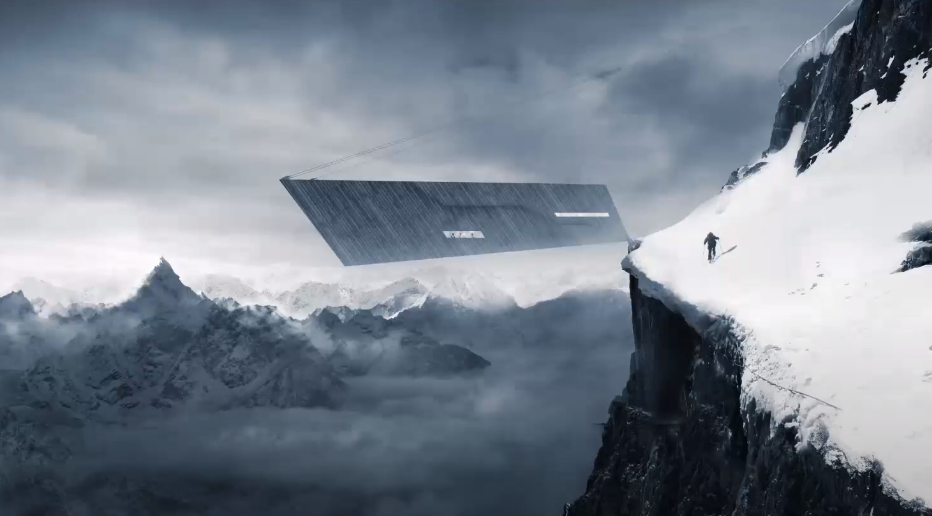
The windows the end these images are simple boxes with some pixelated images in the back and some cutouts of people on top and then exterior staircase that goes at the top on the outside.
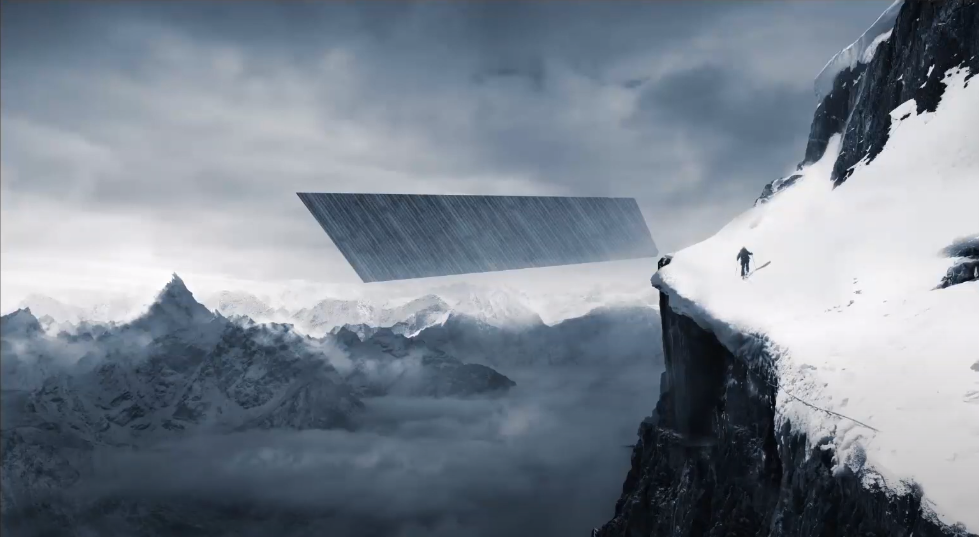
Step 6: Add Environment Effects
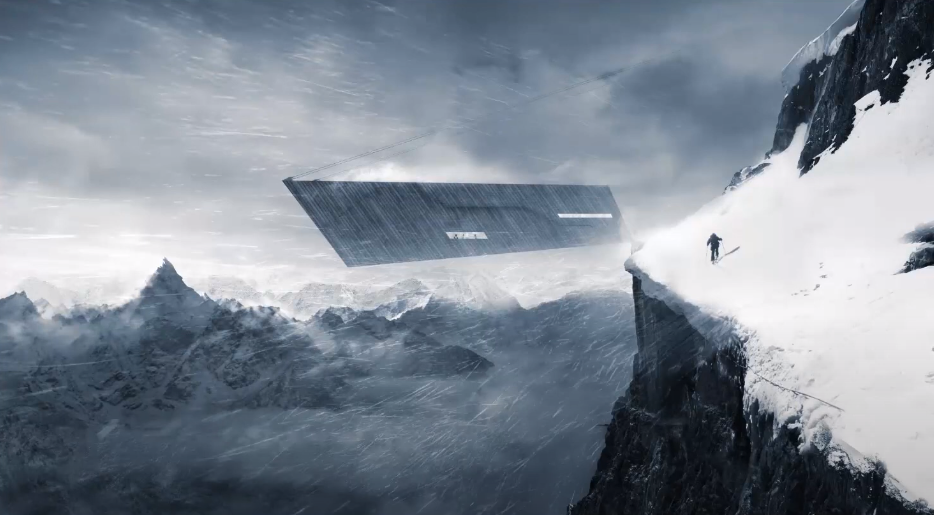
This is the part where the magic happens we’ve added a whole folder full of environmental effects which basically is like all the weather elements.
Step 7: Add Some Last Finishing Touch
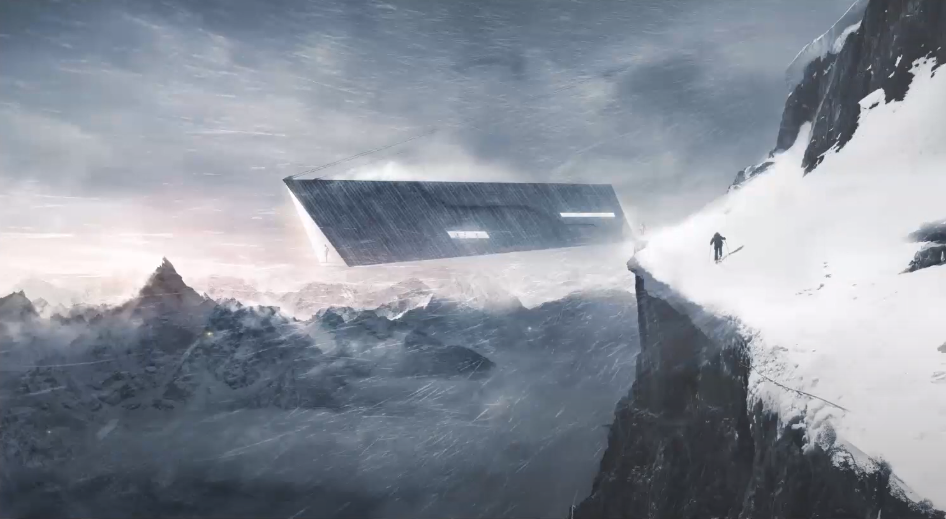
We’ve taken some cut-out people from Google Images and added this glass box that hangs outside and put some lighting on top as well. Last but not least we’ve added color correction.
And that’s it! In case you want to watch the full video tutorial you can watch it here:
If you find this tutorial helpful make sure to follow our YouTube and Instagram for more content!