
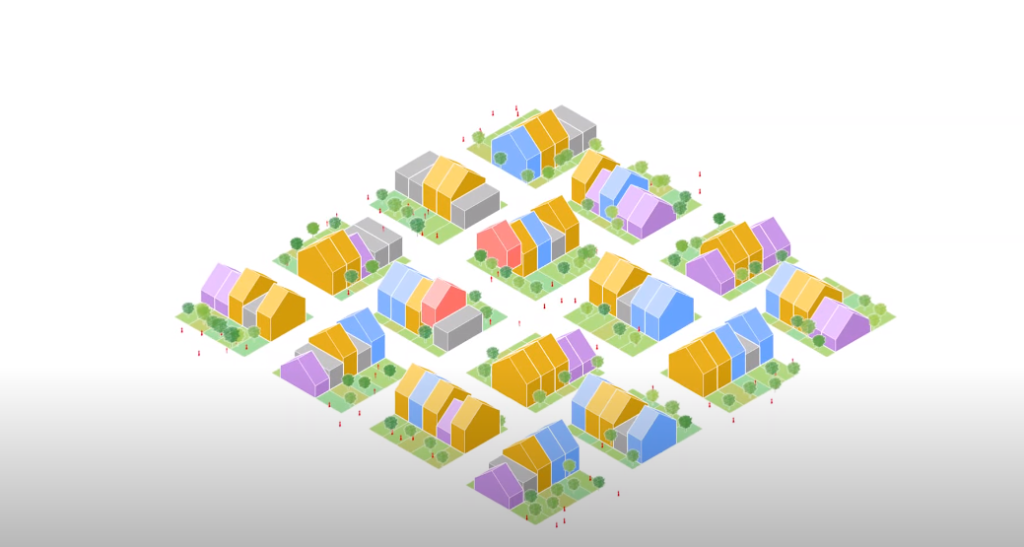
Welcome back to our Archi Hacks guys! And in today’s tutorial, we’ll be creating this MV RDV-style master plan background.
Step 1: Modeling Building
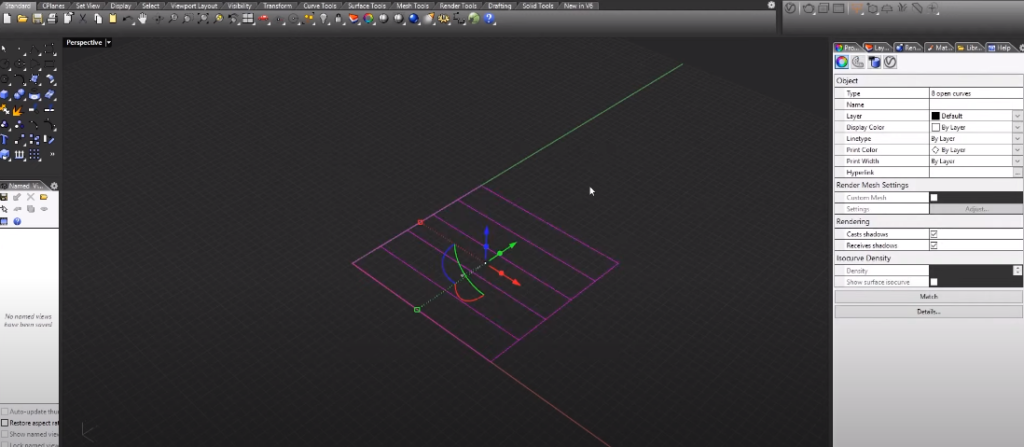
Start by creating a square and explore it quickly, I’ll take two curves on opposite sides and use the command called tween curves and with that I’m gonna add four intermediary curves in between to create individual Lots for our building.
Step 2: Create a Plane
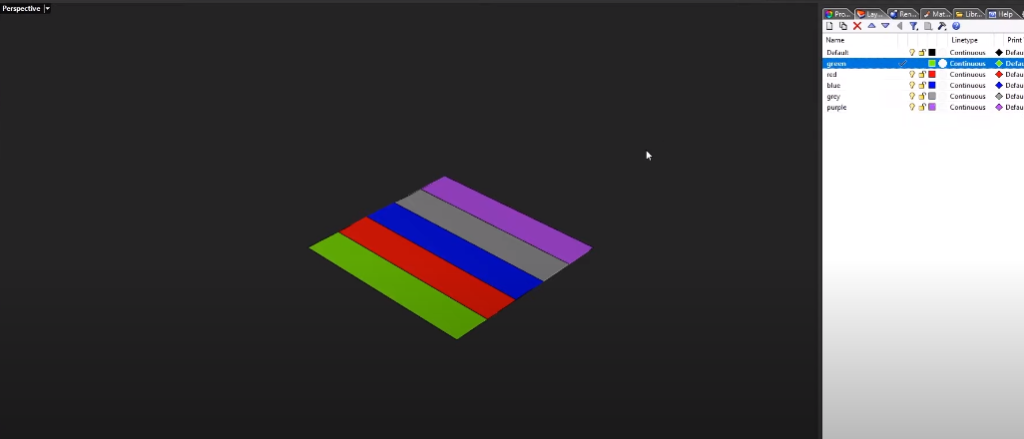
Once that is done, create a plane that represents one module. Assign a plane or rectangle to each. l name each layer and color them respectively.
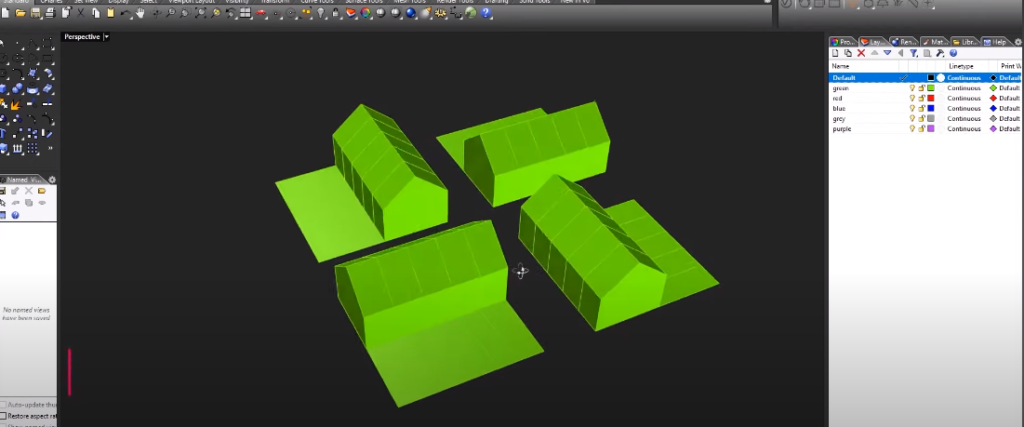
Step 3: Create Houses

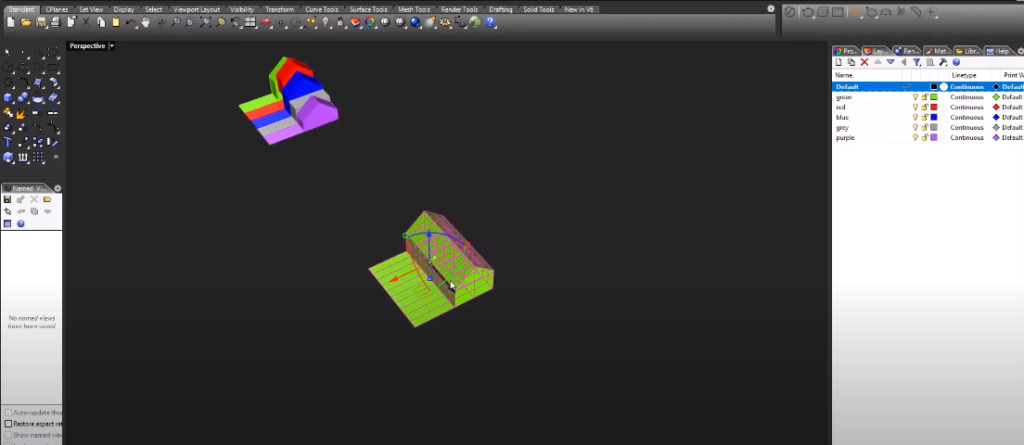
Create houses on top of it. Command box, go to the side view to create a pitched roof closed curve and extrude. I’ll combine them together using boolean Union and then merge all phases to get rid of intermediary lines. Duplicate this five times for each color. Make sure they’re a little bit different.
Step 4: Duplicate Each Block
Take each module and duplicate it. Do it five times for each block. This will represent a city.
Step 5: Create a Pinwheel Arrangement
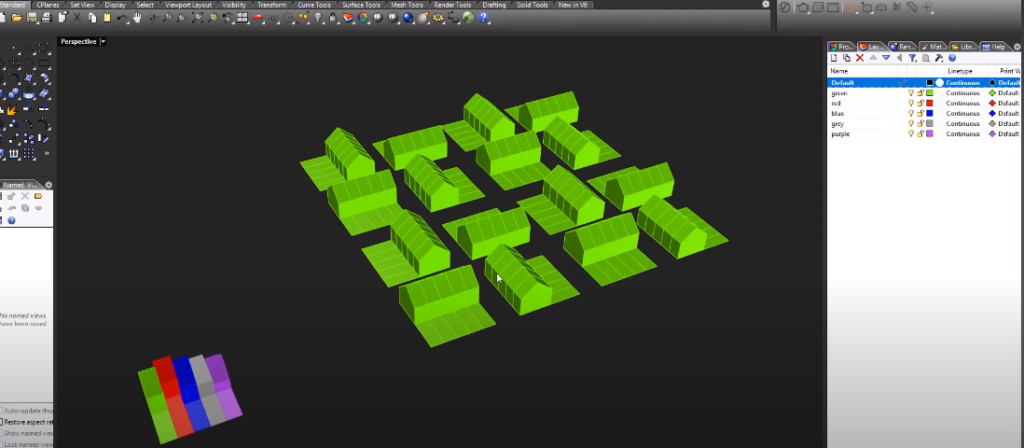
Choose a point that’s a little bit further away from the actual corner and use that as a point of rotation for the polar array. Go ahead and do this one more time to create a four-by-four city block and each block contains five apartments now.
Step 6: Replacing the Block
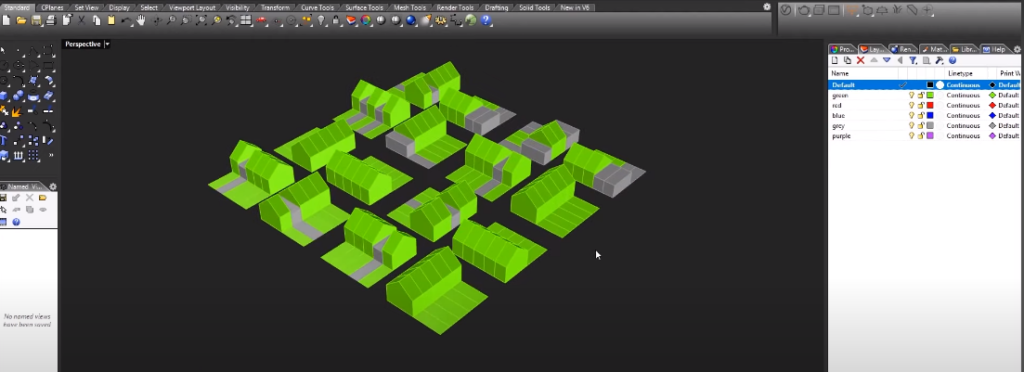
Select random blocks that you want to transform and swap them out with another module that is not green. Type in the command replace block. Repeat this process until we have a nicely distributed urban arrangement.
Step 7: Edit Block
It might be a nice idea to move them a little bit off from each other so that there’s a bit of irregularity. Any changes that we make in these blocks are reflected in our urban master plan as well.
Step 8: Set the View
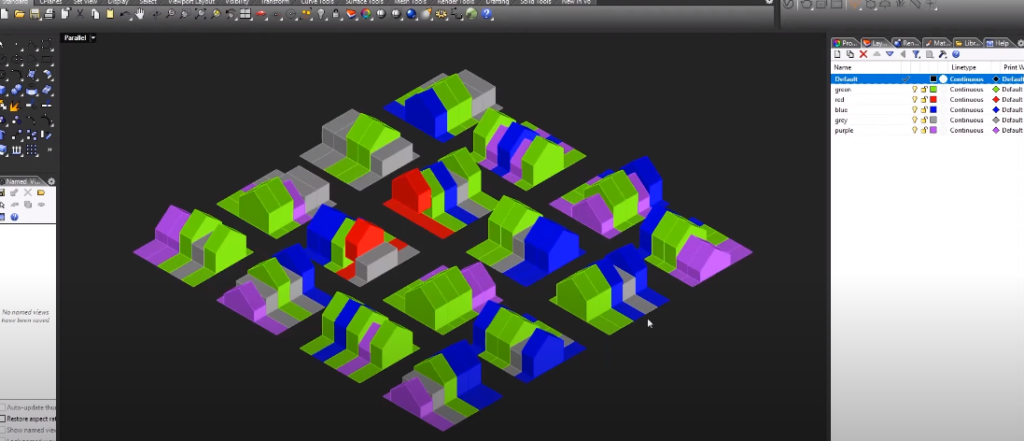
Go to asset view isometric and we’ll choose the southwest.
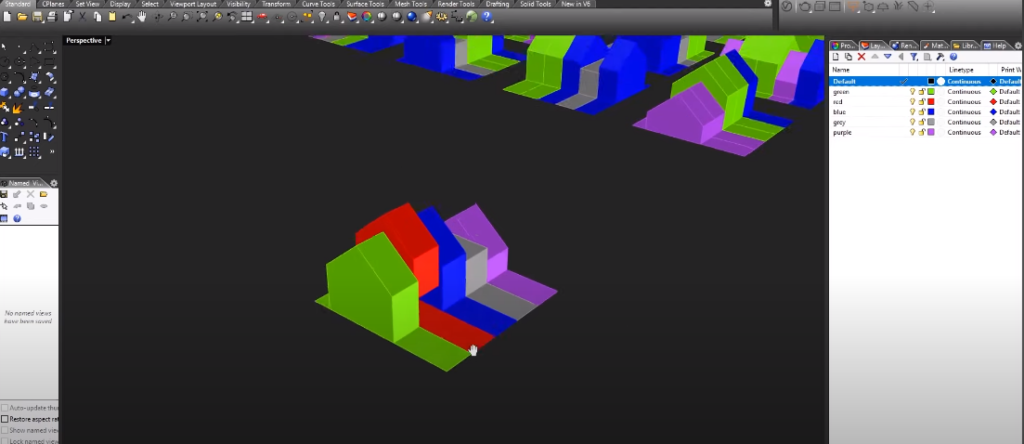
Step 9: Coloring (Use Render Channels)
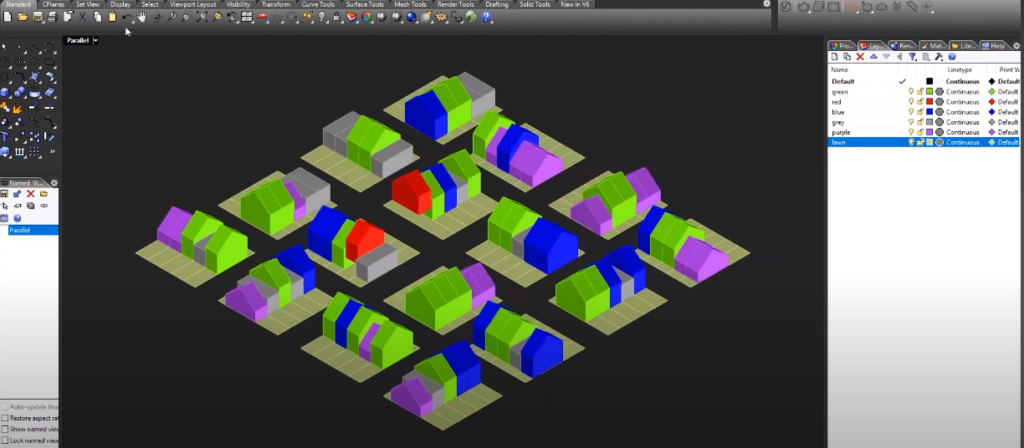
Open up our asset editor and create several materials. Choose a color that you want to have in your final result.
Step 10: Photoshop
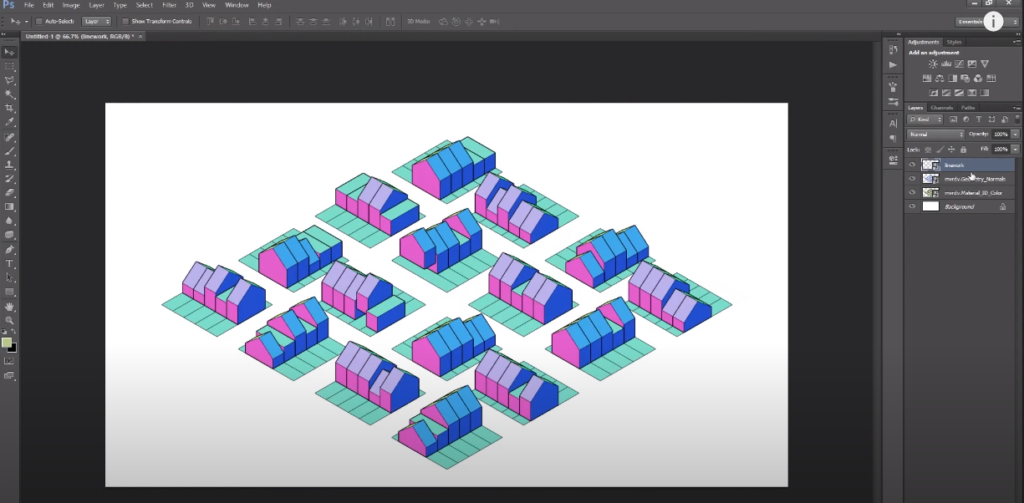
Simply drag and drop all the files. I’m going to scale this up ok now I’m going to right-click and rasterize this and in fact I’m going to rasterize all three layers so click them all right-click and rasterize the layer.
Step 11: Turns the Line White

Hit ctrl I on your keyboard to turn the lines white.
Step 12: Modify Color
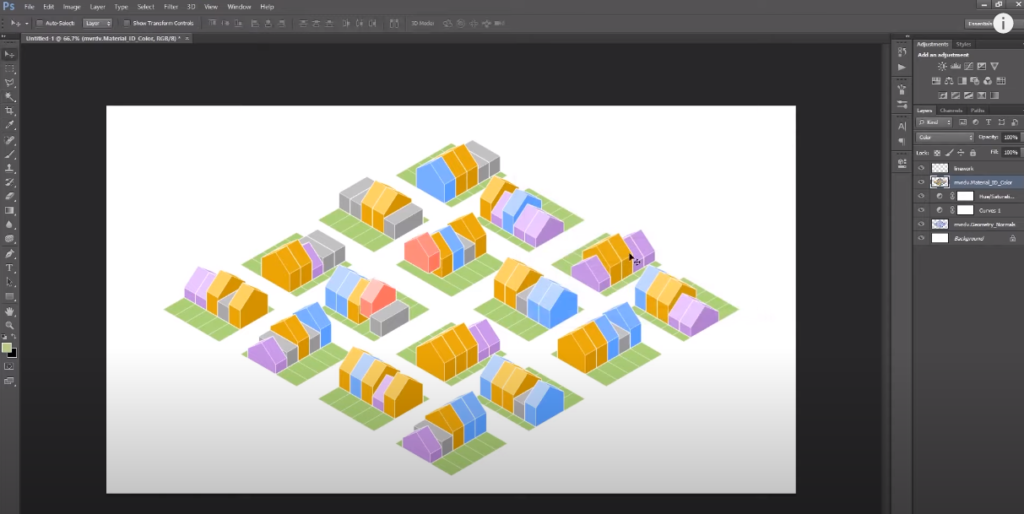
Using the magic wand tool with the contiguous checked off click on a layer to select same color throughout this material ID Channel, and now you can choose any kind of adjustments to modify your color until it looks right.
Step 13: Add Entourage

Use some Photoshop brushes to add some trees and entourage. In order to do so Go ahead and go over to this website called ArchiTuts and download some of people and tree brushes.
That’s pretty much it! In case you want to watch the full video tutorial you can watch it here:
Make sure to follow our YouTube and Instagram for more content!