
Welcome back to Archie hacks and in today’s tutorial I’ll walk you through creating a big diagram.
Step 1: Context Model
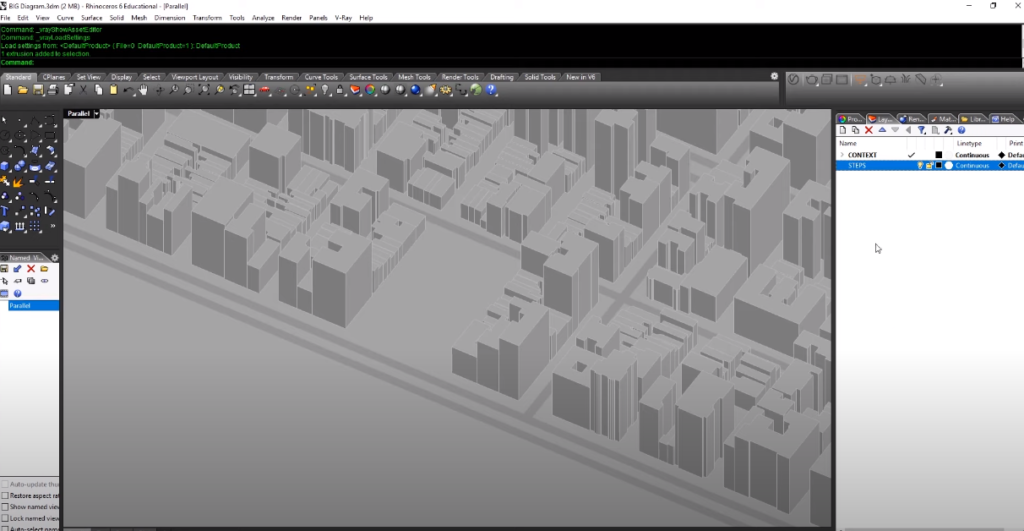
I’ve downloaded a segment of new york from this website called cadmapper, I’ve cleaned the file up a little bit. I’ve gathered all the 3d models from cadmapper and put them into one context model.
Step 2: Command Rectangle
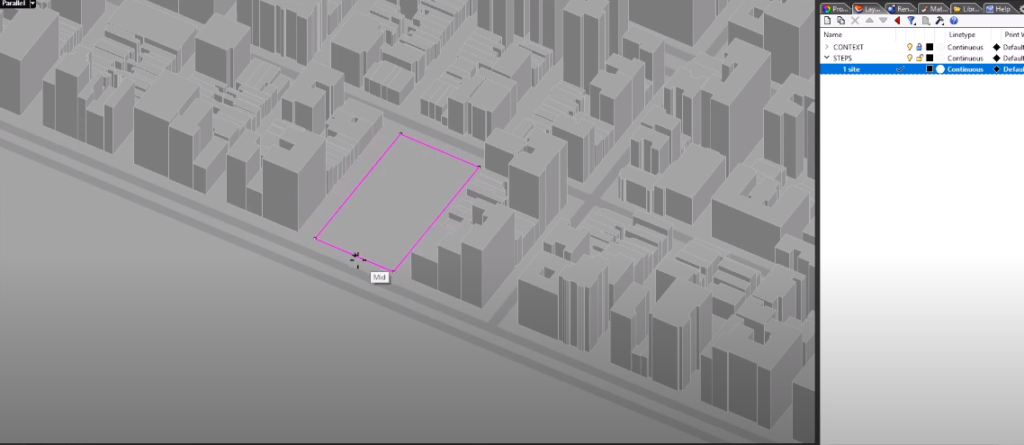
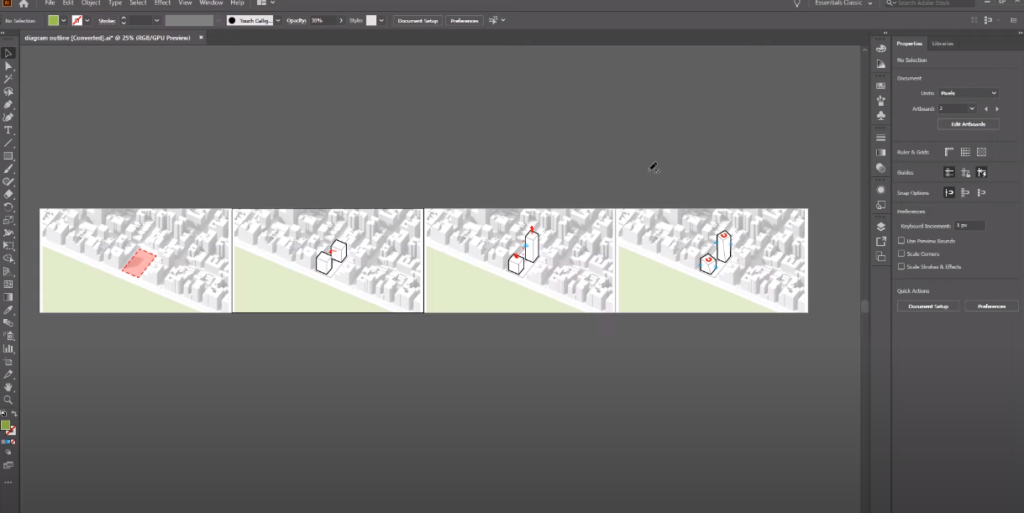
Use rectangle tool to create outline our site.
Step 3: Create Generic Massing
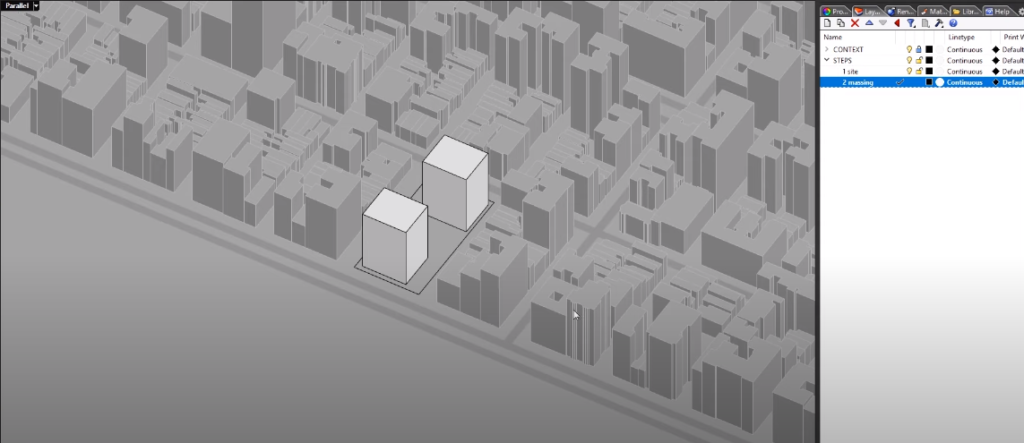
Create something that’s similar to our neighboring building.
Step 4: Rearranging the Volumes
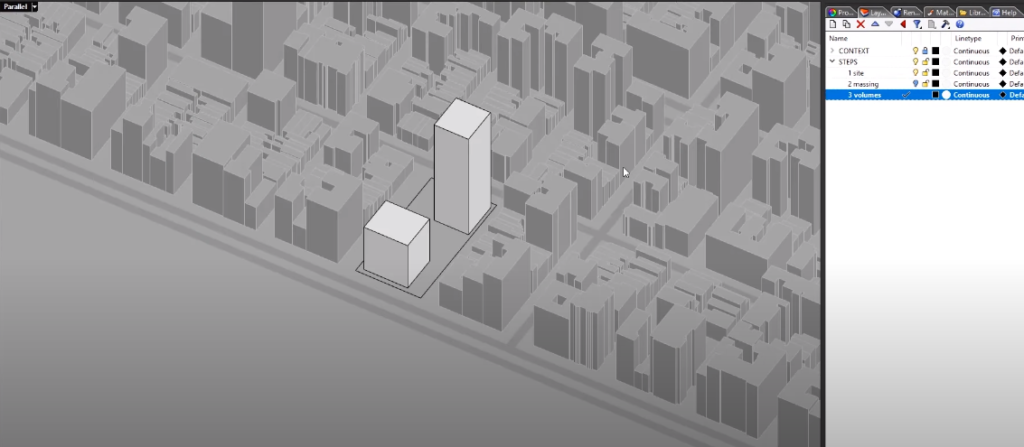
Duplicate Layer and Objects – Right-click on the layer and choose duplicate layer and objects. Make the first tower a little bit shorter and for the tower at the back we’re going to make it a little bit more narrow but instead let’s make it a little bit taller.
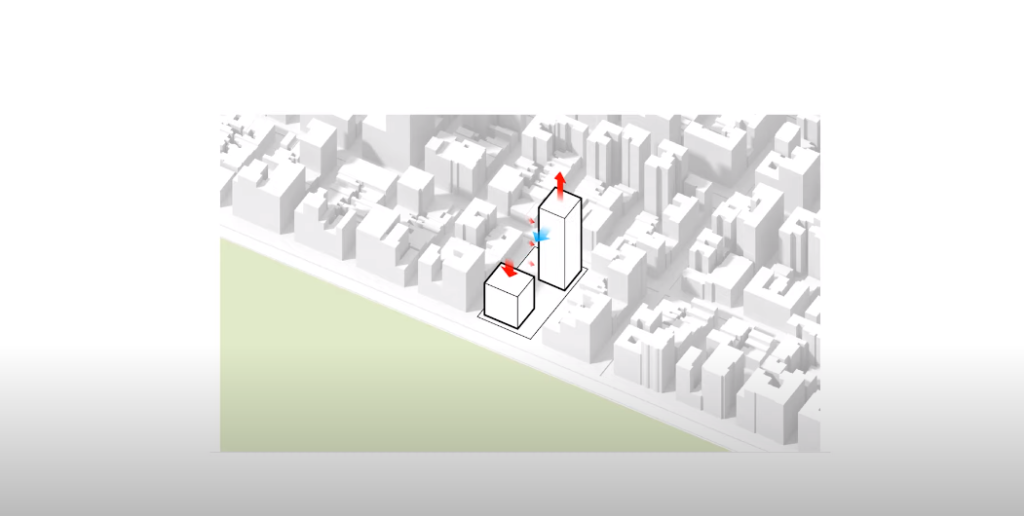
Step 5: Add Twist
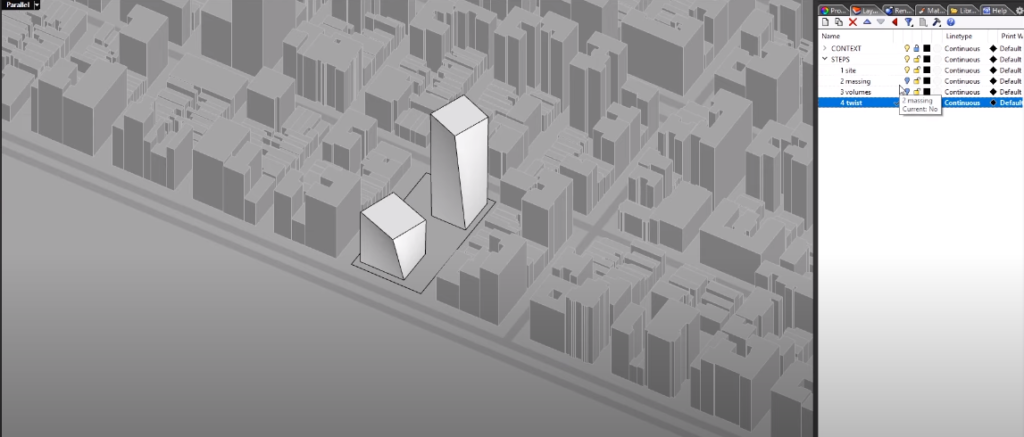
Duplicate the layer and objects again and name it twist hold down ctrl shift and click on one of the faces of the building and then we’ll use the blue gumball to rotate the faces. By the way this project is inspired by coconut growth project by big.
Step 6: Create Arrow
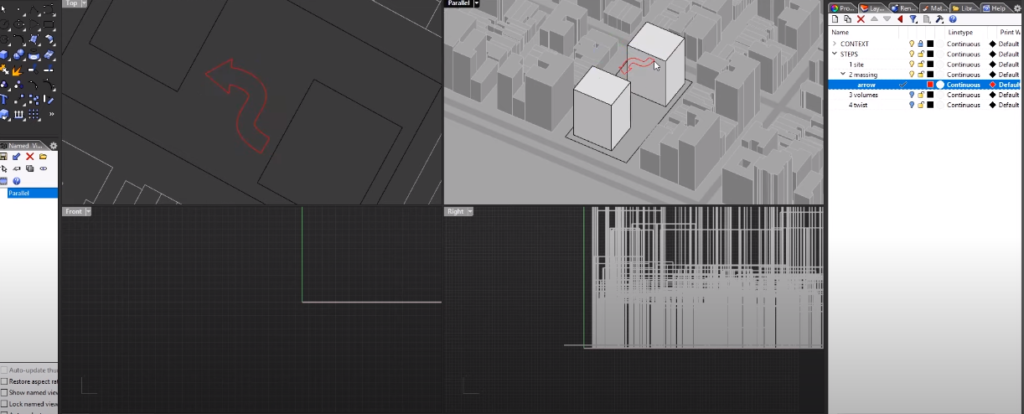
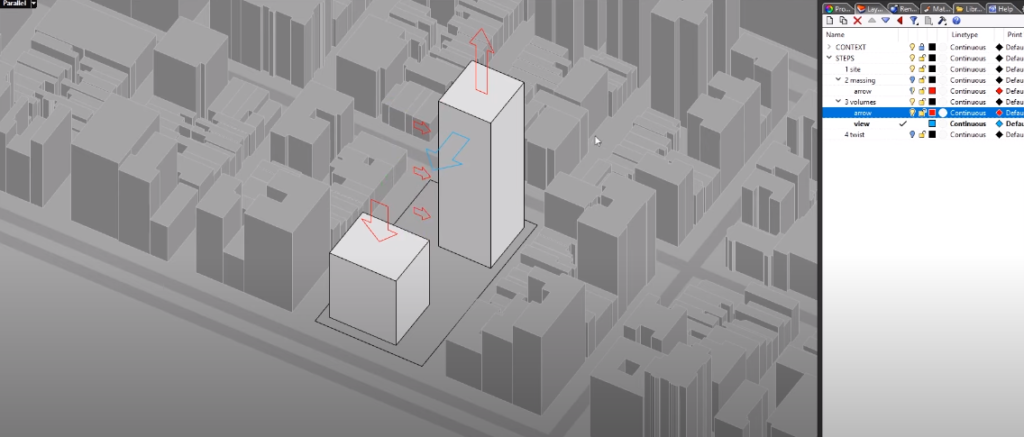
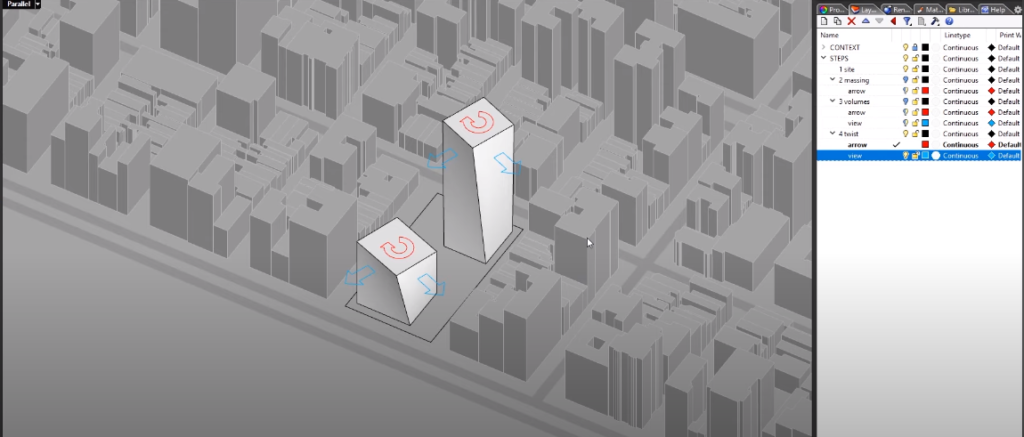
Create some arrows to help explain all the gestures that we’re making.
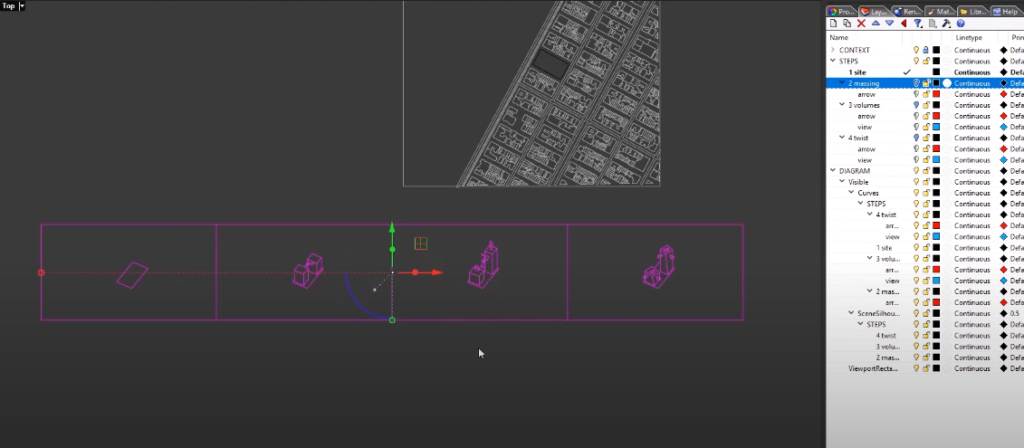
Step 7: Make It Into 2D Linework
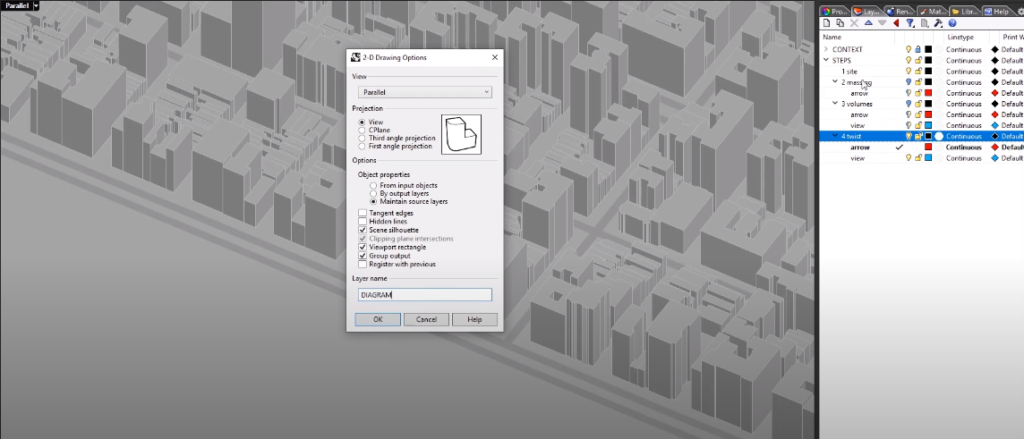
Go into properties and make sure our projection is parallel. Capture them one at a time using make 2d command.
Step 8: Export
Once that is complete we can export these into illustrator.
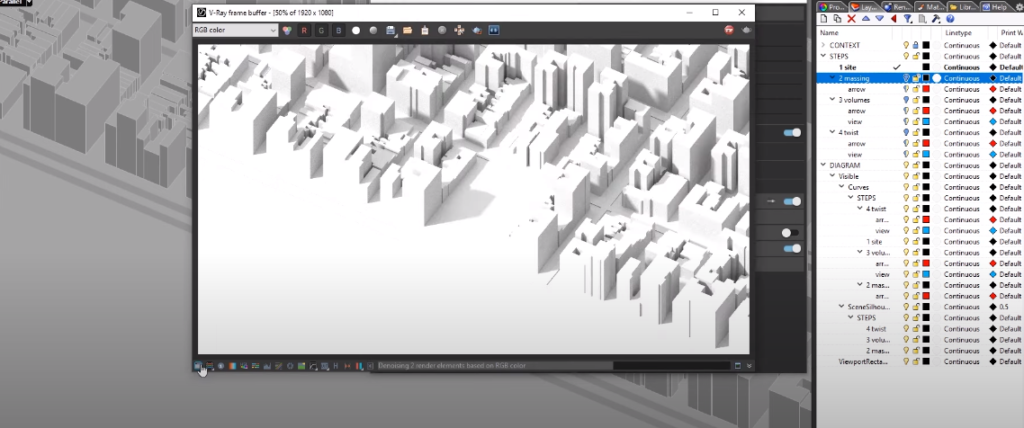
All right before we switch over to illustrator we have to export our base model so for that, we’ll come back to our original perspective go over to v-ray settings and make these changes. We’ll turn off progressive and use v-ray denoiser and turn on the material override to make everything a single color and then we’ll switch over to lighting where we’re going to turn on rhino document sun and reduce the brightness to 0.1 make the size if you increase this value it actually makes your shadow a lot softer and for color mode, we’ll use overwrite so that everything stays black and white. Lastly, I’ll make sure our render output is high resolution.
Step 9: Do Color Correction
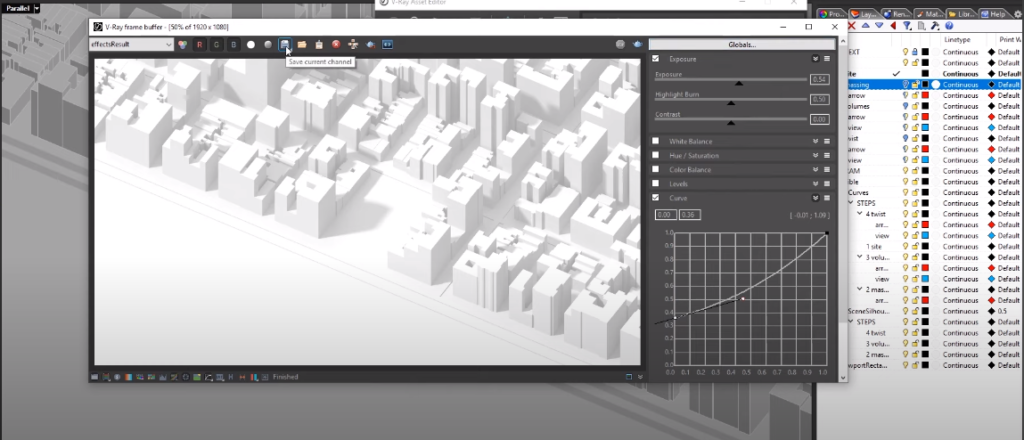
Make some quick adjustments to your images so that you don’t have to go all the way to photoshop.
Step 10: Make the Diagrams a Little Bigger
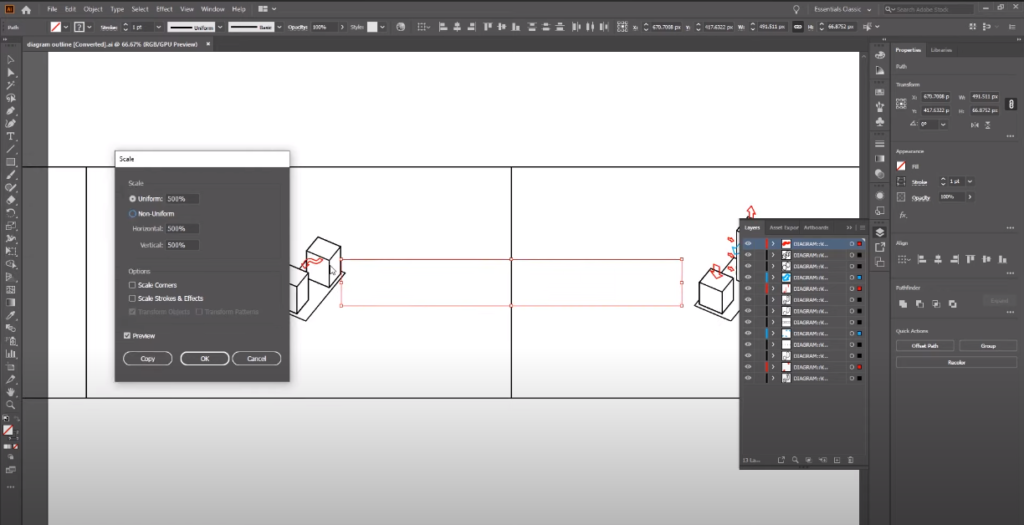
Opened up the illustrator file that we have just exported. Make the diagrams a little bigger.
Step 11: Create New Art Boards
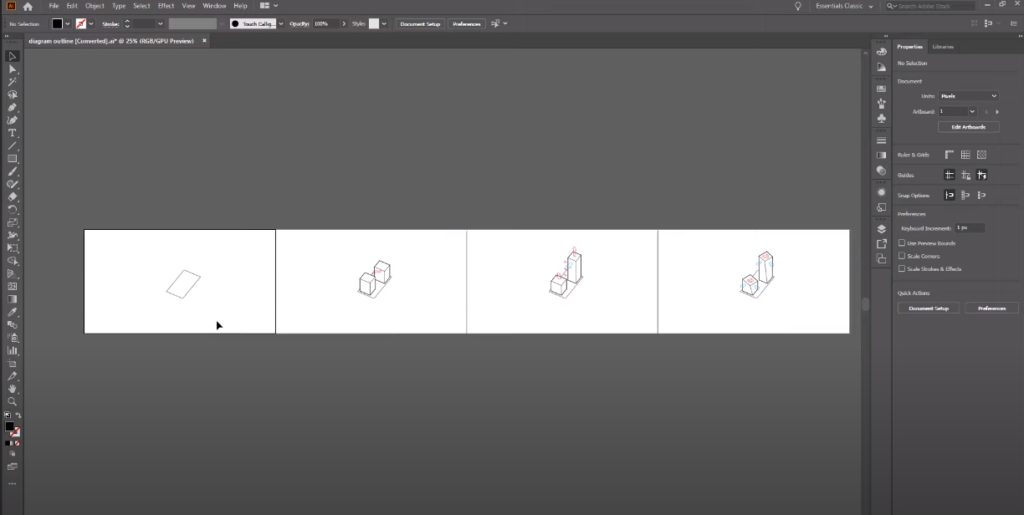
Invert the black and white. Click on black boxes illustrator will create new artboards for you that fits.
Step 12: Import Image
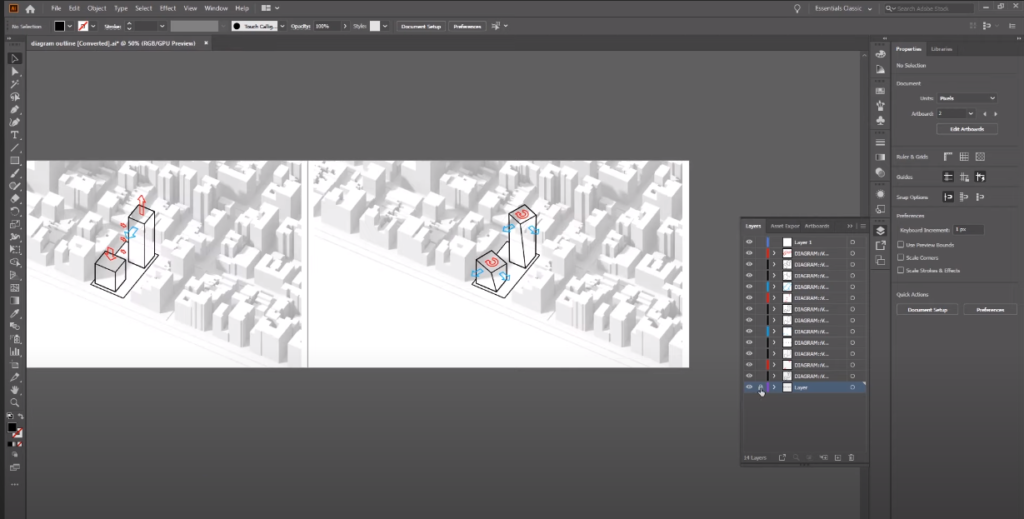
Navigate to our folder and drag and drop our image onto our canvas.
Step 13: Invert the Foreground and Background Color
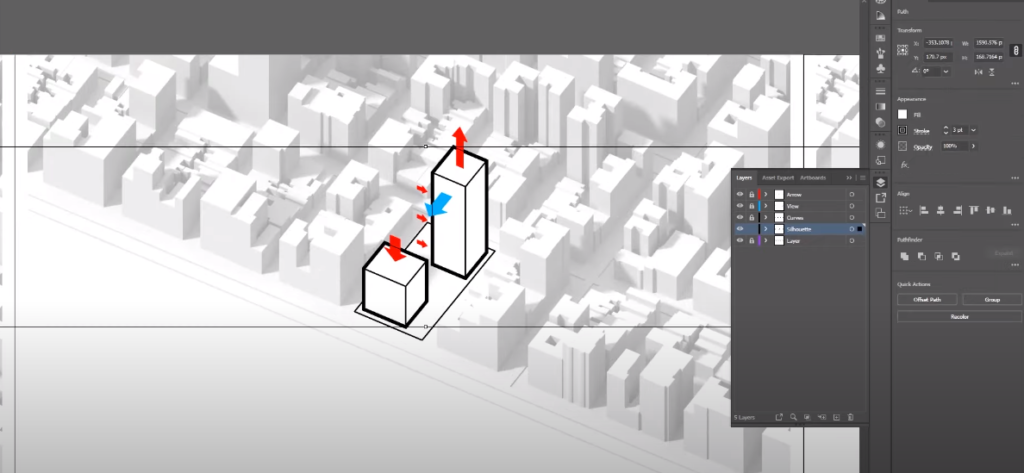
Click on the blank space on the right and invert the foreground and background color to give all the arrows the color that we wanted and same goes for the view we’ll simply invert that and for curves we can actually just leave it the way it is and for silhouettes, we will use d4 color where we have white fill and black outline.
Step 14: Add Green
Add green for the park that’s in front of our site.
There we go you’ve just created competition-style high-quality diagrams. I hope you guys enjoyed this tutorial. If you want a full video tutorial, watch it here:
If you find this article helpful, make sure to subscribe to our YouTube and Instagram for more!