Place 3D models in photographs

This month we will be sharing content emphasizing ways to use summer to develop yourself. If you are a professional, summertime may not be the same, so we hope you can still utilize these while juggling everything else! We understand it may be difficult to juggle life, friends, and honing oneโ€™s craft, so please plan out your goals to avoid burning out!

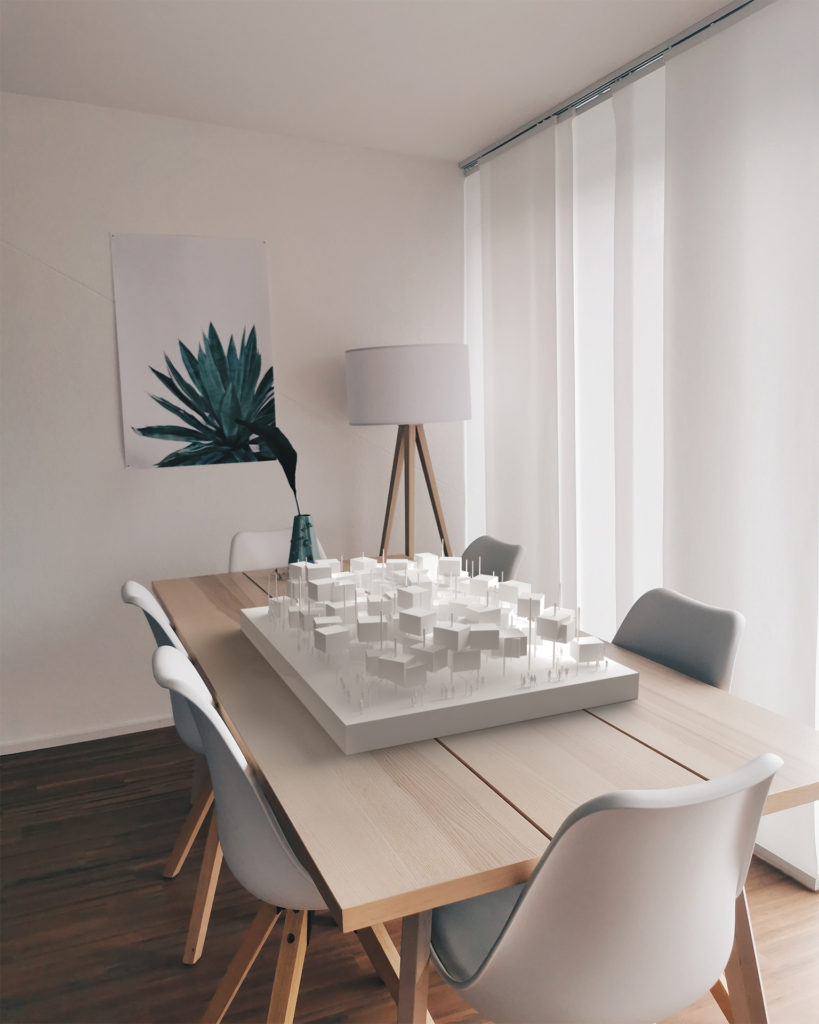
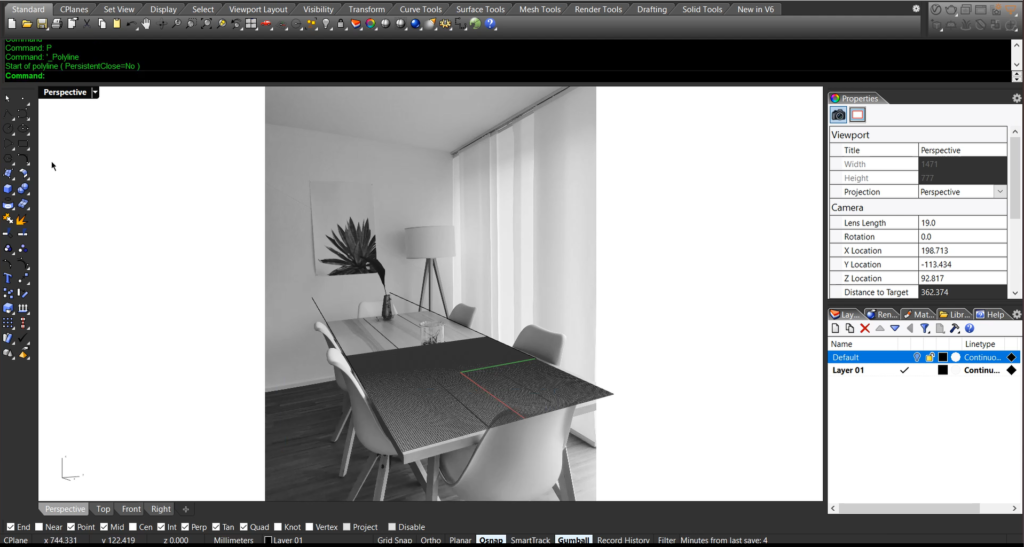
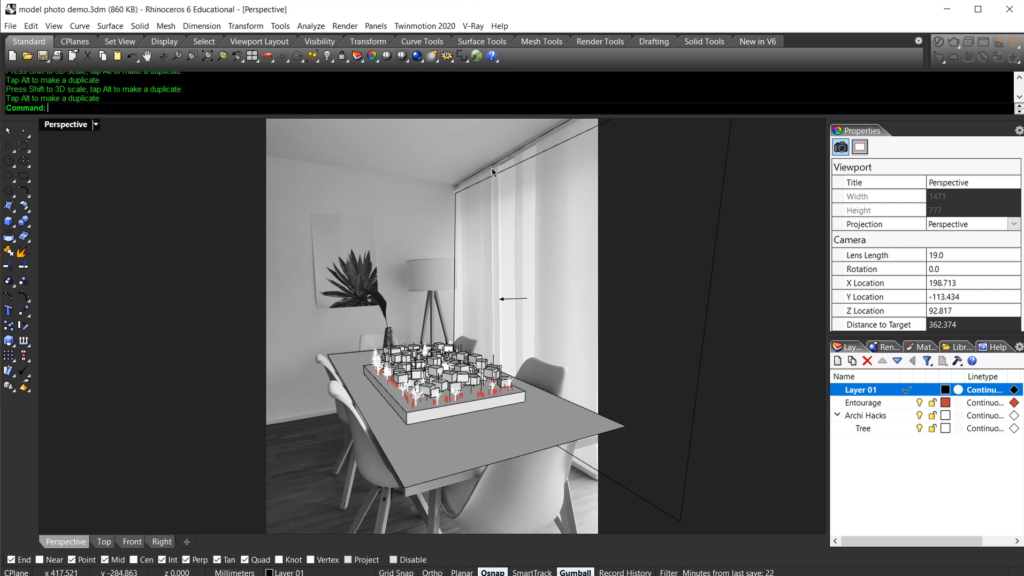
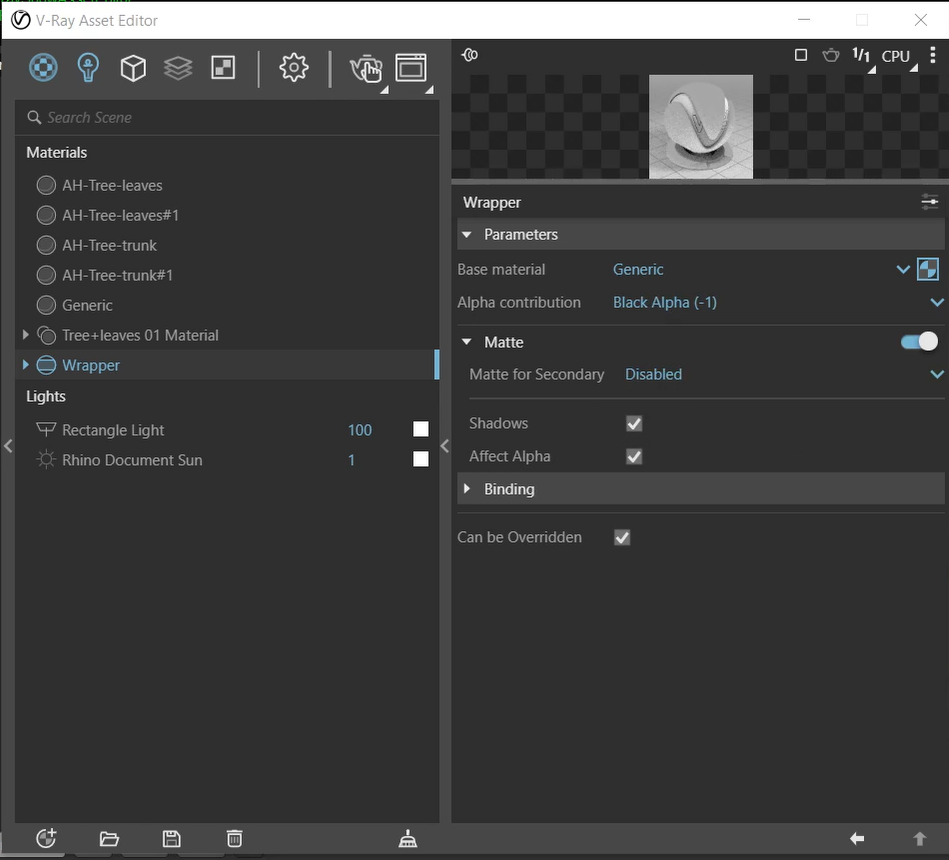
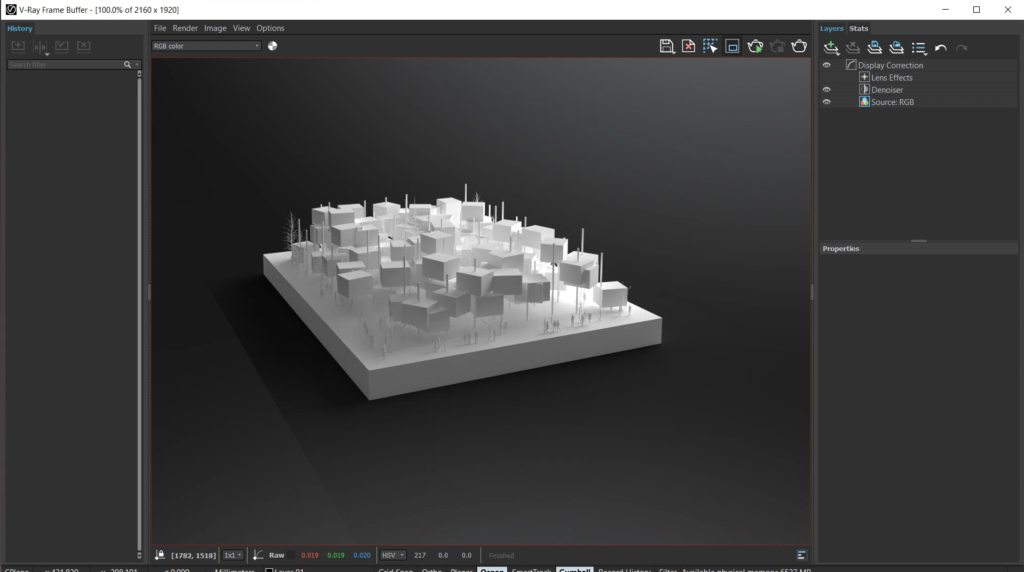
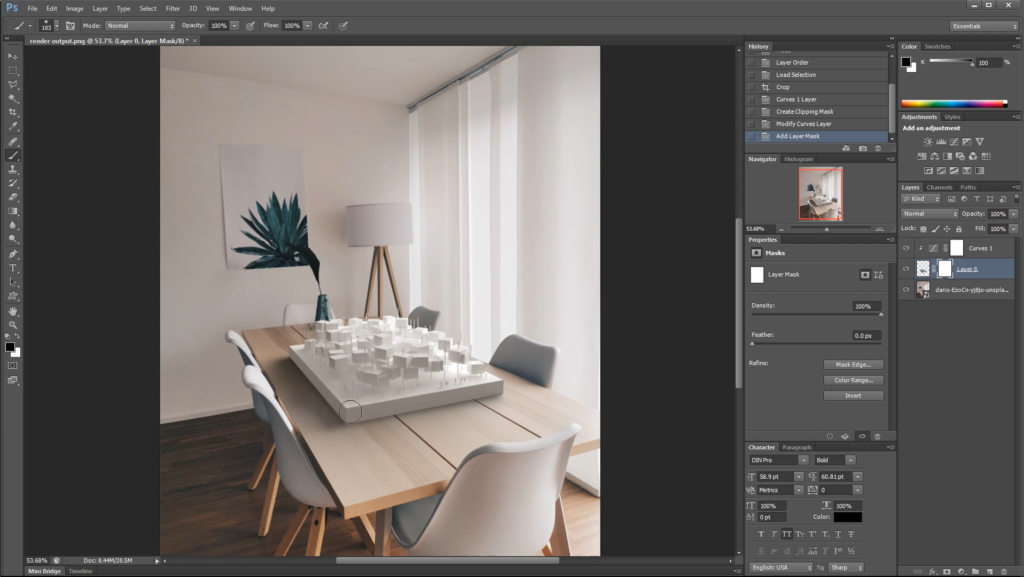
With the closure of workshops and in-person meetings, physical models have become less effective. Nevertheless, there is a sense of completion and achievement that comes out of having physical models occupy real space. So in today’s article, we’ll walk you through adding your 3D models into photographs.

What you’ll need:

  • 3D model
  • Rhino + V-ray *You can use any 3D software that supports V-ray
  • Photoshop

Step 1: Align perspective

This is possibly the most tricky and frustrating part. Import image into the background, and take your time to adjust camera focal length to match perspective with image. You might benefit from the video demonstration on our YouTube channel.

Step 2. Setup light and environment

Try to replicate the real-world setup as possible. That includes things like lighting, and other walls in the scene. In our example, we placed a rectangular light to the right side in order to simulate a diffused light from window and blind.

Step 3. Shadow matte

This is the magic material that will help us with the shadows. Create a generic material and a wrapper material. Use the generic material as the base, and use the following settings. Then you can apply wrapper to the table top surface.

Step 4. Render in high resolution and save

Make sure to save as a .png file in order to preserve transparency and shadow!

Step 5. Combine rendering on top of the background image in Photoshop

Place the rendering on top of the base image and make adjustments to help it blend in. In our case, we added a bit of color correction.

Let us know how this came out for you and share it with our Instagram page by tagging @archi.hacks and #archihacks! Thatโ€™s all we got for today! I hope you found this article helpful, and if you have any tips for future students, please let us know in the comments below. Make sure to follow our YouTube and Instagram for more content!