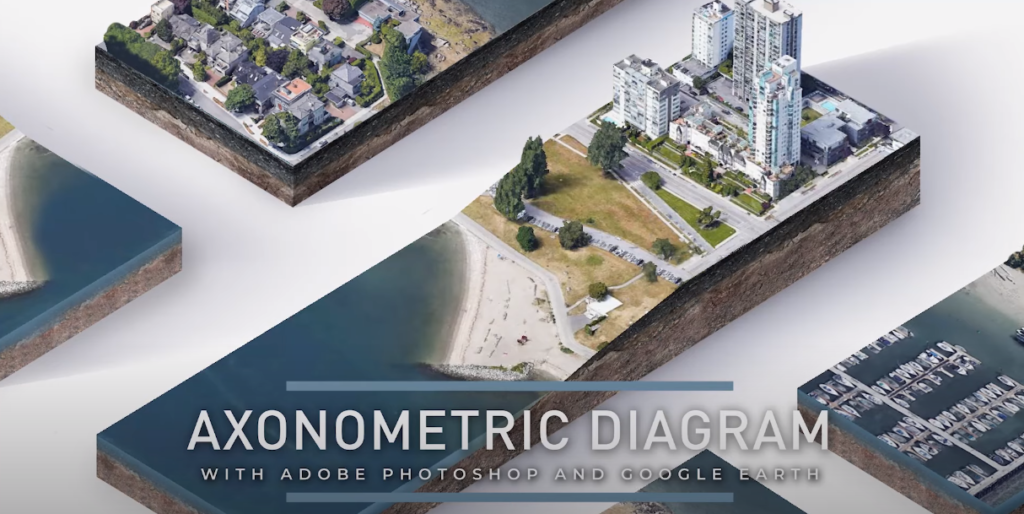
![Landscape Axon Tutorial using Google Earth 🌎 & Photoshop [Without plug-ins]](https://archihacks.com/wp-content/uploads/2022/12/Landscape-Axon-Tutorial-using-Google-Earth-%F0%9F%8C%8E-Photoshop-Without-plug-ins-1024x576.jpg)
Hello guys, in this tutorial we’re going to take a look at creating an amazing Exynometric Diagram for urban studies using google earth and photoshop.
Download Appropriate Software (If you don’t have yet)
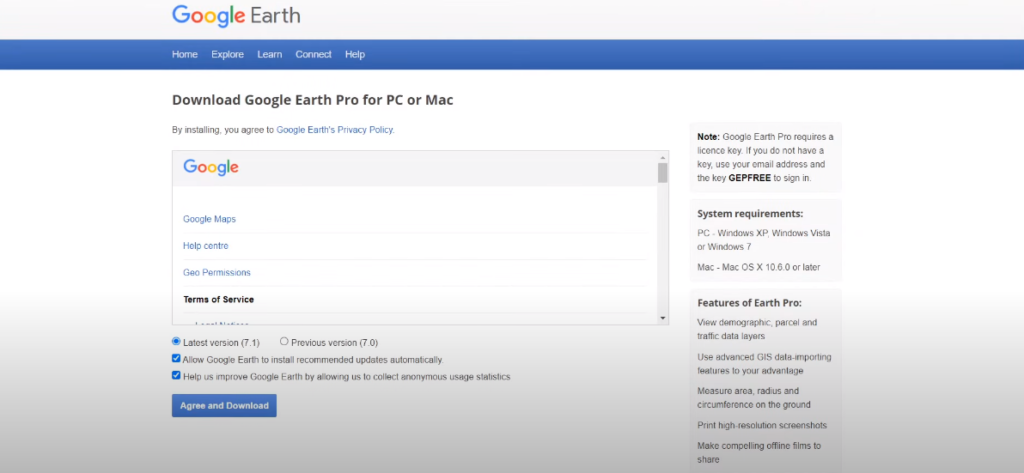
You can use the link below:
- Google Earth Pro: https://www.google.com/earth/download
- Google Earth Focal Lengths: https://gumroad.com/l/google-earth-fo…
Once you have the software needed, you can start yours now.
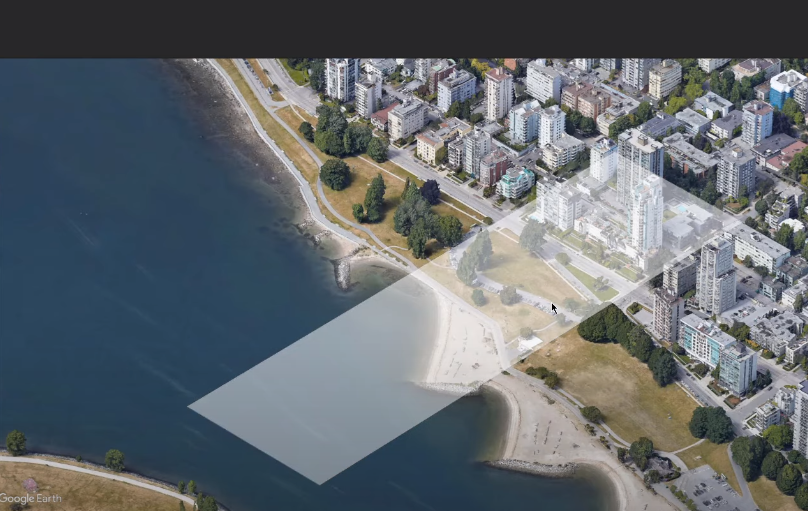
Step 1: Navigate
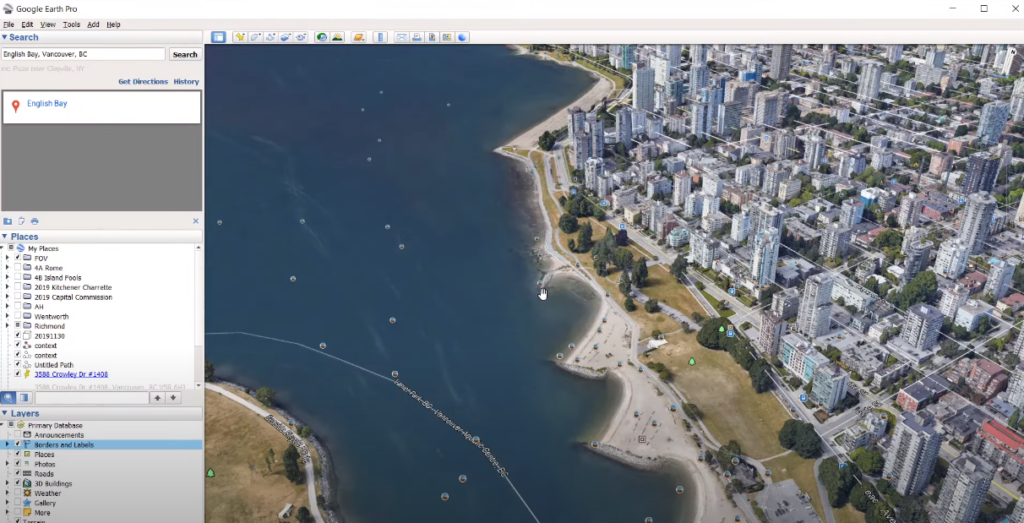
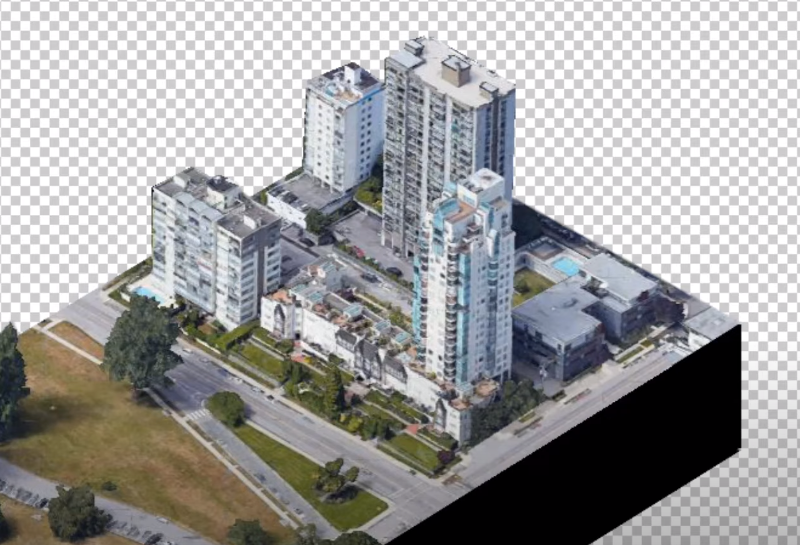
Navigate to the area that you want to study.
Step 2: Capture the Buildings and Save
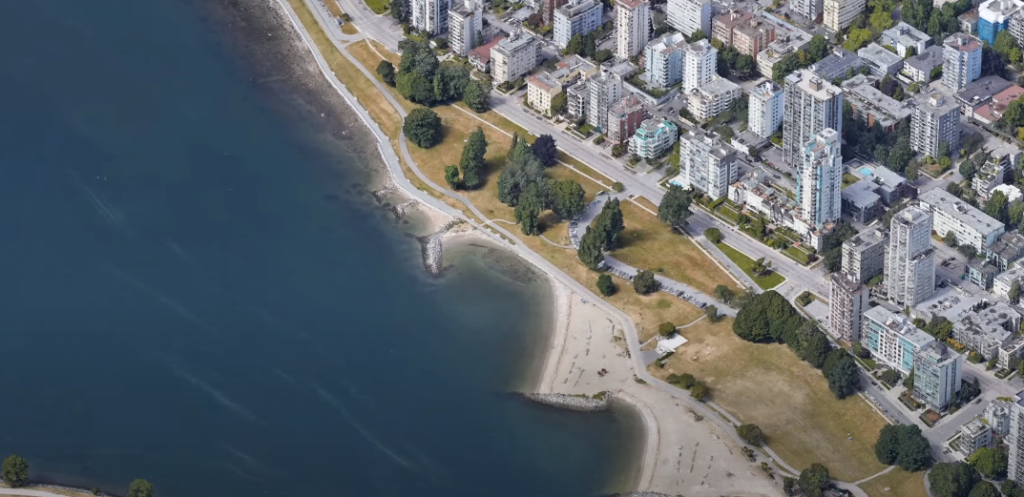
Click on the capture “save image” button and go to “more options” button and uncheck the title, legend, scale, and compass so everything is nice and clean. Also, increase the resolution to 1080p. Once everything is set up, click “save image” to save it to your project directory.
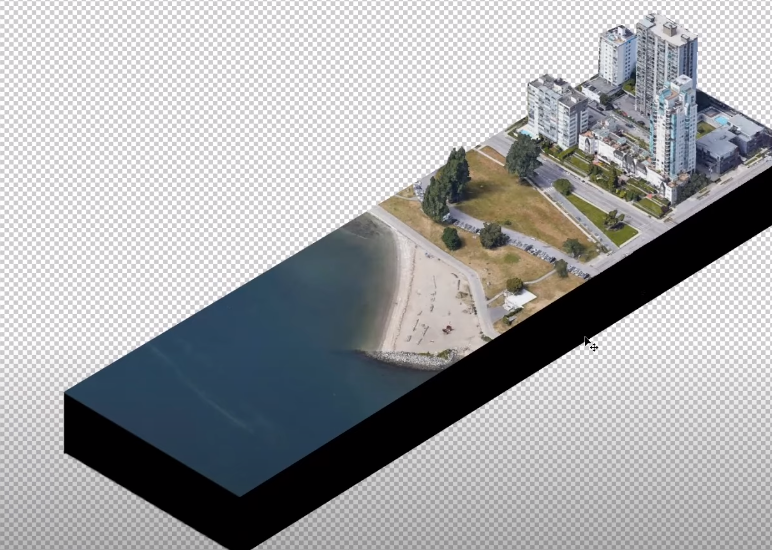
Step 3: Crop Out the Site

Free transform is ctrl t and allows you to shape your images however you like.
Step 4: Create New Layer
Create a new box and this is where the layer comes in handy.
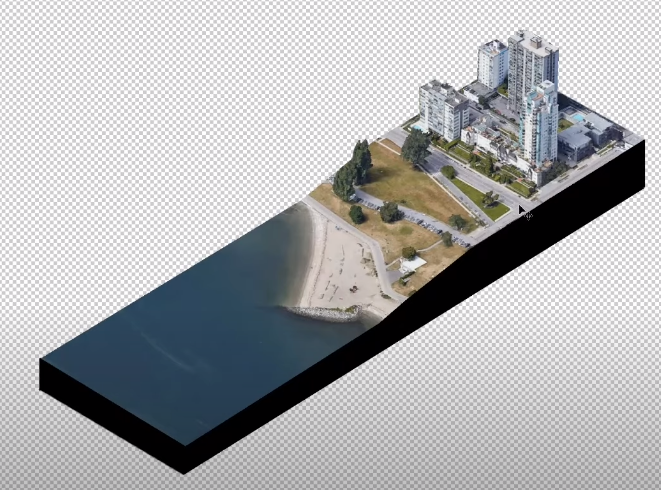
Step 5: Bring Back the Buildings
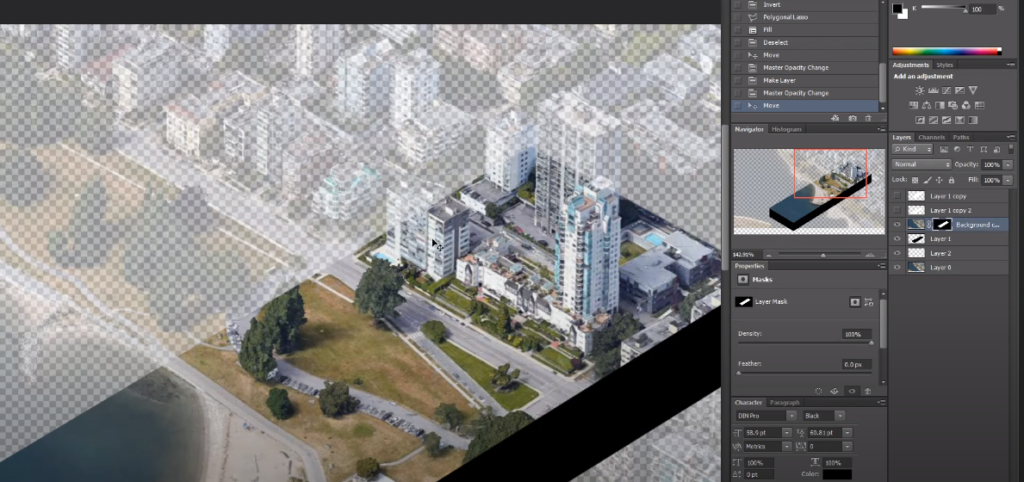
Bring back the buildings by painting in the masks all over again.
Step 6: Hide Unwanted Elements

Cover them with duplicates or the stamp tool.
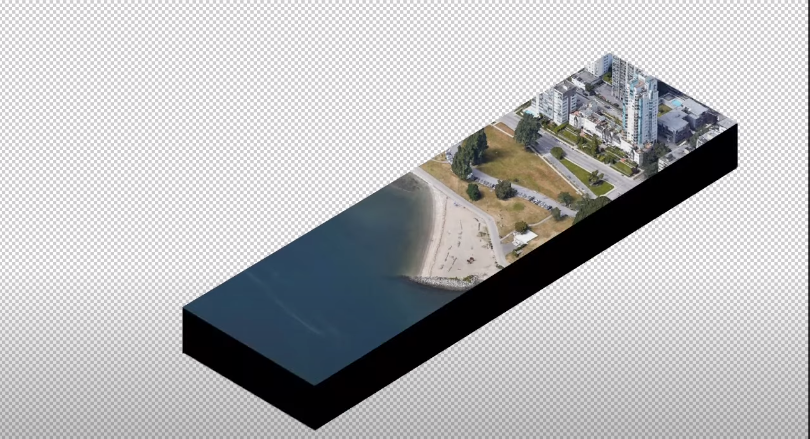
Step 7: Change the Altitude
Crop the box to show the level change
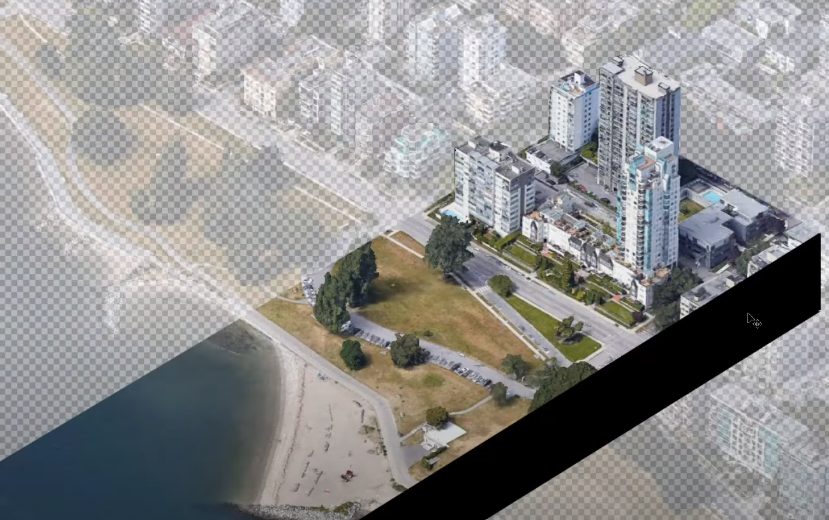
Step 8: Be Creative
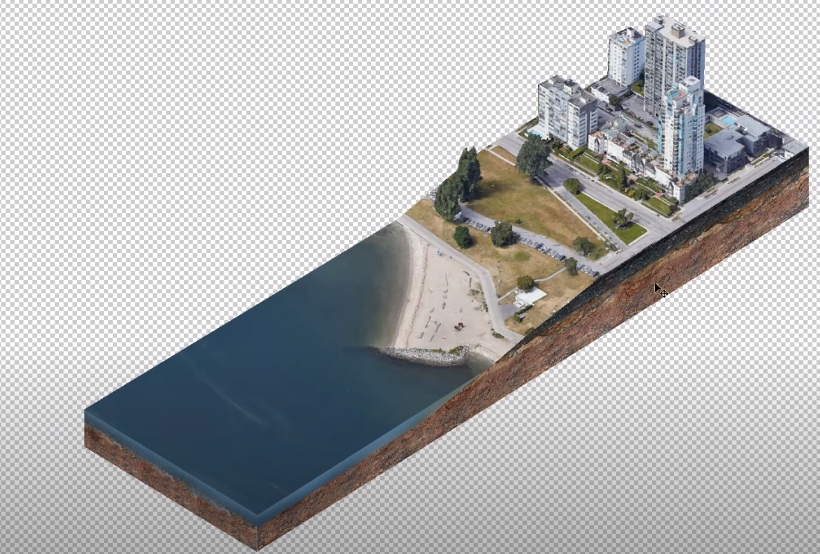
Find your own solutions and details to add.
And that’s it, I hope you guys enjoyed this tutorial. If you want a video tutorial watch it here:
If you find this article helpful, make sure to subscribe to our YouTube and Instagram for more!