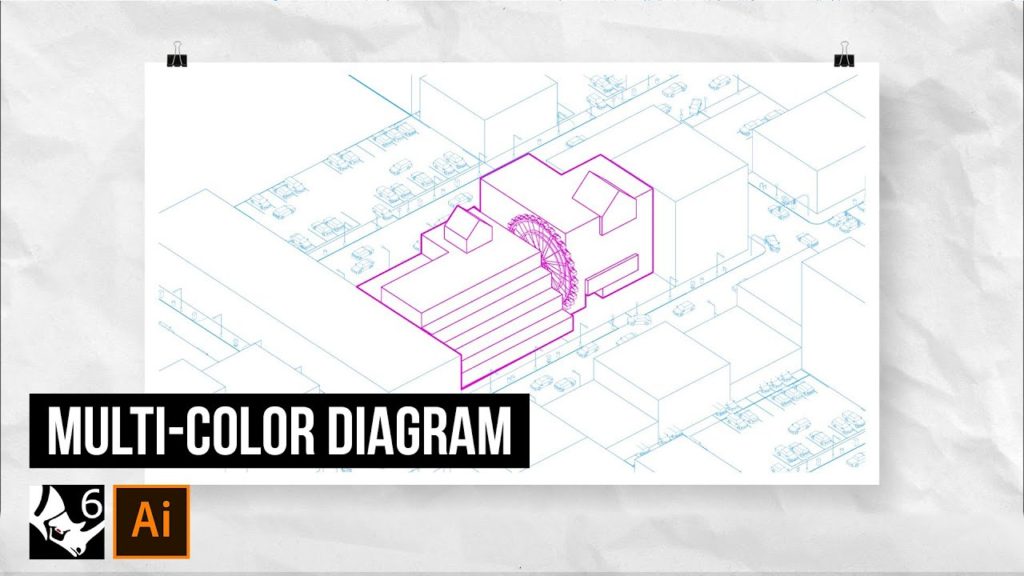
Welcome back to another Archie hacks tutorial. So today we’re gonna take a look at creating this beautiful diagram using illustrator and rhino. Without further do let’s get started.
Step 1: Add Geometry and Populate the Surrounding
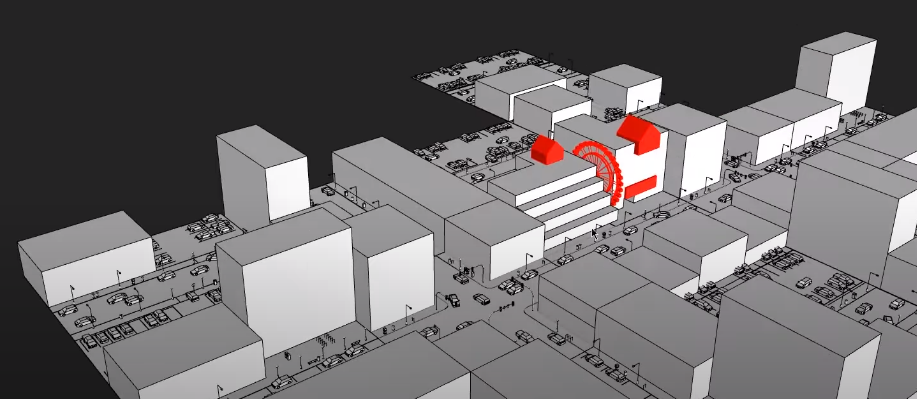
So first off right off the bat, I’m just gonna go ahead and create some messing for this building. So I’m just gonna create some really basic geometries here manipulating some nurbs and creating boxes and boolean differencing and unioning them.
The next thing I want to do after I finish designing the building was to populate the surrounding and to do that I’m going to use our latest product called 3d urban pack, the pack includes all kinds of objects starting from you know little street furniture all the way to other vehicles all kinds that you can kind of customize and of course they’re built in rhino so that means you can fully customize them render them and they will look amazing in every direction so I strongly recommend you check it out.
Step 2: Make 2D
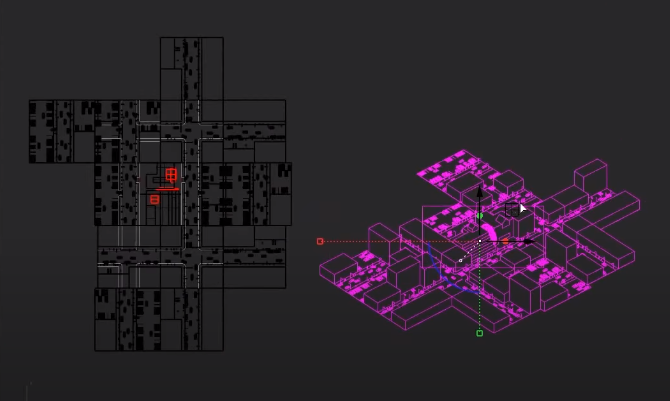
I’m first going to change our perspective to parallel and select everything in our scene I’m just going to zoom out just a little bit so we can capture more of the context and uh yeah let’s do it let’s go with make 2d.
Step 3: Illustrator
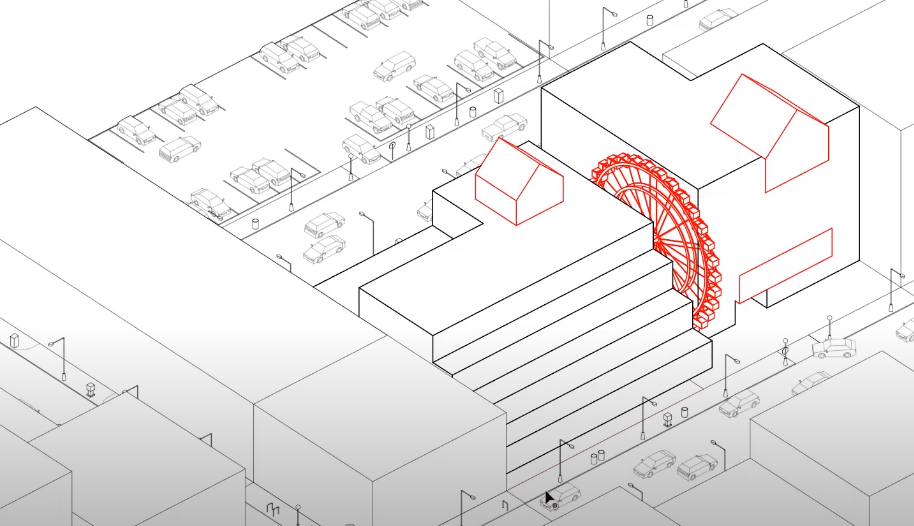
I’ll select everything and type in export and choose a destination of your choice. All right once the export process is complete you can open up the file in illustrator just like so.
Step 4: Coloring
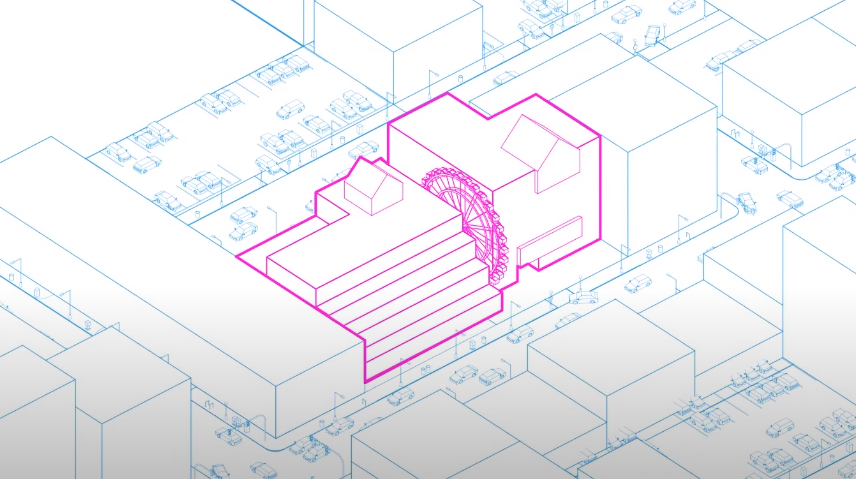
So one thing fun I wanted to do in this project is that I wanted to use two different colors so for example I want the context to be blue and our building to be red for example, in that case, um I’ll go ahead select all the context layers and change the line color.
And there we have it we have our multi-colored diagram created using rhino and illustrator. I hope you guys enjoyed this tutorial. In case you want to watch the full video tutorial you can watch it here:
Make sure to follow our YouTube and Instagram for more content!
