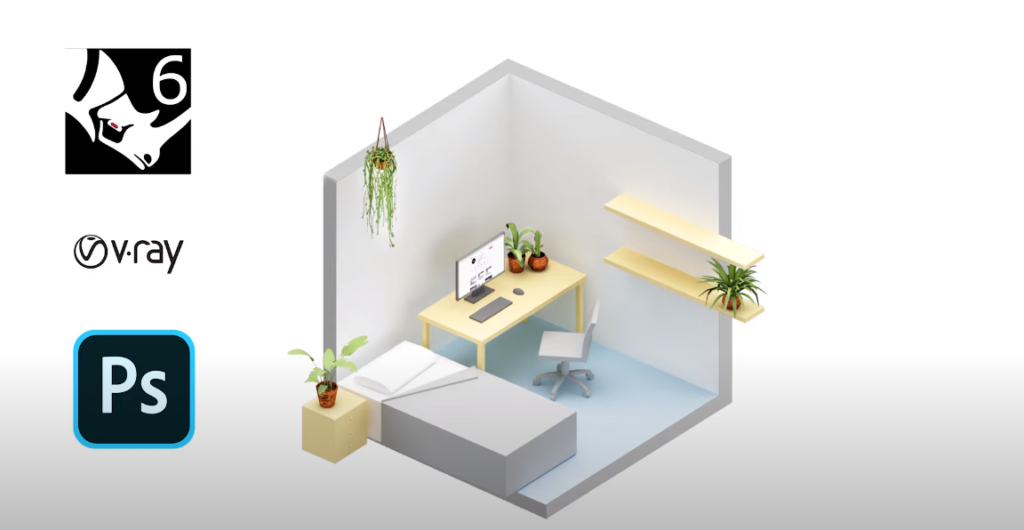
![Render this axo room diagram with Rhino + V-Ray [Full workflow]](https://archihacks.com/wp-content/uploads/2023/03/Render-this-axo-room-diagram-with-Rhino-V-Ray-Full-workflow-1024x576.jpg)
Hey, what’s up, everyone? Welcome back to Archi hacks. In today’s tutorial, we’ll be creating a conceptual axonometric room straight from rhino and vray. We’ll start all the way from modeling this room, adding some textures and rendering, and then doing some post-production on Photoshop.
So without further do let’s get started.
Step 1: Modeling in Rhino
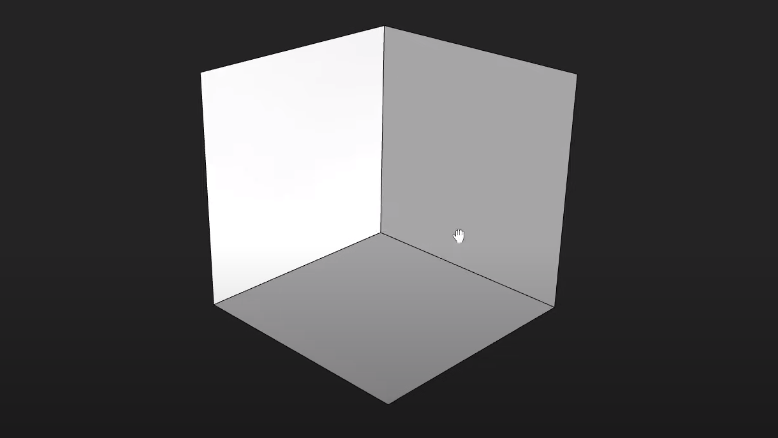
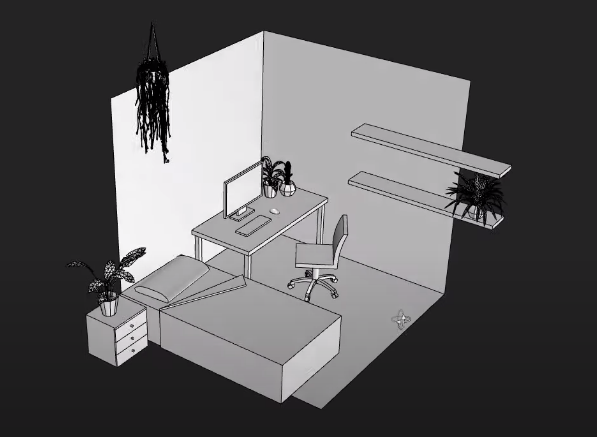
Let’s first off create a box. I’m gonna start from the origin, so I’ll type in zero. And then I’ll also type in 2.5 for width, 2.5 for length, and 2.5 for height. Okay, now we have a perfect Cube in the middle of our scene. I’m gonna control shift and click on the front face to delete. And now we’re left with this nice isometric room. From here, we’re gonna start populating the room with some furniture, and some plants.
Step 2: Adding Texture
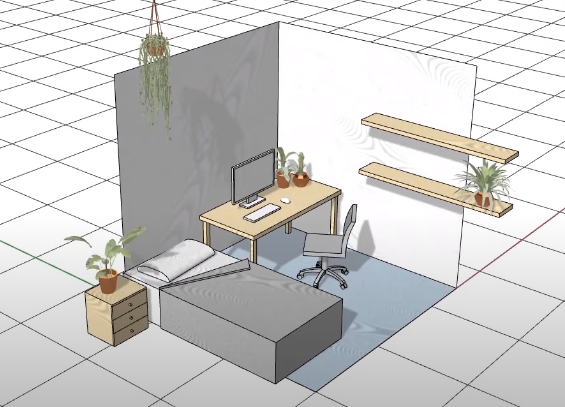
Go ahead and play around. Use this kind of representation for explaining your concept or showing the look and feel for your client.
Step 3: Render Setup
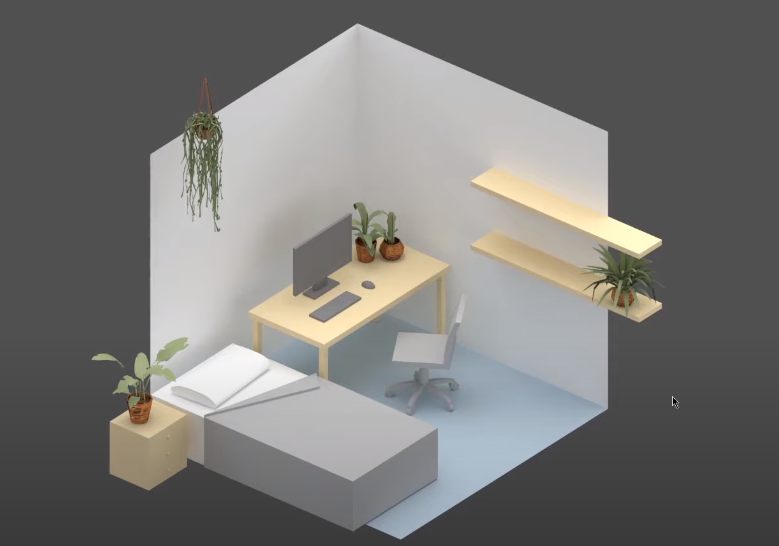
Go ahead and render this in an axonometric format.
Step 4: Photoshop
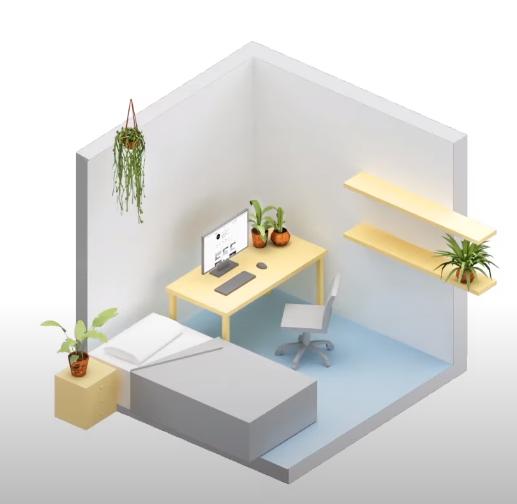
Go ahead bring this over to photoshop and clean things up just a little bit.
There we have it we have our low poly axonometric diagram with extremely nice and soft shadows that you can use for presentation and explaining your material look and feel for your clients and boss.
In case you want to watch the full video tutorial you can watch it here:
If you enjoy this type of content, make sure to follow our YouTube and Instagram for more!