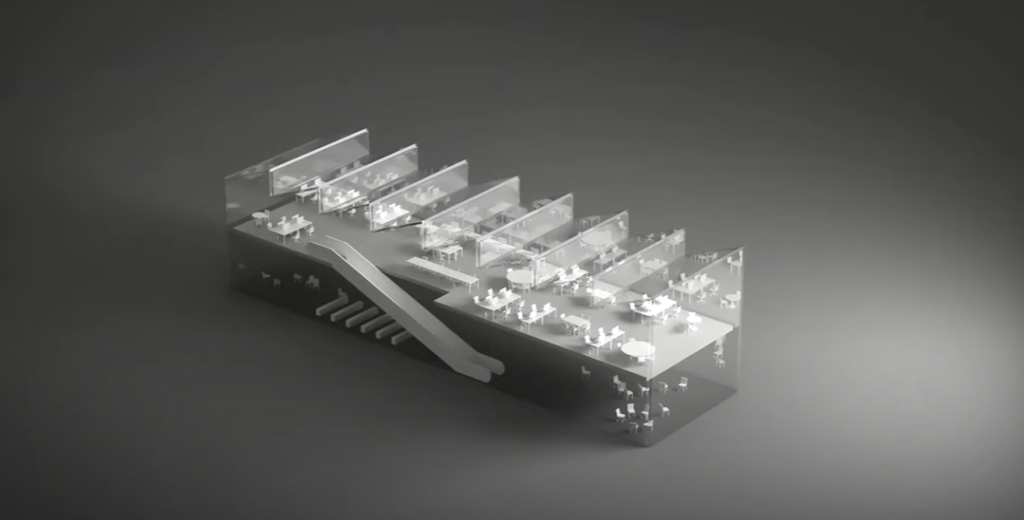
Transform your next/existing projects with these beautiful plexiglass renderings! They are super versatile and re-useable in almost any circumstances.
And what’s really great about this rendering is that you can literally put this anywhere and it’ll look good ranging from somewhere in your portfolio your portfolio cover and even on your Instagram speaking of which if you end up posting this on Instagram make sure to tag us for a chance to be featured on our account.
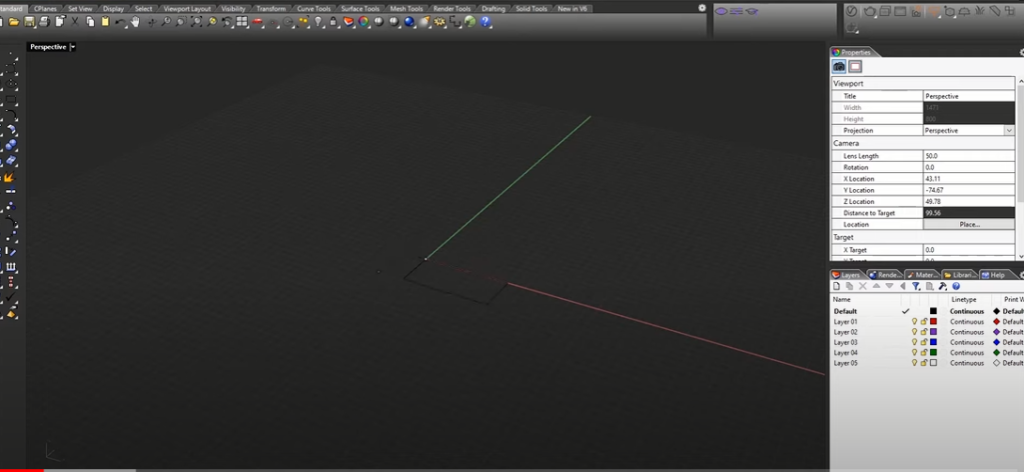
Step 1: Create a building footprint
Step 2: Have a set of 3D furniture
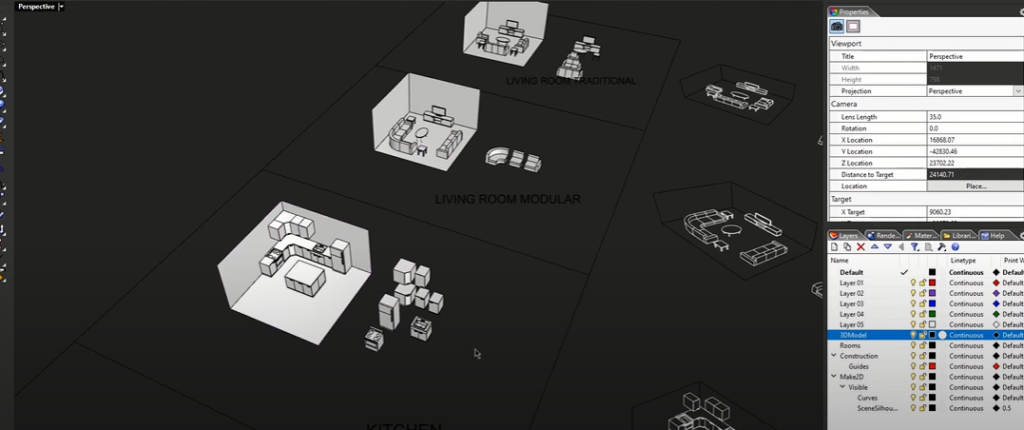
If you’re interested in using them in your own projects make sure to check out the link below to download them:
📥 Download 3D furniture pack: https://arch-hive.com/product/6305ae1…
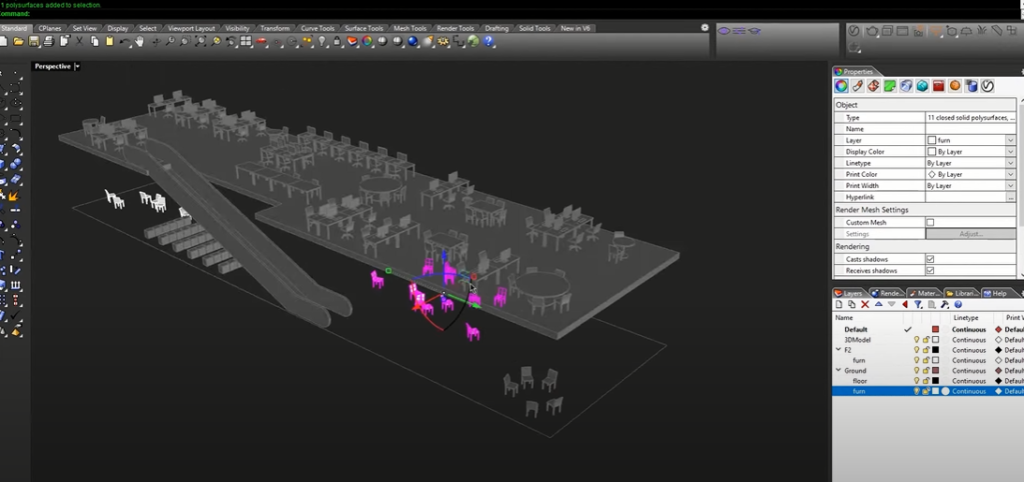
Step 3: Populate the model

Sometimes when you’re working with a large project heavy furniture can like really slow you down, but with our furniture pack you’ll see that your performance is extremely fast because they’re level they’re detailed just the right amount to communicate the point.
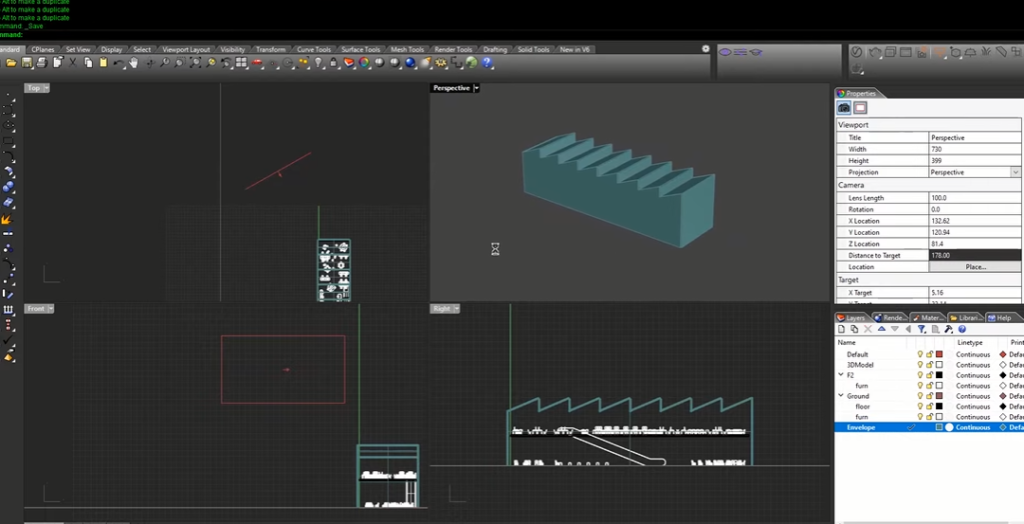
Step 4: Add tall ceiling and floor plate
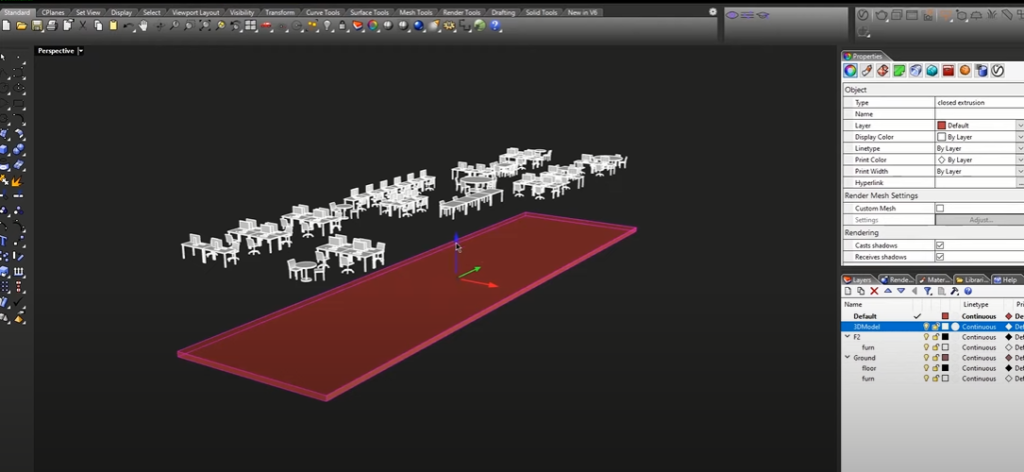
Estimate the recommended dimension

Step 5: Create an escalator
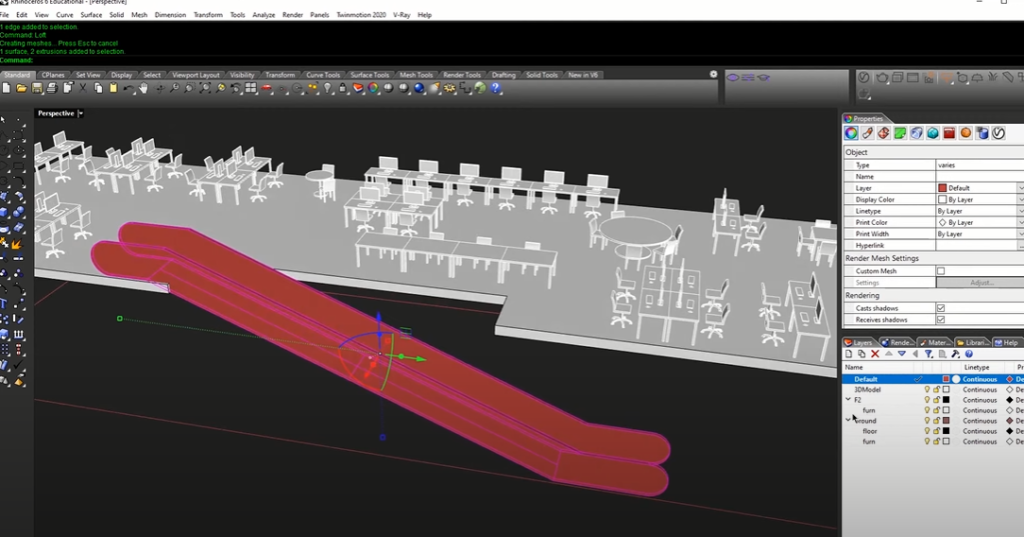
Populate more
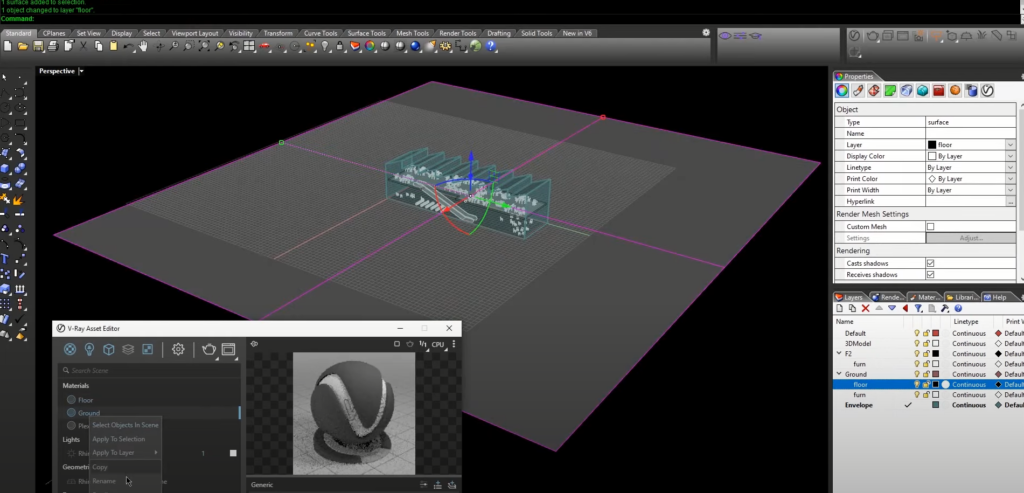
Step 6: Materialization
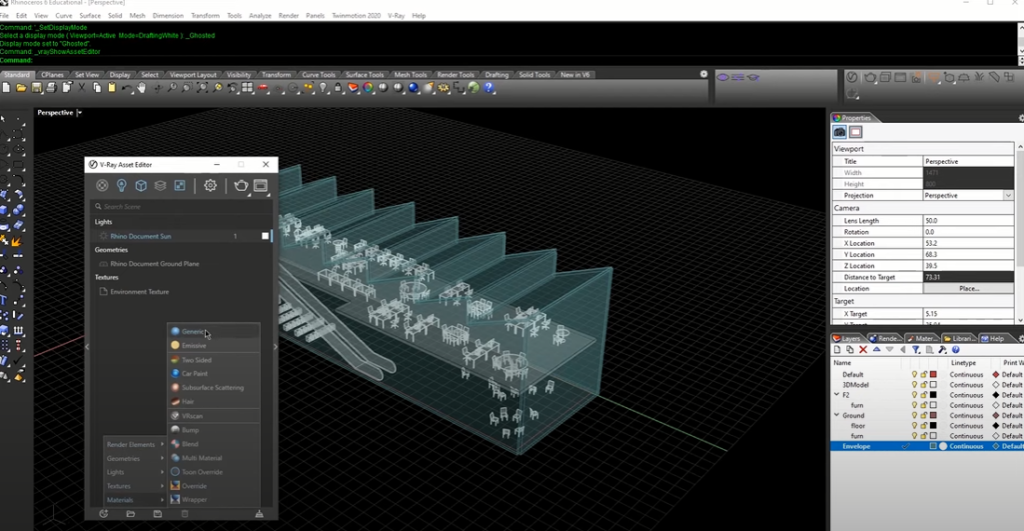
Open the v-ray options and follow these and here are the settings that we will be using first off let’s create a generic material and floor is just going to be a gray surface but it’s going to be a little bit brighter because the ground is going to be even darker and let’s create a color for our plexi, now I’m going to turn the color way up which is kind of unusual for glass and we’ll take the reflection color and bring this all the way up as well.
Step 7: Resolution
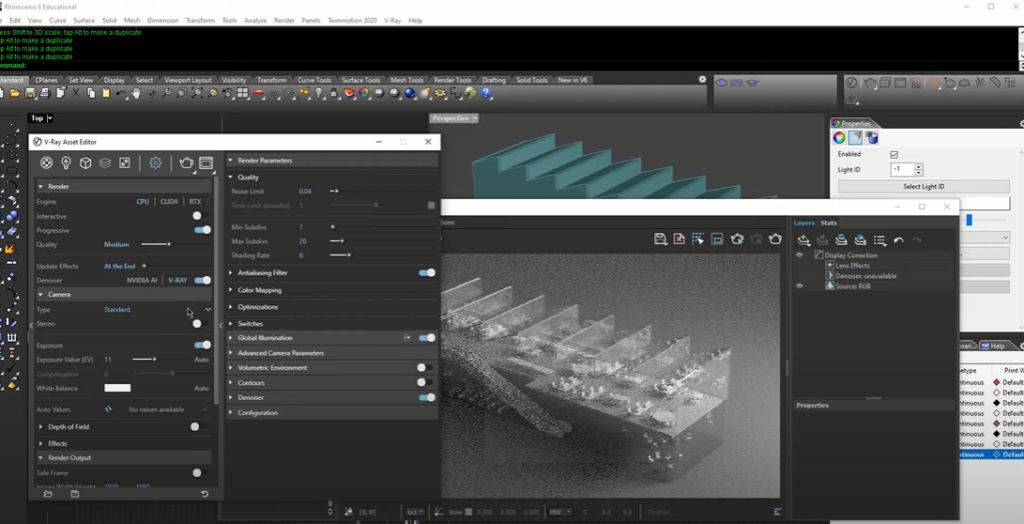
Adjust the lightness, shadow and image quality
Step 8: Zoom out and add some space to place your text
And there we go and there we have it this kind of rendering looks, If you want to watch the detailed video tutorial, click play button below:
If you find this article helpful, make sure to subscribe and follow our YouTube and Instagram accounts for more beautiful project tutorials!