
How do you normally start a project? I always begin with a cup of coffee and blankly stare into space, hoping a concept hits my forehead like a wake-up call, but sadly it doesn’t always happen. Workflow is unique to each person, and it depends entirely on your work style, presentation style, computer setup, etc. However, naturally, there is a general workflow that helps guide a designer, like yourself, onto the rollercoaster of design exploration. Today, we will be breaking down that general workflow for new designers or curious individuals considering architecture!
It’s important to keep in mind that though this workflow seems chronological – it’s not. A designer will always visit each stage multiple times before reeling in that final concept design! And, almost all designers will explore many concepts to understand the best solution for the given problem, so don’t feel dejected if you feel stuck in one stage for too long!
Understanding the Assignment
Before jumping into anything else, you first have to understand what you are designing and the purpose behind the project. Your perspective will be vastly different from your peers, and it will challenge you to understand your design principles!
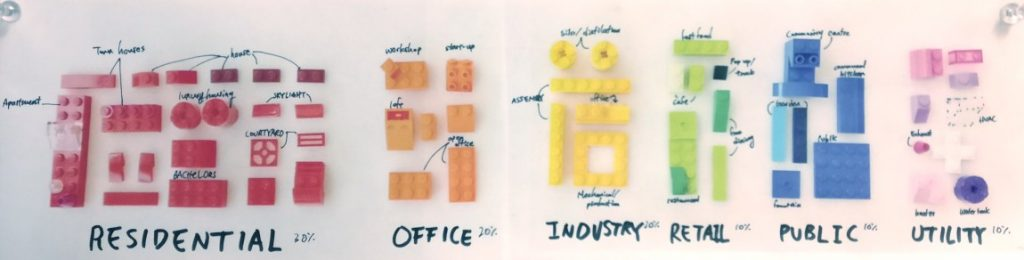
Are you designing an art gallery, hotel, community center, museum, etc.? All programs have specific design needs that will play into the overall design scheme. Once you recognize specific design features, you will then be able to start chipping away at the concept. We recommend laying out each part of the required programs in a nice matrix to break down the key components of a plan. You can do this in the form of paper, foam blocks, or even legos!
Another big component of researching for a project is understanding the site or the cultural context. Project sites are often a distance away, but if possible, take a site visit and soak in the information! Is there any cultural background of the neighborhood? How about any historical or economic significance that could play into your concept? What are some zoning and code limitations? Make sure to document your findings, as any of them can become defining features of your design!
Precedent Research
Precedent research can be one of the first steps towards understanding the design problem and possible solutions that you can integrate into your own design.
A precedent can be defined in the following ways:
- Something done or said that may serve as an example or rule to authorize or justify a subsequent act of the same or an analogous kind
- A person or thing that serves as a model
- An earlier occurrence of something similar
Finding an architectural precedent that aligns with your concept and design solution will help solidify your presentation within a professional or classroom setting. Precedents inform you and your audience of what design solutions are feasible to the specific prompt and concept. Therefore, when an audience asks a question about a project’s validity, you have proof that it is possible! The emphasis of the precedent depends on you and how you can make an argument of connecting a specific project to yours.
Brainstorming
Etch a Sketch
Now that you understand the problem and have precedents, it’s time to diagram, sketch, and repeat! Diagramming is a quick way to record all ideas, key design elements or remove superfluous thoughts. There is no correct way to diagram since it’s a tool for understanding your thoughts, but make sure it’s legible if you were using it as presentation material. I’ve been guilty of thinking my diagrams were great for context on a project, but they could only be understood by me, which is not the point of presenting ideas to the audience. Something I have to tell myself all the time is to make sure babies can understand the diagrams.
The next best thing is sketching! I can’t rave enough about sketching and all of its benefits, so instead, check out our featured article on Architizer, The Argument for Hand Drawing! However, do you prefer traditional sketching with paper and pen or on a tablet? I’m a traditionalist, but tablets have become more popular among young designers for sketching. The ability to work cross-platform, like a tablet to pc, can be a huge time saver with drawings.
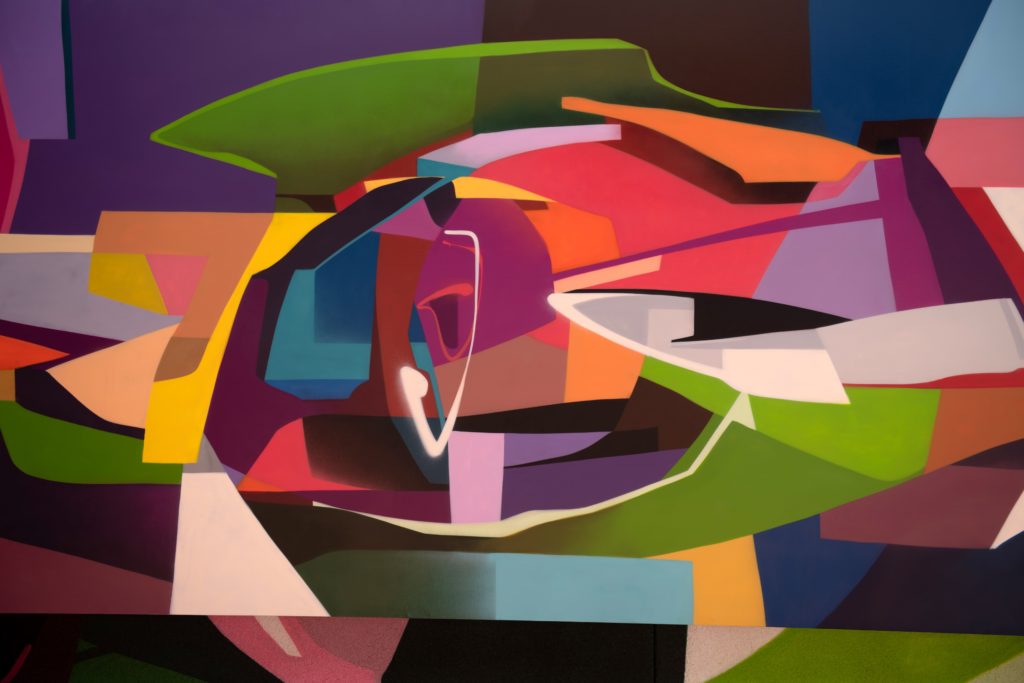
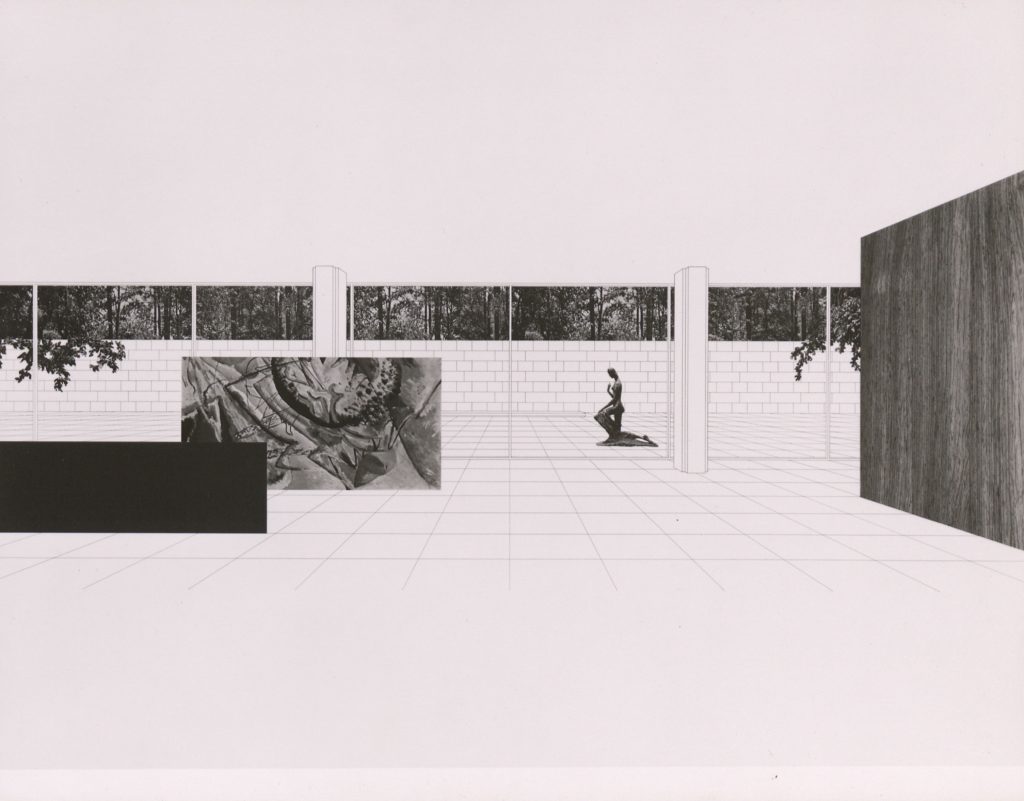
Collage a Montage
Okay, so maybe sketching isn’t your forte, but how about collaging? Some of the most unique architectural graphics are collages! A collage is a piece of art made by sticking different materials such as photographs and pieces of paper or fabric onto a base. If you want to see some architectural examples of collage methods, check out some of Mies and OMA’s work.
And like sketching, there is an analog and digital method of collaging. Digital collaging with Adobe Photoshop or software-adjacent can be quite easy sourcing for images to create a compelling narrative. However, it could lack a level of dimensionality that analog collages could contain. Whichever method of collaging, they are great brainstorming tools and graphics for presentations!
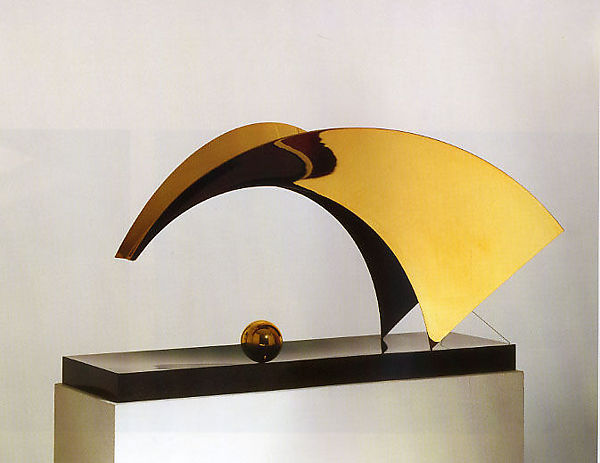
Model a Model
Another method of brainstorming, and my favorite, includes making use of models! This is not the high-fidelity Revit model we are speaking about. Instead, this is the part where you play around with blocks of foam, paper cutouts, and even 3D digital models. The key idea here is to capture the essence of the project. Take a look at the sculpture below by Santiago Calatrava, demonstrating the precarious nature of his structures.
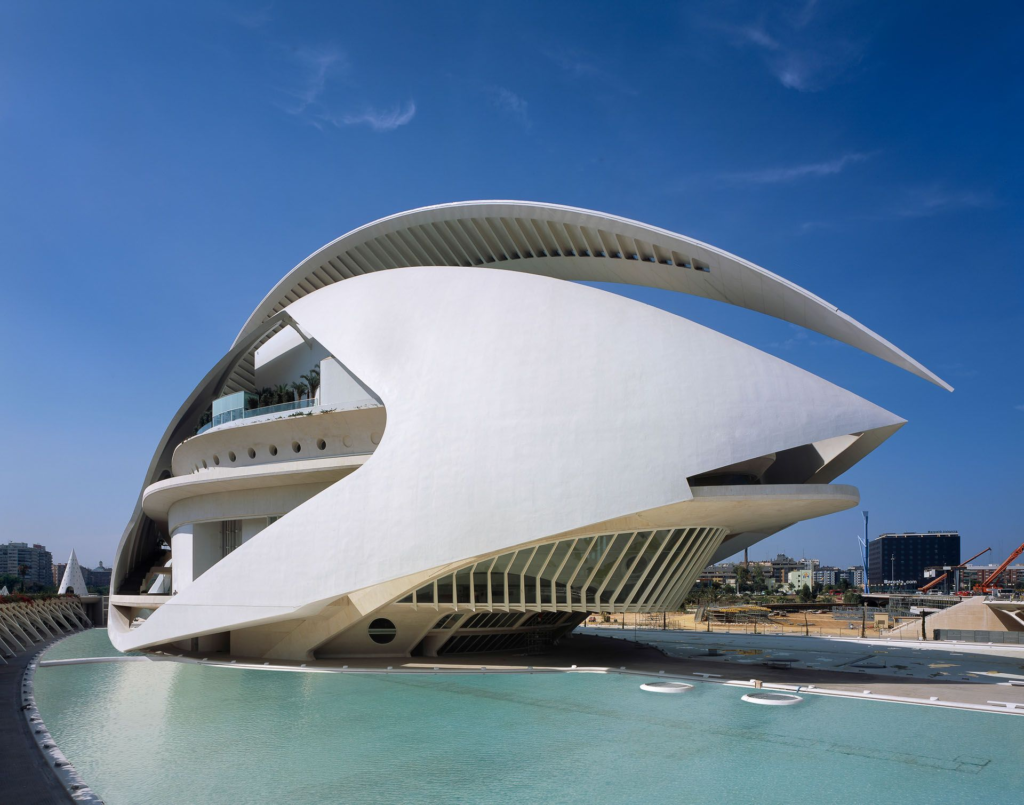
A project can easily get complicated with the design journey, so these essential models serve as a datum line to root the architecture concept for a designer. No matter what stage you may be in, models can facilitate an insightful conversation or allow an idea to be an idea rather than a final project concept!
3D Modeling
After the brainstorming stage, it’s normal to begin shifting the design concept into a more thorough format like Revit, ArchiCAD, Rhino, Sketchup, etc. This is where you’ll begin modeling the mass of the building and slowly subtract excess material, eventually forming the overall design! Will the building’s function follow the form, or will the form follow the function?
At this point, it’s beneficial for you to bring in the site information, too, like site boundary, zoning, relevant landmarks, etc., to validate your concept. It’s also normal to bounce between the brainstorming and 3D modeling phases to test ideas.
Renderings

This is almost the transition phase between digital to reality – one place where we have to get almost everything exactly right.
Rendering is an important part of architectural practice despite the controversy. Rendering is an amazing way to communicate visions with non-professionals such as your client – just try to convey your message without warping the reality. However, if you need to use excessive Photoshop, you might want to review your design.
3D Model to Render
I’d say this is the most common step to create renderings through 3D models. If you are working on a large project or working in a professional environment, you’ll likely reach this point where you are creating a high-fidelity model on BIM software such as Revit. Even as a student, there is a plethora of 3D modeling software and rendering software that you can utilize to create a strong visual presentation that captures your concept.
At times, a photo of a physical model during the brainstorming phase can be a base for renderings.
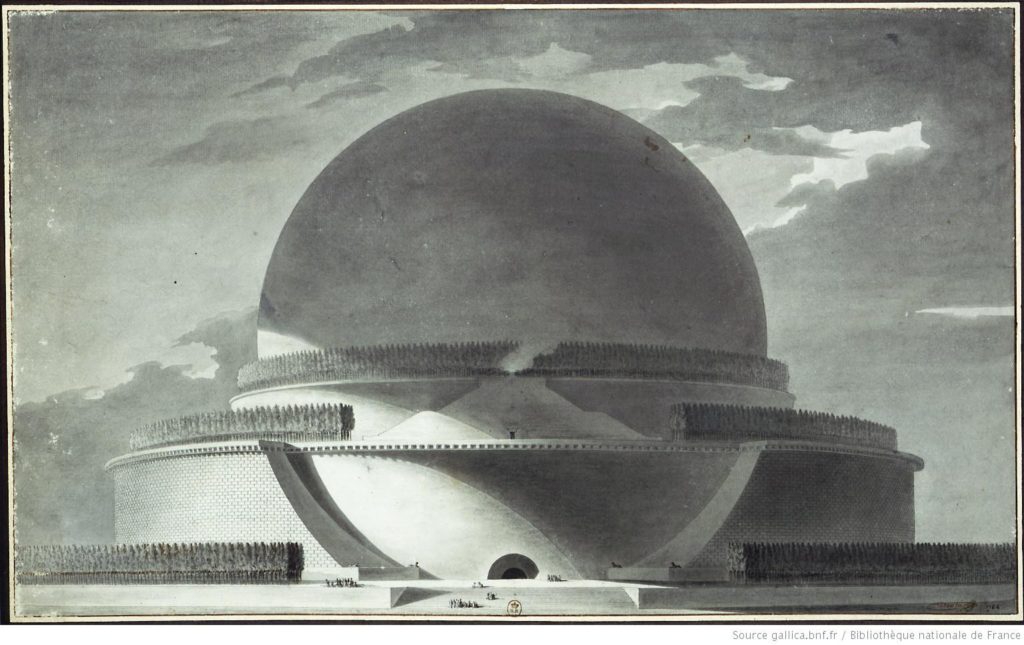
2D Rendering
2D artwork that describes your project’s concept, a section, a perspective, or a plan can be quite compelling too! A great example of a 2D rendering is the perspective drawing of the Cenotaph below by Boullée.
It is important to grasp time management even with the best workflow, so read our previous blog about stopping procrastination! Well, that’s all we have for you today, and if you’ve made it this far, you deserve a cookie. I hope you found this article interesting and took something from it! Sharing is caring! We hope to provide you with valuable insights and share them with someone who might find this useful. Make sure to follow our Youtube and Instagram for more content!