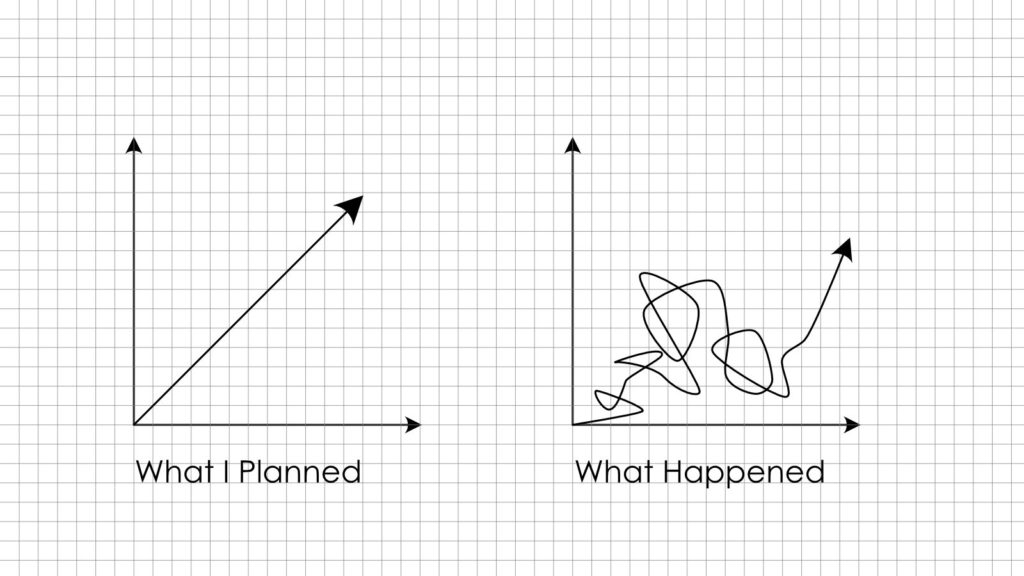
Everyone has their own workflow when tackling a new project, so we can’t give you a step-by-step process, but we can help! Typically, a normal project workflow involves pre-production, 3D modeling, rendering, and post-production with different durations. We’ll break down these steps further below. It’s important to know that a project or concept will not always be easy! I remember having a project get to the rendering stage, then scrapping the concept to do a stronger project for the semester.
Fun fact: “Flow” is a state of mind where you are so absorbed in the task at hand, causing you to forget time. I’m sure you have experienced this one or twice before in the studio!
Sketching is a quick and most ideal way for the pre-production of your project! I can explain all the reasons for sketching, but that’ll be a repeat of our old article. You can find the article by clicking HERE. Whether it’s mass modeling by analog or 3D software, it’s important to diagram your work for yourself and others.
- Rhino → Illustrator
- SketchUp → Photoshop
- Sketching
- Sketchbook → Model → Sketchbook → Model → Sketch → Sketch → Modeling → ?
After finalizing all pre-production elements, it is normal to move forward into a detailed 3D model or analog model of your projects. Keep in mind; this may be the longest duration of the steps due to the project’s complexity. Revit, Rhino, and SketchUp are some 3D modeling software you can use!
Although easier to 3D model the entire project, it might be favorable for you to traditionally model a section of your project if you find yourself stuck on the overall “architecture.” This process can alleviate the pressure of forcing oneself to find an overarching concept allowing your project to progress through a single room.
- Modeling → Sketching → Questioning → Sketching → Modeling → ?
Although easier to 3D model the entire project, it might be favorable for you to traditionally model a section of your project if you find yourself stuck on the overall “architecture.” This process can alleviate the pressure of forcing oneself to find an overarching concept allowing your project to progress through a single room.
Although easier to 3D model the entire project, it might be favorable for you to traditionally model a section of your project if you find yourself stuck on the overall “architecture.” This process can alleviate the pressure of forcing oneself to find an overarching concept allowing your project to progress through a single room.
- 3D Model → Render Engine → Post Production
- Analog Model → Photoshoot → Post Production
Ideally, this would be the final step to get your project ready to present! Photoshop is well-known for post-production needs, although there are other options too. A cheaper alternative that I use combines Photoshop and Illustrator into one is called “Affinity Designer.” It doesn’t have advanced options as Photoshop, but I’m sure you resourceful designers will figure it out.
Depending on how you post-produce images, renderings, or model, it can completely change your narrative.
Keep in mind there are countless ways to approach a project, but these are the general steps we’ve taken at ArchiHacks. Stay tuned for an article on ways to find a project concept! We will share some resources or things we do at ArchiHacks to find them. Make sure to visit our Youtube for an in-depth video breakdown of rendering, modeling, and post-production tips.
